Rointe D Series Instruction Manual
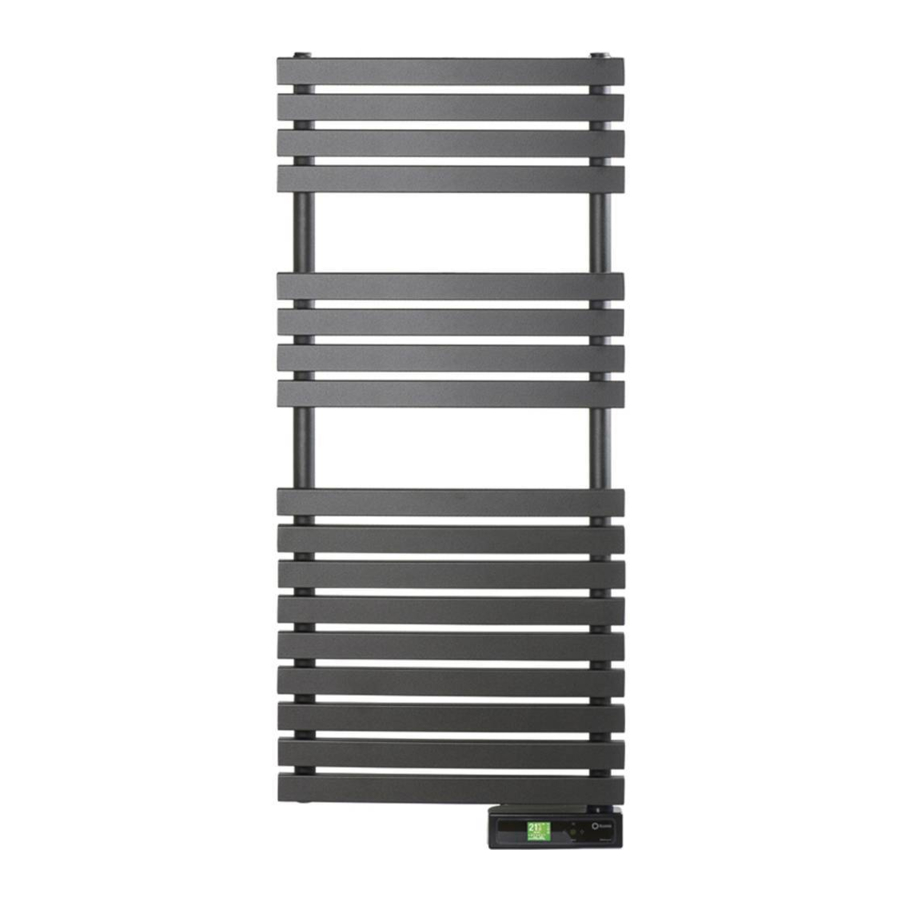
Towel rails with delta ultimate
Hide thumbs
Also See for D Series:
- User manual ,
- Installation and user manual (104 pages) ,
- Instruction manual (60 pages)

Related Manuals for Rointe D Series


Summary of Contents for Rointe D Series
- Page 1 D series with DELTA Ultimate technology Towel Rails Instruction Manual Assembly, installation, start-up and operating instructions Class II...
-
Page 2: Thank You
Thank you. Many thanks for your confidence in our Rointe products. Before you start to use the low-consumption digital electrical D series with Delta Ultimate technology towel rails we recommend that you read this manual carefully in order to use the product correctly with the... -
Page 3: Table Of Contents
INDEX OF CONTENTS 1. DESCRIPTION OF THE D SERIES TOWEL RAILS ....4 1.1. Description of the front panel ..........5 1.2. Switch On and Off (Stand By) ..........8 1.3. Select Temperature .............9 1.4. Lock the Control Panel ............9 1.5. Adjust Date and Time ............10 1.6. -
Page 4: Description Of The D Series Towel Rails
1. DESCRIPTION OF THE D SERIES TOWEL RAILS... -
Page 5: Description Of The Front Panel
D series with DELTA Ultimate technology 1.1. Description of the front panel D Series ICON INDICATION On / Off - Accept Decrease temperature - Move left Increase temperature - Move right Access / Return to Menu - Move up Access programming Menu - Move down... - Page 6 NUM. INDICATION Hours programmed - AUTO Days of the week Time Selected temperature Locking the control panel Manual / Automatic / Pilot wire functions Comfort / Economy / Anti-frost modes Net connection status Heating Element in operation Consumption behaviour indicator Open Window function ICON DESCRIPTION...
- Page 7 D series with DELTA Ultimate technology Consumption indicator – green / yellow / red Towel Rail Heating element on Connected to the router and server - sending and receiving Connected to the router and server - maximum internet signal Connected to the router and server...
-
Page 8: Switch On And Off (Stand By)
The main temperature screen will appear after 5 seconds. If you press the button again when the towel rail is switched on it will revert to stand-by mode and the words “Stand-By” will appear. 5 seconds later and the Rointe logo will appear. -
Page 9: Select Temperature
1.4. Locking the control panel You can lock the product from the actual control panel of the towel rail or remotely via the Rointe Connect App or the Air Control remote control. On the product control panel you can lock the keypad by pressing and holding down the buttons at the same time for 3 seconds. -
Page 10: Adjust Date And Time
It is possible to change the time on the towel rail from the control panel. However it is better to wait for the automatic synchronization once the product has been paired with the Rointe Connect app and the product is connected to the E-Life technology servers. -
Page 11: Main Menu
1.6. Main menu Press the button to access the main menu of your D series with DELTA Ultimate technology towel rail. You can move between the different options on the menu by pressing the buttons. The sub-menu which you have selected will be highlighted with a frame. - Page 12 1.6.1. Configuration sub-menu The configuration sub-menu consists of 4 technical parameters of the product. To access this menu, press on the main menu screen. The screen on the right will appear and we can move between the various options of the sub-menu by using the buttons.
- Page 13 D series with DELTA Ultimate technology • Internet Settings This option prepares the product to communicate with a special network enabling it to be paired. Press the internet settings option to access this mode. On the next screen the name of the WIFI network (NET) and password (PIN) which have been created will appear.
- Page 14 • Language You can select the language you wish using this LANGUAGE ENGLISH function. Select the language you wish by pressing FRANÇAIS buttons. Press the button to ESPAÑOL PORTUGUÊS confirm the language highlighted. • Adjust date / time This function allows you to change the hour, minutes and day of the week on the product control panel.
- Page 15 D series with DELTA Ultimate technology • Open Window Function This option allows you to turn on or turn off the Open Window function. Select ON to activate it or OFF to deactivawte it by using the buttons. To confirm the desired option and exit, press the button.
- Page 16 Once the towel rail is set on the two-hour mode, and until the two hours have finished or the key is pressed again, the display will show this image. • Effective Power Function This function shows the working time and total time that the product has been connected on the main screen.
- Page 17 D series with DELTA Ultimate technology • Information This option shows the software version, the release date and the nominal power of the product. Select the icon by using the buttons, then press the button to confirm. To POWER 750W...
- Page 18 1.6.3. Balance Sub-menu The balance sub-menu forces the towel rail to work in manual mode at a constant 19ºC. Select the icon from the main menu using buttons. Press the button to confirm. By pressing this button the towel rail will return to the main screen with a set temperature of 19ºC and the “Manual”...
- Page 19 D series with DELTA Ultimate technology What are the manual, automatic and pilot wire modes? Manual Mode This mode allows you to change between comfort, eco and anti-frost modes changing the temperature as described in section 1.3. Automatic Mode This mode activates the programming which has been set in the towel rail.
- Page 20 • Manual/Automatic Function Press the button to change between the Manual and Automatic modes. On the main screen the symbol will appear in Automatic mode and the symbol will appear in Manual mode. The Automatic Mode will activate the programming which you have already set in the product.
- Page 21 D series with DELTA Ultimate technology Select the ECO temperature Continue and select the ECO temperature, between 7.5ºC and 18.5ºC. The symbol and the temperature will flash. Press to confirm. Select DAYS After pressing the button, the days of the week will flash showing the days as Day1, Day 2 etc.
- Page 22 You can program day by day or you can program several days at the same time. • User Function To access the User Function, use the buttons to select the icon and confirm by pressing USER Function This allows the user to establish a limited working temperature range (maximum and minimum temperature).
- Page 23 D series with DELTA Ultimate technology INSERT PIN Enter the PIN to access. The default PIN number is 0000. CANCEL Select the numbers by using the buttons and confirm by pressing Press OK to access. If the pin number is wrong then the words “INCORRECT PIN”...
- Page 24 • Activate function Allows you to activate or deactivate the USER USER function. Select ON to activate or OFF to FUNCTION deactivate the function by using the buttons. Once the chosen mode has been selected, press to select and exit. The icon will appear at the top of the screen depending whether it is on Automatic...
- Page 25 D series with DELTA Ultimate technology • Maximum temperature This allows you to set the maximum working temperature of the towel rail. Using the buttons you can increase or reduce the temperature between 19ºC and 30ºC. Press to exit once the desired temperature has been chosen.
- Page 26 . Press to confirm and exit. The symbol will appear on the screen. WARNING! The Pilot Wire function only allows you to control your heating via the pilot wire programmer not via the Rointe Connect App.
-
Page 27: Open Window Function
D series with DELTA Ultimate technology 1.7. Open Window Function This function is activated when the towel rail sensor detects a drop of 4ºC in the set temperature within a period of half an hour. When this function is activated the image on... -
Page 28: Installation And Mounting Instructions
2. INSTALLATION AND MOUNTING INSTRUCTIONS Inside the box you will find a mounting kit. 1. Choose the right part of the wall. 2. Place the mounting stencil on the wall, marking the places for the holes. 3. Remove the stencil and make the holes in the wall. 4. -
Page 29: Product Dimensions
D series with DELTA Ultimate technology 3. PRODUCT DIMENSIONS DTI030SE* DTI045SE* DTI060SE* DTI075SE* REFERENCE H1 (mm) H2 (mm) V1 (mm) V2 (mm) V3 (mm) DTI030SE* DTI045SE* 1.106 1.161 DTI060SE* 1.420 1.167 1.475 DTI075SE* 1.742 1.348 1.797... -
Page 30: Connection Instructions
4. CONNECTION INSTRUCTIONS Connection to the mains must be made observing the voltage stated on the product technical data label. This product is designed to be permanently installed connected to a fixed facility. The towel rail power supply circuit must have an all-pole circuit breaker switch with a separation of at least 3mm between contacts. -
Page 31: Special Rules For Bathrooms
D series with DELTA Ultimate technology • The vertically designed product should never be installed horizontally. • Use wedges during the installation so that the control panel is not touching the floor. 4.1 Specific Rules for Bathrooms This product conforms to the CLASS II (double insulation) safety regulations. -
Page 32: Maintenance And Cleaning
• In the bathrooms, the radiator/towel rail must never be installed in such a way that the switches and control devices can be touched by someone in the bath or shower. • In the bathrooms the towel rail must be placed at least 25cm from the floor. -
Page 33: Guarantee
6.3. If the towel rail does not work correctly due to defects in the design, faults in the materials or manufacture during this time then Rointe will repair or replace the towel rail whichever it considers more appropriate subject to the following conditions: 6.3.1. - Page 34 6.3.2.3. Unforeseen circumstances which are beyond the control of Rointe such as lightning, fires, floods, public disorder, etc. 6.3.2.4. The repairs or replacements carried out under this guarantee do not allow an extension or a new guarantee period.
- Page 35 The symbol of the crossed out wheelie bin with a single black line underneath appears on all of the Rointe products to remind the consumer to separate them for special collection. The consumer should contact the local authorities or the original seller to learn more about the correct disposal of their product.
- Page 40 ROINTE UK Catalyst House 720 Centennial Court, Centennial Park Elstree, Herts, WD6 3SY T. 01432 598 019 F. 0208 953 5861 Technical Support T. 01432 598 024 support@rointe.co.uk www.rointe.co.uk...
Need help?
Do you have a question about the D Series and is the answer not in the manual?
Questions and answers