Table of Contents
Advertisement
Advertisement
Table of Contents

Related Manuals for ELNA xquisit


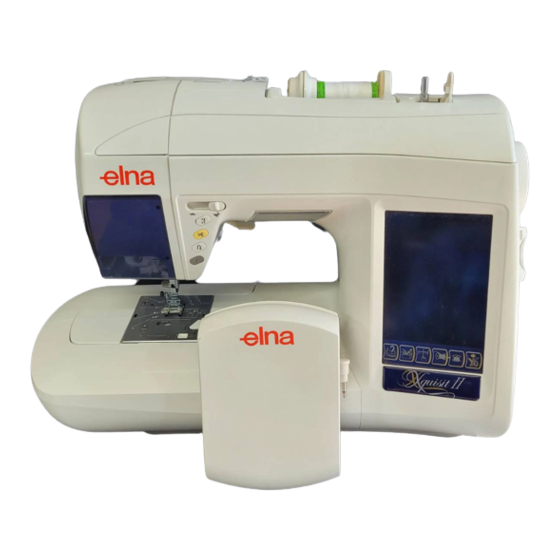
Summary of Contents for ELNA xquisit
- Page 1 SERVICE MANUAL 08/02 395 902 – 82 Printed in Switzerland...
-
Page 2: Feed Mechanism
Elna International Corps. SA Xquist service manual Feed mechanism 1. Feed amount 0 to 5 mm (in increments of 0.1 mm in the range from 0.2 to 1.0 mm, and 1.5 mm, 2.0 mm, 2.3 mm, 2.5 mm, 3.0 mm, 3.5 mm, 4 mm, 4.5 and 5.0mm) -
Page 3: Microcomputer And Rom
Elna International Corps. SA Xquist service manual Limit sensor. In order to prevent the bobbin from being excessively wound when automatically winding bobbin, the sensor monitors during bobbin winding and detects that the bobbin is wound more than the specified amount. -
Page 4: Outer Dimensions And Weight
Elna International Corps. SA Xquist service manual Outer dimensions and weight Main unit 47.9 cm (width) X 32.4 cm (height) X 21.5 cm (depth) Weight12.4 kg Main unit with case 49.5 cm (width) X 33.0 cm (height) X 23.5 cm (depth) Weight13.7 kg Embroidering device 33.5 cm (width) X 13.0 cm (height) X 32.0 cm (depth) Weight2.3 kg. - Page 5 Elna International Corps. SA Xquist service manual INDEX BY TROUBLES (MECANICAL TROUBLES) Phenomenon Item to be checked Defective thread P-17 Height of the presser foot P-20 Height of the feed dog tension P-20 Inner hock detent P-21 Tension release plate and base tension...
- Page 6 Elna International Corps. SA Xquist service manual Thread fails to pass 1. Height of the threading hook is improper. Check the adjustment of the needle threader the needle eyelet. (see page 29) 2. Thread tensed in front of needle is not in the center...
- Page 7 Elna International Corps. SA Xquist service manual Automatic bobbin winding ( troubles and corrective measure). Bobbin thread winding from the exclusive bobbin thread Trouble Cause Corrective measures Thread fails to be 1. The hook cover is not attached. Attach the hook cover.
-
Page 8: Under Cover
Elna International Corps. SA Xquist service manual Dismantling of plastic frames UNDER COVER 1. Loose the two screws 1 and 2. 2. Remove the under cover FACE PLATE COVER 1. Loose the screws 1 and 2 2. Remove the claw section A and B using a thin... -
Page 9: Free Arm Bottom Cover
Elna International Corps. SA Xquist service manual FREE ARM BOTTOM COVER 1. Loose the screws 1 and 2. 2. Remove the bottom cover BOTTOM PLATE (BASE) To facilitate the disassembling of the front and rear panel, please loose the 5 screws from the base. -
Page 10: Front Panel Connection
Elna International Corps. SA Xquist service manual FRONT PANEL CONNECTION 1. Remove the connectors 4, 5, and 6 connected from the front panel to the microcomputer circuit board. 2. Then draw out the flexible card connector 7 after the lock of connector 6 has been released. - Page 11 Elna International Corps. SA Xquist service manual REAR PANEL 1. Remove the screws 3 and 4. 2. Lower presser-lifting lever 5. 3. Lift handle 6, draw section 7 and remove the rear panel. 4. Remove claw section 8 from the bottom plate.
-
Page 12: How To Adjust
Elna International Corps. SA Xquist service manual UPPER MAIN SHAFT DISENGAGING Location of components to be adjusted. 6. Remove the Under cover. 7. Remove the Face cover inside. 8. Remove the Belt cover. 9. Remove the Free arm bottom cover. -
Page 13: Main Motor
Elna International Corps. SA Xquist service manual cam. • Top end section of the main shaft disengaging stopper. MAIN MOTOR MAIN MOTOR. 1. Remove the Under Cover. 2. Remove the Belt Cover. 3. Remove the Free arm bottom cover. 4. Loosen the 5 screws from the bottom plate base. - Page 14 Elna International Corps. SA Xquist service manual MAIN MOTOR. 1. Remove the two screws 1. 2. Disconnect the motor. 3. Remove the motor belt. MAIN MOTOR How to adjust the motor belt. Adjust the motor belt tension by moving the motor up or down and after the adjustment, fix the belt screws.
-
Page 15: Automatic Bobbin Winding
Elna International Corps. SA Xquist service manual AUTOMATIC BOBBIN WINDING Location of components to be adjusted. 1. Remove the under cover. 2. Remove the face cover inside. 3. Remove the belt cover. 4. Remove the free arm bottom cover. 5. Remove the front panel. - Page 16 Elna International Corps. SA Xquist service manual Adjust the height so that the clearance provided between the upper plane (rib which is higher) of the bobbin rib and the bottom end of thread retaining plate A is 0 to 0.3...
Need help?
Do you have a question about the xquisit and is the answer not in the manual?
Questions and answers