Advertisement
Do you have a question about the SDN4 and is the answer not in the manual?
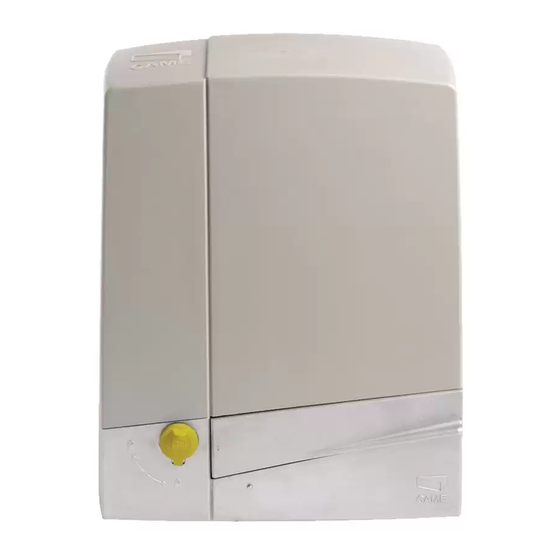
How can I fix this error? On display is writing E2
The E2 error code for the CAME SDN4 means "Calibrating the complete gate-travel."
This answer is automatically generated


Need help?
Do you have a question about the SDN4 and is the answer not in the manual?
Questions and answers
How can I fix this error? On display is writing E2
The E2 error code for the CAME SDN4 means "Calibrating the complete gate-travel."
This answer is automatically generated