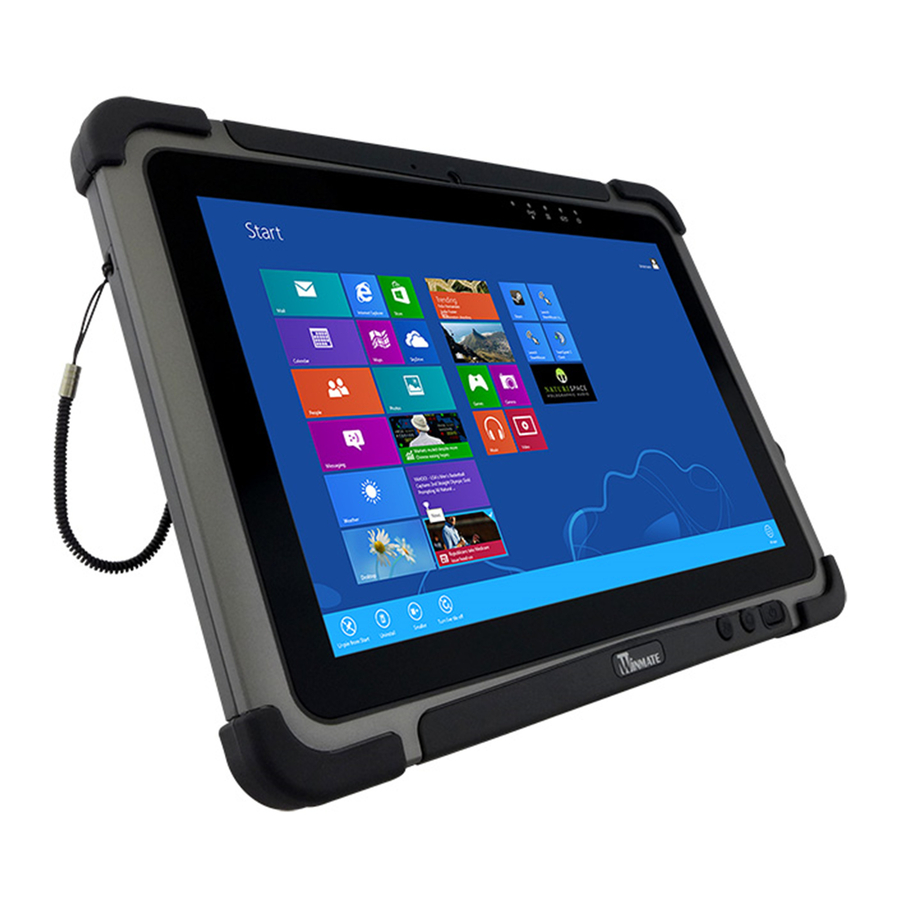
Winmate M101B Quick Installation Manual
Ops module and display
Hide thumbs
Also See for M101B:
- User manual (92 pages) ,
- Operating instructions manual (52 pages) ,
- Os installation manual (45 pages)
Table of Contents
Advertisement
Quick Links
Download this manual
See also:
User Manual
Advertisement
Table of Contents

Subscribe to Our Youtube Channel
Summary of Contents for Winmate M101B
-
Page 1: Quick Installation Guide
OPS Module and Display Quick Installation Guide Version 1.1 Document part number: 9152111J1008... -
Page 2: Table Of Contents
Table of Contents Regulations and Safety Notice CE Declaration of Conformity FCC Notice Advisory Conventions OPS Module and Display Quick Start Guide Important Safety Instructions Cleaning the Monitor Introduction Unpacking Touch and Power Connection Scenario Case I PC Mode Case II Monitor Mode Case III PC Mode OPS Module Installation Display Input Signal Settings... -
Page 3: Regulations And Safety Notice
Regulations and Safety Notice CE Declaration of Conformity We declare under our responsibility that the product is in conformity with the following standards: •EN60950-1:2006+A11:2009 (Safety requirement of Information Technology Equipment) •EN55022:2006+A1:2007 (Radio Disturbance requirement of Information Technology Equipment) •EN55024:1998+A1:2001+A2:2003 (Immunity requirement of Information Technology Equipment) •EN61000-3-2:2006 (Limits for Harmonic Current Emission) •EN61000-3-3:2008 (Limitation of Voltage Fluctuation and Flicker) following provisions of directives applicable... -
Page 4: Advisory Conventions
Advisory Conventions Four types of advisories are used throughout the user guide to provide helpful information or to alert you to the potential for hardware damage or personal injury. These are Notes, Important, Cautions, and Warnings. The following is an example of each type of advisory. NOTE: A note is used to emphasize helpful information IMPORTANT:... -
Page 5: Ops Module And Display Quick Start Guide
OPS Module and Display Quick Start Guide Important Safety Instructions Please read the following instructions carefully. 1. Unplug the display if you are not going to use it for an extensive period of time. 2. Keep the display out of direct sunlight andaway from stoves or any other heat source. 3. -
Page 6: Introduction
Introduction Open Pluggable Specification (OPS) enables easy integration of a digital signage computing system or a pluggable module into the display panel. This quick start guide tells you step-by-step instruction on how to install OPS module to the display. You will find instructions for the following procedures: ... -
Page 7: Touch And Power Connection Scenario
Touch and Power Connection Scenario You can purchase digital signage system, including display and OPS module from Winmate. This section describes Winmate model combination, and includes some notes on each case. Case I PC Mode Purchase All-in-one (touch monitor and OPS module) from Winmate... -
Page 8: Case Iii Pc Mode
Case III PC Mode Purchase only touch monitor from Winmate, and install OPS module at your side. Purchase touch monitor and OPS from Winmate, but in different time. Diagram: Note: 1. USB touch: in this case USB touch signal is set to go through external I/O side USB port. -
Page 9: Ops Module Installation
OPS Module Installation This section describes the OPS module installation procedures. OPS module slot is located on the rear side of the display. Hardware installation steps: 1. Disconnect the AC power source from the Display, and make sure the system is powered OFF when you insert the OPS module. -
Page 10: Display Input Signal Settings
Display Input Signal Settings Press to activate the setting inside the OSD menu. Remote Control Layout 8 [AUTO ADJUST] button Press to run the Auto Adjust function. NOTE: This button is functional for VGA input only. 9 [MUTE] button Press to turn the mute function on/off. 10 [VIDEO SOURCE] button Press to toggle Video Source Menu. -
Page 11: Display Input Signal Settings
VIDEO-S VIDEO 3. Click SET button (7) on the remote control to select OPS mode. 4. Turn ON the system power. *If you purchase all-in-one solution (touch monitor and OPS) from Winmate, the default setting of VIDEO INPUT is OPS. -
Page 12: Power Management Settings
Power Management Settings This section exsplains what happen to touch monitor and OPS module when you power it ON/ OFF using the remote control. Windows OS Powering ON To power ON the monitor with OPS module press power ON button on the remote control. Powering ON process: 1. - Page 13 IMPORTANT: If your power management plan is not set up as SHUT DOWN, the PC will not shut down. Switching OFF the power now might cause OS system crash. IMPORTANT: You need to TURN OFF the display in OPS Mode. If you TURN OFF the display in HDMI, DVI, VGA, DVD or VIEDE Modes, it won't influence OPS Module power status.
- Page 14 Power Management Settings In OPS mode the power control of the OPS module is influenced by display's OSD or remote control. Pressing the power button on the OSD panel or remote control will control the OPS Module at the same time (default setting is “shut down”). If you want to change power management settings follow the steps below.
- Page 15 3. In the Power and sleep button settings drop-down menu, choose “When I press the power button:Shut down. 4. Save the changes...
-
Page 16: Android Os
Android OS If your system is running on Android there is no need to adjust power management settings. Follow the original default factory settings. Power ON: Powering ON diagram for OPS running on Android OS showed on the picture below. Power OFF: Powering OFF diagram for OPS running on Android OS showed on the picture below. - Page 17 Winmate Inc. 9F, No.111-6,Shing-De Rd., San-Chung Dist., Taipei 241, Taiwan, R.O.C Tel: 886-2-8511-0288 Fax: 886-2-8511-0211 Email: sales@winmate.com.tw Official website: http://www.winmate.com.tw...


Need help?
Do you have a question about the M101B and is the answer not in the manual?
Questions and answers