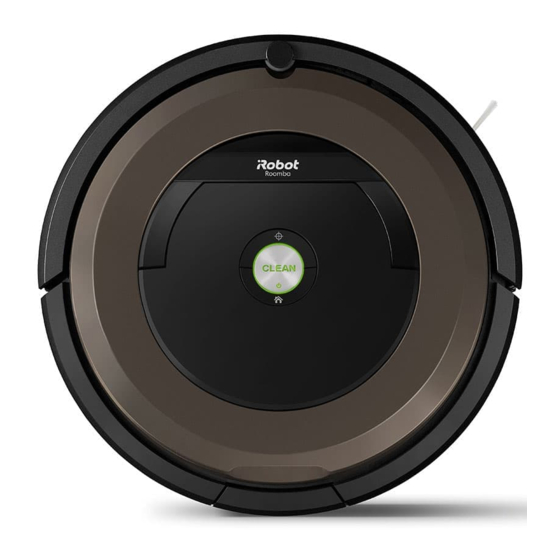
iRobot Roomba 800 Series Owner's Manual
Hide thumbs
Also See for Roomba 800 Series:
- User manual ,
- Owner's manual (16 pages) ,
- Setup manual (3 pages)
Advertisement
Advertisement
Table of Contents

Summary of Contents for iRobot Roomba 800 Series
- Page 1 800 Series Owner’s Guide...
-
Page 2: Important Safety Instructions
Important Safety Instructions WARNING: TO REDUCE THE RISK OF INJURY OR DAMAGE, READ THE FOLLOWING SAFETY PRECAUTIONS WHEN SETTING UP, USING, AND MAINTAINING YOUR ROBOT. THIS APPLIANCE MAY ONLY BE USED BY CHILDREN AGED 8 YEARS AND ABOVE AND PERSONS WITH REDUCED PHYSICAL, SENSORY, OR MENTAL CAPABILITIES OR LACK OF EXPERIENCE AND KNOWLEDGE IF THEY HAVE BEEN GIVEN SUPERVISION OR INSTRUCTION CONCERNING USE OF THE APPLIANCE IN A SAFE WAY AND UNDERSTAND THE HAZARDS INVOLVED. - Page 3 • Do not use non-rechargeable batteries. Use only the rechargeable battery supplied chain, damaging your health and well-being. Please contact your local or regional with the product. For replacement, purchase an identical iRobot battery or contact authority for more information on collection, reuse, and recycling programmes.
-
Page 4: Table Of Contents
Important Safety Instructions ....................i About Your Roomba ......................2 ® Using Your Roomba ......................3 ® Scheduling ..........................4 Accessories ..........................5 Regular Robot Care ......................6 Troubleshooting ........................10 iRobot Customer Care ....................... 11 Roomba 800 Series Owner’s Guide ®... -
Page 5: About Your Roomba
Dust Bin and Filter Side Brush Anti-Tangle Dirt Detect™ Indicator Indicator Charging Troubleshooting Contacts Indicator Cliff Sensor CLEAN/Power Button Cliff Sensor Castor Wheel SPOT DOCK Cliff Sensor Cliff Sensor MINUTE HOUR SCHEDULE CLOCK Full Bin Indicator For more information, visit www.irobot.com/Roomba800... -
Page 6: Using Your Roomba
Using your Roomba Positioning the Home Base • To send Roomba back to its Home Base during a cleaning cycle, press ® DOCK on Roomba. This will end the cleaning cycle. Place the Home Base in an open, uncluttered area, •... -
Page 7: Scheduling
Press DAY to cycle through the schedule cleaning times. When Roomba displays the scheduled cleaning time you’d like to delete, press and hold DAY for five seconds. Roomba will beep to indicate the cleaning time has been deleted. Press OK. For more information, visit www.irobot.com/Roomba800... -
Page 8: Accessories
Accessories The Dual Mode Virtual Wall Barrier The Virtual Wall Lighthouse (accessory compatible with all models) (accessory compatible with select models) The Dual Mode Virtual Wall barrier keeps The Virtual Wall Lighthouse can act as both a Roomba in the places you want to be Lighthouse and a Virtual Wall. -
Page 9: Regular Robot Care
(once every 3 months in homes with pets) Note: iRobot manufactures various replacement parts and assemblies. You may purchase replacement parts by visiting www.irobot.com/Roomba800. If you have questions regarding replacement parts, please contact iRobot Customer Care for more information. For more information, visit www.irobot.com/Roomba800... -
Page 10: Cleaning The Filter
Cleaning the Filter Emptying the bin Cleaning the Full Bin Sensors Press bin release Open the filter door and Remove and empty the bin. button to remove bin. remove filter by grasping the tab. Open bin door to Shake off debris by tapping Wipe the sensors with a clean, dry cloth. - Page 11 Reinstall all parts when finished. Make sure the wheel clicks back into place. Wheel Axle Housing Important: A front wheel clogged with hair and debris could result in floor damage. For more information, visit www.irobot.com/Roomba800...
- Page 12 Cleaning the Sensors and Cleaning the Extractors Charging Contacts Pinch the extractor frame Wipe the sensors with a clean, dry cloth. release tabs, lift up the Do not spray cleaning solution directly extractor frame and remove onto the sensors or sensor openings. Wipe any obstructions.
-
Page 13: Troubleshooting
The troubleshooting indicator ( ) will also blink. Follow For best results, only use the iRobot Lithium Ion Battery that comes with Roomba. the audible instructions. Additional troubleshooting information, along with more While Roomba will operate with older-model batteries, its performance will detailed support and videos, is available online at www.irobot.com/Roomba800. -
Page 14: Irobot Customer Care
If you have questions or comments about Visit your Roomba, please contact iRobot before • Learn more about iRobot in your country. contacting a retailer. • Get hints and tips to improve your Roomba’s You can start by visiting performance. - Page 15 ©2017 iRobot Corporation, 8 Crosby Drive, Bedford, MA 01730 USA. All rights reserved. iRobot, Roomba, iAdapt, Home Base, and Virtual Wall are registered trademarks of iRobot Corporation. AeroVac and Dirt Detect are trademarks of iRobot Corporation.


Need help?
Do you have a question about the Roomba 800 Series and is the answer not in the manual?
Questions and answers
how to set up date and times
To set the time on the iRobot Roomba 800 Series:
1. Press the CLOCK button.
2. Use the DAY, HOUR, and MINUTE buttons to set the correct time.
3. Press OK. Roomba will beep to confirm that the time and date have been set.
This answer is automatically generated