Sign In
Upload
Download
Table of Contents
Contents
Add to my manuals
Delete from my manuals
Share
URL of this page:
HTML Link:
Bookmark this page
Add
Manual will be automatically added to "My Manuals"
Print this page
×
Bookmark added
×
Added to my manuals
Manuals
Brands
Planet Manuals
Wireless Access Point
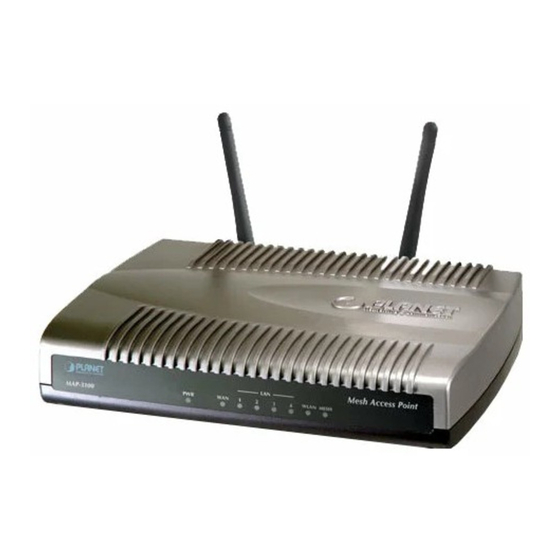
MAP-3120
Web management manual
Planet MAP-3120 Web Management Manual
802.11 a/b/g outdoor/indoor wireless mesh network access point
Hide thumbs
Also See for MAP-3120
:
Software manual
(124 pages)
,
Specifications
(3 pages)
1
2
3
4
Table Of Contents
5
6
7
8
9
10
11
12
13
14
15
16
17
18
19
20
21
22
23
24
25
26
27
28
29
30
31
32
33
34
35
36
37
38
39
40
41
42
43
44
45
46
47
48
49
50
51
52
53
54
55
56
57
58
59
60
61
62
63
64
65
66
67
68
69
70
71
72
73
74
75
76
77
78
79
80
81
82
83
84
85
86
87
88
89
90
91
92
93
94
95
96
97
page
of
97
Go
/
97
Contents
Table of Contents
Bookmarks
Table of Contents
Fcc Caution
Federal Communication Commission Interference Statement
Table of Content
Table of Contents
1 Overview
MAP-3100 Variants
Package Content
Features
Network Topology
Wireless Performance
2 Hardware Installation
Procedures
Startup the MAP-3100
Startup the Mesh AP
3 Web Based Management
Configuration Menu Overview
System
System > System
System > Syslog
System > Advance
System > Profile
Network
Network > DNS Setting
Network > WAN (MAP-3100 Only)
Network > VLAN
Network > Mesh
Network > Wireless
Network > Route
Network > IPSEC (MAP-3100 Only)
Network > L2TPC (MAP-3100 Only)
Network > OLSR (MAP-3100 Only)
Service
Service > DHCPD (MAP-3100 Only)
Service > Firewall (MAP-3100 Only)
Service > MAC Access
Service > Virtual Server (MAP-3100 Only)
Service > NTP
Service > Traffic Shaping (MAP-3100 Only)
Service > PPTP Server (MAP-3100 Only)
Service > Autoip (MAP-3100 Only)
Service > Captive Portal (MAP-3100 Only)
Service > RADIUS
Service > Dynamic DNS
Service > Zero Config (MAP-3100 Only)
Service > Mobile IP (Future Feature for MAP-3100 Only)
Service > Route Watchdog (MAP-3100 Only)
Service > System Watchdog
Management
Management > HTTPD
Management > Configuration
Management > SNMPD
Management > Firmware
Management > Trap
Management > User Group (MAP-3100 Only)
Management > Database (MAP-3100 Only)
Management > Webspace (MAP-3100 Only)
Management > Customize Login (MAP-3100 Only)
Management > NMS Addresses
Management > Reboot
Tools
Tools > Ping
Tools > TFTP
Status
Status > Status
Status > Interfaces
Status > Services
Tools > Ifconfig
Tools > Route
Status > Users (MAP-3100 Only)
Status > System Log
Status > Topology (MAP-3100 Only)
Status > Mobile IP (MAP-3100 Only)
Status > Neighbor
4 Technical Support
Appendix A Using the External Login Server
Advertisement
Quick Links
Download this manual
802.11a/b/g Outdoor/Indoor Wireless Mesh
Network Access Point
MAP-3020 / MAP-3100 / MAP-3120
Web Management
&
Configuration Manual
Page 1 of 97
Table of
Contents
Previous
Page
Next
Page
1
2
3
4
5
Advertisement
Table of Contents
Need help?
Do you have a question about the MAP-3120 and is the answer not in the manual?
Ask a question
Questions and answers
Related Manuals for Planet MAP-3120
Wireless Access Point Planet MAP-3100 Software Manual
802.11a a/b/g indoor wireless mesh network access point mesh network manager management utility user manual (124 pages)
Wireless Access Point Planet MAP-3120 Specifications
802.11a/b/g indoor mesh access point (3 pages)
Wireless Access Point Planet MAP-3020 Web Management Manual
802.11 a/b/g outdoor/indoor wireless mesh network access point (97 pages)
Wireless Access Point Planet WAP-1963 User Manual
Planet wireless access point user's manual (27 pages)
Wireless Access Point Planet WAP-8000 Quick Installation Manual
802/11 a/b/g wireless lan outdoor ap (12 pages)
Wireless Access Point Planet WDAP-C7200E User Manual
1200mbps 802.11ac dual band ceiling-mount wireless access point (112 pages)
Wireless Access Point Planet WAP-4035 User Manual
54mbps wireless access point with 5-port switch (40 pages)
Wireless Access Point Planet WAP-4036 Quick Installation Manual
802.11g wireless access point (8 pages)
Wireless Access Point Planet WNAP-W2200 User Manual
300mbps in-wall poe wireless access point (71 pages)
Wireless Access Point Planet WAP-4033 User Manual
54mbps wireless access point (37 pages)
Wireless Access Point Planet WNAP-W2201A User Manual
300mbps 802.11n wireless in-wall poe access point (116 pages)
Wireless Access Point Planet WNAP-6306 User Manual
2.4ghz 802.11n outdoor wireless access point (70 pages)
Wireless Access Point Planet WNAP-7350 User Manual
802.11a/n wireless outdoor ap (103 pages)
Wireless Access Point Planet WAP-6200 Quick Installation Manual
802.11g wireless lan outdoor cpe ap (8 pages)
Wireless Access Point Planet WAP-4036 Specifications
802.11g wireless access point (5 pages)
Wireless Access Point Planet EPN-402NV User Manual
Gepon wi-fi onu (104 pages)
This manual is also suitable for:
Map-3020
Map-3100
Table of Contents
Print
Rename the bookmark
Delete bookmark?
Delete from my manuals?
Login
Sign In
OR
Sign in with Facebook
Sign in with Google
Upload manual
Upload from disk
Upload from URL


Need help?
Do you have a question about the MAP-3120 and is the answer not in the manual?
Questions and answers