Table of Contents

Related Manuals for CDA PC71


Summary of Contents for CDA PC71
- Page 1 Style Fridge Freezer Installation, Use and Maintenance Customer Care Department • The Group Ltd. • Harby Road • Langar • Nottinghamshire • NG13 9HY T : 01949 862 012 F : 01949 862 003 E : customer.care@cda.eu W : www.cda.eu www.cda.eu...
- Page 2 Appliance information: Please enter the details on the appliance rating plate below for reference, to assist CDA Customer Care in the event of a fault with your appliance and to register your appliance for guarantee purposes. Appliance Model...
- Page 3 IMPORTANT INFORMATION FOR CORRECT DISPOSAL OF THE PRODUCT IN ACCORDANCE WITH EC DIRECTIVE 2002/96/EC. At the end of its working life, the product must not be disposed of as urban waste. It must be taken to a special local authority differentiated waste collection centre or to a dealer providing this service.
- Page 4 Please note: The appliance will work continuously until it comes down to the correct temperature. If the appliance is switched off, you should allow five minutes before switching it on again to prevent unnecessary damage to the compressor. Fridge Use •...
- Page 5 Freezer Use • The freezer compartments are designed to store only frozen food. • Never put hot or warm foods in the freezer, allow them to cool fully before putting them into the freezer. • Follow the instructions on the food packaging for storage of frozen food.
- Page 6 • Do not use the quick freeze function for more than 48 hours. Use over the recommended time will place unnecessary strain on the refrigeration system.
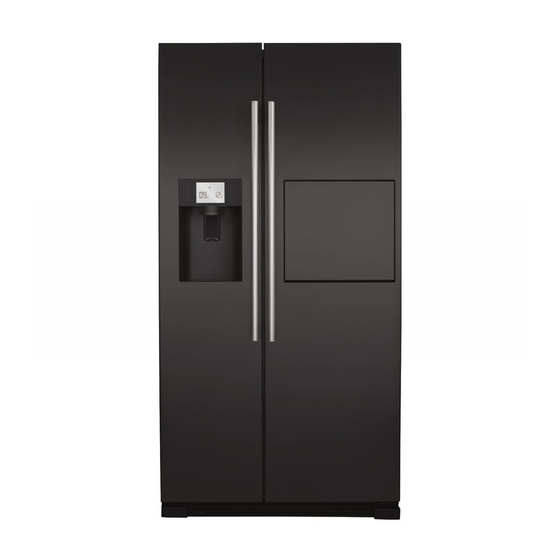
- Page 7 PC71 Features Fig.2-1(HRF-628I*6) Freezer compartment Fridge compartment Fig. 1 Ice cream shelf Freezer drawers Ice maker Salad crispers Water & ice dispenser Fridge balconies Freezer light Fridge shelves Freezer shelves Fridge light Freezer balconies (2* freezing)
-
Page 8: Control Panel
Control Panel Disp -enser On/Off Water Crushed Cubed Filter Ice on Sec. Frz. Ref. Temp Temp Func. S-Cool S-Frz. Holiday Lock Sec. Fig. 2 Dispenser selection key Filter change light Ice maker on/off key Ice maker on light Freezer temperatrure key Super cool light Fridge temperatrure key Super freeze light... -
Page 9: Setting The Fridge Temperature
Setting the Fridge Temperature • Ensure the appliance is not in “Lock” mode - make sure the “Lock” light (M) is not illuminated. If it is in “Lock” mode touch the “OK” key (F) for three seconds to switch the “Lock” mode off, you will see the “Lock”... -
Page 10: Ice And Water Dispenser
Ice and Water Dispenser When the appliance is first switched on the ice maker will default to the “off” setting. Ice maker on/off key • To switch the ice maker on or off, touch the “Ice maker on/off” key (B) and hold it for three seconds. The “Ice maker on” light lights up when the ice maker is on and switches off when the ice maker is switched off. - Page 11 Notes: After initial connection of the water supply, or after a lengthy period without being used, the first water and ice produced should be discarded. Do not use excessively deep, narrow, fragile or delicate glasses. Hold the glass as close as possible to the dispenser to reduce the risk of spillage or splashing.
-
Page 12: Holiday Mode
Holiday Mode This appliance is equipped with a holiday mode function, this allows you to switch the fridge off and leave the freezer running. This maintains frozen food during a holiday, without running the fridge as well. To switch the holiday mode on •... -
Page 13: Super Freeze Function
Super Freeze Function The super freeze function can be used to freeze large quantities of fresh food as quickly as possible. For best results, switch the super freeze function on 12 hours prior to introducing large quantities of food to be frozen. To switch the super freeze function on •... -
Page 14: Super Cool Function
Super Cool Function The super cool function can be used to maintain the fridge temperature when large quantities of fresh food are introduced into the fridge. To switch the super cool function on • Touch the “Function selector” key (E) to cycle through the function options. -
Page 15: Safety Key Lock
Safety Key Lock The fridge is equipped with a safety key lock to prevent accidental reprogramming of the fridge. To switch the safety key lock on • Touch the “OK” key (F) and hold it for 3 seconds. The “Key lock” light (M) will illuminate;... -
Page 16: Door Open Alarm
Door Open Alarm This appliance is equipped with an alarm to alert you if a door or drawer is left open. In the event that a door or drawer is left open for more than approx. three minutes the appliance will start beeping, this continues until both doors are properly shut. -
Page 17: Care And Cleaning
Care and Cleaning Always disconnect the appliance from the power before any cleaning or maintenance. • The refrigerator and freezer sections should be cleaned using a solution of bicarbonate of soda and lukewarm water. • Do not use abrasive products or detergents. After washing, rinse and dry thoroughly. - Page 18 To remove and replace the icebox for cleaning • To remove the icebox for cleaning, lift the middle of the drawer and pull it toward you. • To replace the icebox after cleaning, simply locate it on its runners then push in until it drops into its position. NOTE: Do not apply excessive force.
-
Page 19: Troubleshooting
Troubleshooting If you have any problems with your appliance, you should check the troubleshooting prior to calling CDA Customer Care, to prevent unnecessary service calls and potential cost. If the appliance is not working • Check there is power to the appliance. -
Page 20: Installation And Ventilation
Installation and Ventilation This appliance must never be installed close to heat sources i.e. heating elements and cookers or in damp places. 1800 Failure to provide adequate ventilation can lead to increased running costs and premature failure; it may also invalidate the warranty provided with the product. -
Page 21: Electrical Information
Electrical Information Warning! This appliance must be earthed. Fig. 5 The mains lead of this appliance has been fitted with a BS 1363A 13A fused plug. To change a fuse in this type of plug, follow the steps below: 1. Remove the fuse cover and fuse. 2. - Page 22 Do not shorten the supply cable, the appliance may require removing for servicing. N.B. Ensure that the plug socket is situated in an easily accessible place. If the power supply cable is damaged, it must be replaced by a CDA authorised agent.
- Page 23 E & O E. All instructions, dimensions and illustrations are provided for guidance only. CDA reserve the right to change specifications without prior notice.
- Page 24 Group Ltd. • Harby Road • Langar • Nottinghamshire • NG13 9HY T : 01949 862 012 F : 01949 862 003 E : customer.care@cda.eu W : www.cda.eu T : 01949 862 012 F : 01949 862 003 E : customer.care@cda.eu W : www.cda.eu www.cda.eu...
Need help?
Do you have a question about the PC71 and is the answer not in the manual?
Questions and answers