Toshiba RAS-10JKVP-E Service Manual
Hide thumbs
Also See for RAS-10JKVP-E:
- Owner's manual (31 pages) ,
- Installation manual (20 pages) ,
- Service manual (87 pages)

Related Manuals for Toshiba RAS-10JKVP-E


Summary of Contents for Toshiba RAS-10JKVP-E
- Page 1 FILE NO. A02-015 SPLIT TYPE RAS-10JKVP-E RAS-10JAVP-E RAS-13JKVP-E RAS-13JAVP-E PRINTED IN JAPAN, Jun.,2003 ToMo...
-
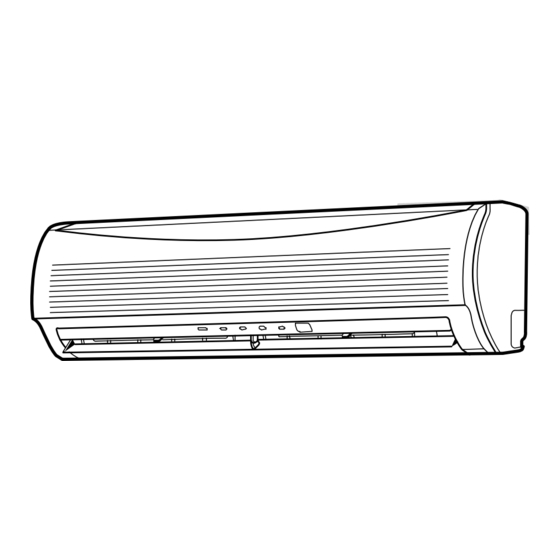
Page 2: Exploded Views And Parts List
12. EXPLODED VIEWS AND PARTS LIST 12-1. Indoor Unit (1) Location Location Part Description Part Description 43005516 Panel Ass’y, Front 43049728 Guide, Drain, Left 43005547 Grille, Air Inlet 43079268 Cap, drain 43080447 Filter, Air 43044741 Evaporator 43080446 Filter, Air 43047332 Pipe, Suction, 9.5DIA 43063333 Panel, LED... - Page 3 Indoor Unit (2) 411,412 Location Location Part Description Part Description 4306A080 Terminal Block, 2P , 4306A092 Housing, LED, 9P AC300V, 20A 4306S405 P .C. board Ass’y, WRS-LED, 43062189 Cover, E-Parts MCC-900 43050382 Sensor, TC (F6) 4306S382 P .C. board Ass’y, MCC-891 (10JKVP-E) 43050400 Sensor, TA...
-
Page 4: Outdoor Unit
12-2. Outdoor Unit Location Location Part Description Part Description 43005368 Cabinet, Back, Ass’y 43055521 Reactor, CH-57 43005369 Cabinet, Upper, Ass’y 43050298 Thermostat, Bimetal, CS-7 125 43005370 Cabinet, Front, Ass’y 4302C033 Motor, Fan, ICF-140-43-1 4301V030 Guard, Fan (10,13JAVP-E) 43047667 Nut, Flange 43042461 Base, Ass’y 43020322... -
Page 5: Board Layout
12-3. P.C. Board Layout 706(RAS-10,13JAVP-E) RAS-10,13JAVP-E TE SENSOR (Ø6) TS SENSOR (Ø6) TO SENSOR (Ø6) TD SENSOR (Ø4) Location Location Part Description Part Description 43050334 Sensor, TD (F4) 43062228 Base, P .C. board, ABS 43050382 Sensor, TC (F6) 43063324 Heatsink, Aluminum 43160469 Terminal Block, 6P , 4306S380... -
Page 6: Cord Heater Installation Work
Appendix Cord Heater Installation Work Applicable Models: RAS-10JAVP-E, RAS-13JAVP-E 1. Required parts for installation work (Recommendation) Part name Q’ty Specifications/Vendor Remarks Cord heater Drain line heaters CSC2 (1.5m, 40W/m) by Flexelec com. Procured locally (Please go to the following URL.) http://www.flexelec.com Thermostat US-622AXRLQE by ASAHI KEIKI... - Page 7 Appendix 2. Required tools for installation work Part name Specifications Usage Plus screwdriver It is used for disassembling and assembling of each cabinet. Wrench It is used for disassembling and assembling of compressor fixing nuts. Motor drill Drill diameter: It is used to make the additional holes on the base or the back cabinet. Ø3.2 and Ø5.0 Faston crimping tool Fixing jig for #250...
- Page 8 Appendix 4. Cord heater installation work procedure Photo / Explanatory diagram Procedure Remove each cabinet, inverter assembly, motor base assembly, and partition board assembly. * Do not damage the electric parts such as cables, connectors, etc. while this work. Remove the upper cabinet and the valve cover. Upper cabinet Related parts / Screws list Used screw...
- Page 9 Appendix Photo / Explanatory diagram Procedure Remove the motor base and the sound insulation board. Motor base Related parts / Screws list assembly Used screw Part name Screw type Quantity Motor base assembly Ø4 × 10 (Including motor and fan) Sound insulation board Remove the partition plate assembly.
- Page 10 Appendix Photo / Explanatory diagram Procedure Cord heater installation work Drill a hole on the outdoor unit base, and fix the cord heater to the outdoor unit base using P-shape clamp. Connect the cord heater cables. Using a motor drill, etc., drill Ø3.2 holes to the existing emboss on the outdoor unit base. (15 positions) These holes are used to fix the cord heater to the outdoor unit base with P-shape clamp.
- Page 11 Appendix Photo / Explanatory diagram Procedure Assembly Return a set of the refrigeration cycle assembly into the outdoor unit base and reassemble sound insulation board, partition plate assembly, fan motor assembly, and back cabinet as original. Fix the thermostat fixing plate to the back cabinet, built in the inverter assembly, and then connect various cables.
- Page 12 Appendix 5. Drawing of thermostat fixing plate 2-Ø3.4 burring hole 2-Ø3 burring hole (Upward) (Downward) Ø3.4 burring hole (Downward) Material: SGCC-Z08, Thickness: 0.8t Appendix-7...
Need help?
Do you have a question about the RAS-10JKVP-E and is the answer not in the manual?
Questions and answers