Table of Contents
Advertisement
Quick Links
Advertisement
Table of Contents

Related Manuals for Martin Acrobat


Summary of Contents for Martin Acrobat
- Page 1 Acrobat user manual...
- Page 2 AC input & main fuse data sockets 10 DIP-switch ©1999 - 2001 Martin Professional A/S, Denmark. All rights reserved. No part of this manual may be reproduced, in any form or by any means, without permission in writing from Martin Professional A/S, Denmark.
-
Page 3: Table Of Contents
Acrobat safety information ........ -
Page 4: Introduction
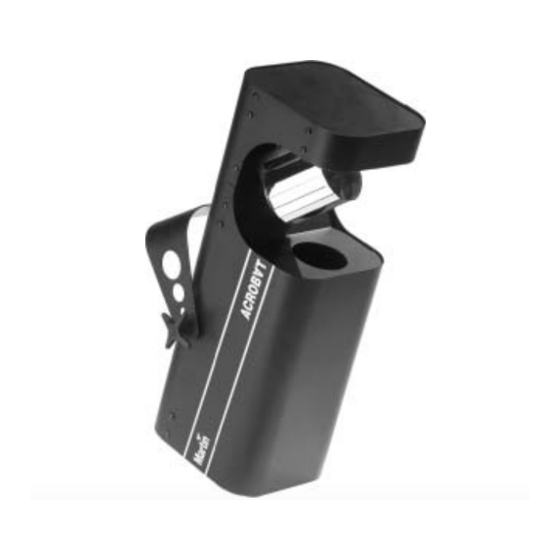
NTRODUCTION Thank you for selecting the Martin Acrobat. The Acrobat is an automated disco lighting fixture that provides strobe effects, continuous electronic dimming, 18 color/gobo effects, a revolving mirror drum with variable swivel angle, adjustable focus, and multiple control options. -
Page 5: Unpacking
U N P A C K I N G The packing material is carefully designed to protect the fixture during shipment - always use it to transport the fixture. The Acrobat comes with: • halogen lamp (installed) • mounting bracket •... -
Page 6: Lamp Replacement
AMP REPLACEMENT The Acrobat comes from the factory with a Philips 500 hour lamp installed. This a 24V, 250W ELC halogen lamp. A high-output 50 hour lamp from Osram is also available. Installing any other lamp may damage the fixture! Lamp life can be extended beyond the stated average hours by reducing the lamp voltage slightly using DIP-switch pin 12. -
Page 7: Ac Power Connection
POWER CONNECTION The Acrobat’s operating voltage is printed on the serial number label near the AC input. Verify that the operating voltage closely matches the AC supply voltage before applying power. Contact your Martin dealer if the operating voltage differs from the supply voltage by more than five percent. -
Page 8: Installation
NSTALLATION The Acrobat can be permanently installed or hung with a clamp (not included), or it can be placed on the floor as described below. For maximum lamp life, do not place the fixture directly on or beside a speaker cabinet or other source of strong vibrations. - Page 9 Verify that the clearance around the air vents is at least 0.1 meters (4 in.). To use the br acket as a floor stand The Acrobat may be placed on the floor by standing it squarely on the drum end or with the support of the mounting bracket.
-
Page 10: Data Connection
C O N N E C T I O N S The Acrobat’s XLR data sockets are wired with pin 1 to ground, pin 2 to signal - (cold), and pin 3 to signal + (hot). This is the standard pin assignment for DMX devices. - Page 11 A termination plug is simply an XLR connector with a 120 ohm, 0.25 W resistor soldered across pins 2 and 3. Male Female Termination Plug Termination Plug Male XLR Female XLR P/N 91613017 P/N 91613018 Acrobat user manual Data connection...
-
Page 12: Stand-Alone Operation
TAND ALONE OPERATION The Acrobat may be operated without a controller in stand-alone mode. It may be operated as a single unit or together with other Acrobats in “master/slave” configuration. Several options are available to modify stand-alone operation. These options are selected using the DIP-switch as described below. -
Page 13: Stand-Alone Settings
Random color/gobo Use a different gobo in relation to the master. Rotate the mirror slave drum in the opposite direction to the master. Swivel the mirror drum in the opposite direction to the master Acrobat user manual Stand-alone operation... -
Page 14: Operation
OPERATION All new Acrobats and older Acrobats with CPU firmware v 1.4 or higher are fully compatible with the Martin MC-1 Controller. See the MC-1 user manual for additional information. M C - 1 S E T T I N G S DIP-switch pin 10 must be set to OFF to enable MC-1 mode operation. -
Page 15: Dmx Operation
OPERATION D M X M O D E S The Acrobat has 3 DMX modes to choose from: a 1-channel mode that provides control of the built-in stand-alone features, a 6-channel mode that provides position control of all effects plus speed control of the drum swivel movement, and an “extended”... - Page 16 93 125 157 189 221 253 285 317 349 381 413 445 477 509 94 126 158 190 222 254 286 318 350 382 414 446 478 510 95 127 159 191 223 255 287 319 351 383 415 447 479 511 DMX operation Acrobat user manual...
-
Page 17: 1-Channel Dmx Operation
6 to 0 percent. This channel has no effect if stand-alone is selected. Channel 7 provides speed control of the effect wheel, allowing you to program slow transitions from one effect to another. Acrobat user manual DMX operation... -
Page 18: Basic Service
1 Unplug the mains cable from the input socket. Pry open the fuse holder and remove the fuse. 2 Replace the fuse with one of the same type. The fuse rating is listed on serial number label. Basic service Acrobat user manual... -
Page 19: Troubleshooting
Check that power is switched on and cables are plugged in. Fixture is completely dead. Primary fuse blown. Replace fuse. Secondary fuse blown. Contact Martin technician for service. The DMX signal is not Connect controller. Inspect transmitted. connections and cables. Correct poor connections. -
Page 21: Dmx Protocol
0 - 2 0 - 1 Tracking (speed function off) 3 - 255 2 - 100 Fast to slow Color / Gobo Speed (*extended mode only) 0 - 255 0 - 100 Fast to slow Acrobat user manual DMX protocol... -
Page 22: Specifications
• MC-1 controller, EU ................90718000 • MC-1 controller, US................90718100 • Osram 24V/250W ELC 50 h halogen lamp..........97000104 • Philips 24V/250W ELC 500 h halogen lamp.......... 97000107 • G-clamp ....................91602003 • Half-coupler clamp ................91602005 Specifications Acrobat user manual... - Page 23 Acrobat user manual Specifications...
Need help?
Do you have a question about the Acrobat and is the answer not in the manual?
Questions and answers