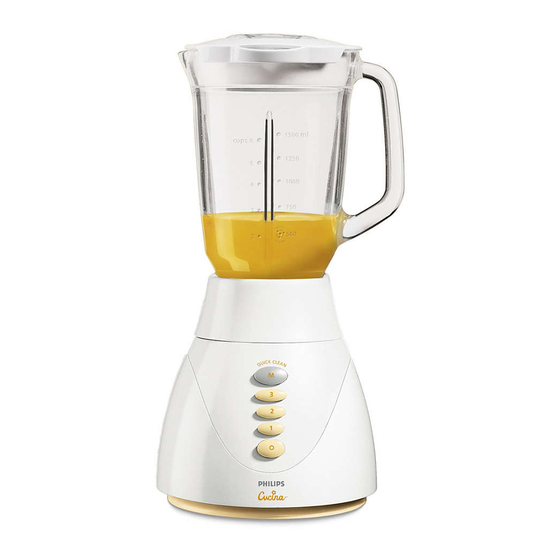
Philips HR1744 Instructions Manual
Fruit filter
Hide thumbs
Also See for HR1744:
- Instructions for use manual (100 pages) ,
- User manual (100 pages) ,
- Features (2 pages)
Table of Contents
Advertisement
Quick Links
Advertisement
Table of Contents

Summary of Contents for Philips HR1744
- Page 1 HR1744...
-
Page 2: Important Safeguards
7. Use this appliance only for its intended use as described in this manual.The use of attachments, including canning jars, is not recommended by Philips Electronics North America Corporation, as they may cause a risk of injury to persons. - Page 3 16. To reduce risk of injury to persons, never place mixing blades on base without blender jar properly attached. 17. Screw on blender jar bottom firmly. Injury can result if moving blades become exposed. 18 Always operate Blender with lid in place and in "closed"...
-
Page 4: Special Instructions
SPECIAL POLARIZED PLUG INSTRUCTIONS This Philips Blender has a polarized plug for an added safety feature (one blade is wider than the other). To reduce the risk of electrical shock: • Plug will fit into polarized outlet only one way. -
Page 5: Table Of Contents
Table of Contents Features Important Before Use Preparing the Blender for Use Using Blender Helpful Hints Using the Fruit Filter Helpful Tips Using the Fruit Filter Cleaning For Assistance Warranty Back Cover... -
Page 6: Features
3 = High Speed 2 = Normal Speed 1 = Low Speed O = Off Stopper/Blender Measuring Cup Pour In Opening Lid Strainer Pouring Spout Blender Jar Level Indications Cups/Ounces Rubber Sealing Ring Mixing Blades Blade Unit Motor Unit M= Momentary... -
Page 7: Important
The blender jar is made of glass and therefore breakable. Do not drop the jar on a hard floor. Also avoid extreme thermal shocks. If the blender jar is very cold, rinse it well with lukewarm water before pouring in hot liquid. -
Page 8: Before Use
Before Use Before using the Philips Blender for the first time, wash the stopper, lid, fruit filter and blender jar in lukewarm soapy water to remove any dust from packaging. NOTE: Never clean accessories or parts in the dishwasher. The motor unit can be cleaned with a moist cloth. -
Page 9: Using The Blender
To disassemble the blender, follow steps in reverse order. Using the Blender Place the Philips Blender on a flat, dry, clean surface. Rubber feet will grip typical countertops to prevent walking. Make sure that the appliance is plugged in and the... -
Page 10: Helpful Hints
If the ingredients are still too large or chunky, switch the Blender to off (O) position and then let it run briefly a couple of times by pressing the M (momentary/pulse) button, or turn the appliance off (O), wait until blades stop turning and stir the ingredients with a rubber spatula or reduce the contents of the blender jar and process smaller amounts at a time. -
Page 11: Using The Fruit Filter
Assemble the blender jar. Place the filter in the assembled blender jar. Make sure that the bottom of the filter is connecting with the internal bottom of the blender jar. -
Page 12: Helpful Tips Using The Fruit Filter
IMPORTANT: Do not remove the filter before you have poured all liquid out of the Blender. If you do, the contents of the filter will fall into the remaining liquid in Blender Jar. Helpful Tips Using the Fruit Filter Particularly when you are processing large quantities, we advise that you do not put all the ingredients in the filter at the same time. -
Page 13: For Assistance
Always wait until the motor is off and the blades have stopped moving. Unplug the appliance. Remove the blender jar and rinse it with clean water. Thorough cleaning: remove the blade unit and clean all parts separately. CAUTION: Handle the cutting blades with extreme care and caution.They are sharp and may cause injury. -
Page 14: Warranty
FULL ONE YEAR WARRANTY Philips Electronics North America Corporation warrants each new Philips product, model HR1744 (except cord), against defects in materi- als or workmanship for a period of one year from the date of purchase. IMPORTANT: This warranty does not cover damage resulting...


Need help?
Do you have a question about the HR1744 and is the answer not in the manual?
Questions and answers