Table of Contents
Advertisement
Advertisement
Table of Contents

Related Manuals for Graco cozyduet


Summary of Contents for Graco cozyduet
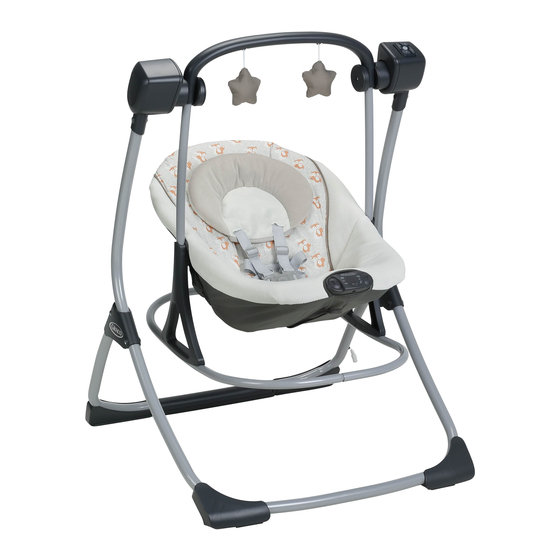
- Page 1 CozyDuet ™ PD314789E 5/15...
- Page 2 1 WARNING 2 Features Parts List Features on Certain Models 3 Assembly Assembling Swing Frame Assembling Rocker Attach Rocker to Frame cadre 4 Use To Secure Child To Use Vibration Installing Batteries (not included) 4-D To Use Wall Plug Starting Swing (4 Speed) Problem Solving 5 Cleaning Care and Maintenance...
- Page 3 Prevent serious injury or death: Failure to follow these warnings and the assembly instructions could result in serious injury or death. STRANGULATION HAZARD: • PLEASE SAVE OWNER’S • DO NOT suspend strings MANUAL FOR FUTURE USE. over the product or attach •...
- Page 4 • ROCKER MODE: • Maximum recommended height is 27 inches (68.2 cm) • Never leave child unattended. and weight is 18 pounds • This product is not intended (8.2 kg). for unsupervised or prolonged STRANGULATION HAZARD: periods of sleep. • Children have STRANGLED in •...
- Page 5 FOR SAFE BATTERY USE: Keep the batteries out of children’s reach. Any battery may leak battery acid if mixed with a different battery type, if inserted incorrectly (put in backwards) or if all batteries are not replaced or recharged at the same time. Do not mix old and new batteries.
- Page 6 Changes or modifications not expressly approved by the party responsible for compliance could void the user’s authority to operate the equipment. NOTE: This equipment has been tested and found to comply with the limits for a Class B digital device,pursuant to Part 15 of the FCC Rules.
- Page 7 2-A Parts list This model may not include some features shown below. Check that you have all the parts for this model BEFORE assembling your product. If any parts are missing, call Customer Service. Tools required: Phillips Screwdriver ALL MODELS Styles vary FEATURES ON CERTAIN MODELS...
- Page 8 Features on Certain Models This model may not include some features. DO NOT use any other accessories with this product. Head support Only use this head support on this Styles vary swing. Never use this head support on any other product.
- Page 9 Crotch strap cover...
- Page 10 Assembling Swing Frame 1. Rotate frame legs open. SNAP! SNAP!
- Page 11 2. Insert frame arm without wires into leg as shown. SNAP! 3. Under leg hub, press in button on the frame arm and push frame arm down so the button snaps into hole as shown. SNAP!
- Page 12 4. Connect red and black wire on frame arm to red and black wire in the opening of the frame leg as shown. 5. Connect white wire on frame arm to white in the opening of the frame leg as shown.
- Page 13 6. Push connected wires into opening in frame leg. NOTE: DO NOT insert into leg tube. 7. Insert frame arm into leg as shown. CHECK wire is not pinched between tube & plastic. SNAP!
- Page 14 8. Under leg hub, press in button on the frame arm and push frame arm down so the button snaps into hole as shown. SNAP!
- Page 15 Assembling Rocker 1. Rotate seat legs out from seat. 2. Place rocker tube over seat legs as shown. Line up bosses in seat legs with holes in rocker tube.
- Page 16 3. Attach rocker legs wth 4 screws. 4. Insert rocker handle into openings in side of seat. Press SNAP! buttons in on both sides of handle and push down to lock handle into seat. 5. Insert seat wire into holes in seat as shown.
- Page 17 6. Wrap webbing straps around seat wire and attach snaps. 7. Attach bottom flaps at center snap, wrap around seat wire and attach to center snap on top flap.
- Page 18 8. Wrap bottom flaps over wire and attach to top flap with snap and hook and loop tabs. 9. Repeat on other side.
- Page 19 Attach Rocker to Frame 1. Insert Rocker handle into openings in frame as shown. 2. Release down until rocker handle locks into place.
- Page 20 To Secure Child WARNING Falling Hazard: Always use the seat belt. 1. . o open, press button on buckle to release the waist straps. 2. . o close, slide shoulder strap connectors to waist straps and insert into buckle.
- Page 21 3. Use slide adjuster at shoulder and waist for tighter adjustment. 4. When changing harness strap slots, MAKE SURE harness straps are going through same slots in seat pad. 5. The harness straps must go into the slot that is even with or slightly above the shoulders.
- Page 22 To Use Vibration 1. Disconnect snaps and hook and loop tabs from back of seat. and unwrap bottom of seat pad from seat. 2. Remove battery lid on vibration unit with a key.
- Page 23 3. Insert 3-AA (LR6-1.5V) batteries in module. 4. Replace lid and seat pad.
- Page 24 5. Vibration: Turn to one of two set- tings. Music: Turn to hear music or ocean waves. Automatically shuts off in 30 minutes. Turn off and back on to restart.
- Page 25 Installing Batteries (not included) WARNING To avoid injury: Remove child from swing before changing batteries. 1. With baby out of swing, open the battery compartment lid by inserting a screwdriver into the coin slot. Insert four D (LR20-1.5V) cell batteries. CHECK that the batteries are put in correctly.
- Page 26 To Use Wall Plug WARNING Product does not recharge batteries. When AC adapter is in use, batteries will automatically shut off. DO NOT place product near water and moisture. Do not use the product near possible wet areas, such as a bathtub, shower, wash basin, sink, laundry tub, swimming pool, wet basement, etc.
- Page 27 Starting Swing (4 Speed) WARNING avoid serious injury from falling or sliding out. Always use seat belt. After fastening buckles, adjust belts to get a snug fit around your infant. TO TURN SWING ON: Press On /Off button or press any speed from 1 to 4 and lightly push the swing to get it started.
- Page 28 SPEED - Press On /Off button or press any speed from 1 to 4. When pressing On/Off button, it automatically starts with the last speed setting that was selected before the swing was turned off. ON/OFF POWER - Press to turn ON and turn OFF.
- Page 29 Problem Solving SWING WON’T OPERATE: 1. No batteries in swing. 2. Batteries dead. 3. Speed setting too low. 4. Batteries in backwards — check “+” and “-”. 5. Corrosion on battery terminals. Rotate batteries in place against terminals, or clean with sandpaper or steel wool if corrosion is severe. 6.
- Page 30 • FROM TIME TO TIME CHECK YOUR SWING for loose screws, worn parts, torn material or stitching. Replace or repair the parts as needed. Use only Graco replacement parts. • TO CLEAN SEAT COVER, Refer to your care tag on your seat pad for washing instructions.
- Page 31 To Remove Harness Cover and Head Support for Cleaning 1. Lift flap on harness cover. 2. Open harness. 3. Remove harness cover.
- Page 32 4. Remove head support. 5. Reverse steps to re-attach crotch pad and head support. To Remove Seat Pad for Cleaning 1. Disconnect snaps and hook and loop tabs on back of seat pad.
- Page 33 2. Disconnect webbing snaps from seat wire. 3. Insert harness shoulder straps through seat pad as shown and remove seat pad from frame. 4. Pull seat pad off of seat frame. Reverse steps to re-attach.
Need help?
Do you have a question about the cozyduet and is the answer not in the manual?
Questions and answers
What does it mean when the power light flashes green and it’s making a clicking noise but isn’t rocking? Does it need a new motor? This is the cozy duet swing and rocker from 2017.