Advertisement
Quick Links
Advertisement

Related Manuals for ring BT88LP000CH000


Summary of Contents for ring BT88LP000CH000
- Page 1 Install your Ring Doorbell Pro...
- Page 2 With Ring, you’ll always know who’s at your door, whether you’re across town, on vacation, or just can’t come to the door. As my wife likes to say, “Ring is like caller ID for the front door.”...
- Page 3 If you need extra help… Ring Community Support is available 7 days a week, and our online help center is accessible 24/7. Visit our online help center at: ring.com/help Contact Ring Community Support directly at: 1-800-656-1918 help@ring.com...
- Page 4 Step 1 Download the Ring app The Ring app will walk you through the setup and installation processes. The app is available for iOS, Android, Mac Desktop, and Windows 10. Download from Windows Store Search for “Ring” in one of the app stores above, or visit: ring.com/app...
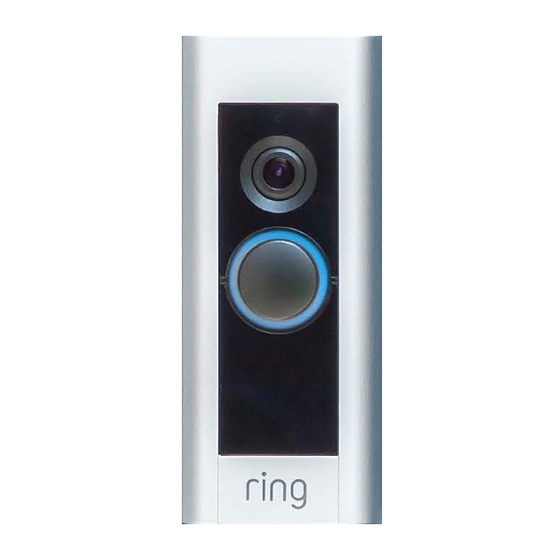
- Page 5 Step 2 Say “Hello” to your Ring Video Doorbell Pro Back Front Setup Mounting Terminals button holes (attach your existing wiring here) 4 Faceplates Pick the one that best matches your home…or your mood. Change it any time.
- Page 6 3 Mounting Screws - Use two to mount your Ring. 2 Security Screws - Use one to secure the faceplate. 2 Extra Wires - To attach your existing wires to your Ring. 2 Wire connectors - To connect the extra wires (above) to your existing wires.
- Page 7 Step 4 Remove your existing doorbell Shut off power at the breaker. Then remove your existing doorbell from the wall and disconnect the wires.
- Page 8 Installing Anchors (optional) Step 5 Install anchors (on stucco, brick, or concrete) On stucco, brick, or concrete, use the provided bit to drill two holes in your wall, and install the anchors. If you’re installing on wood or siding, put the anchors in that drawer of stuff you never use and skip this step.
- Page 9 Step 6 Remove the Faceplate Remove the faceplate on your Ring Doorbell Pro to access the mounting holes. After your Ring Doorbell is installed, remove the faceplate like this:...
- Page 10 Step 7 Connect Ring Doorbell to your existing wires It doesn’t matter which wire connects to which screw. Then feed the wiring into your wall, and screw in your Ring. Ring Doorbell Pro requires voltage between 16 and 24 VAC...
- Page 11 Step 8 Install the Pro Power Kit Install the Pro Power Kit on your existing internal doorbell. The instructions are provided in a separate manual.
-
Page 12: Customer Support
Caution: Risk of explosion if battery is replaced by an incorrect type. Dispose of used batteries according to the instructions. © 2016 Bot Home Automation, Inc. RING, ALWAYS HOME, and CHIME are trademarks of Bot Home Automation, Inc. Last updated: 04/13/16 2520AF680L-A05...
Need help?
Do you have a question about the BT88LP000CH000 and is the answer not in the manual?
Questions and answers