Advertisement
Table of Contents
- 1 Included Installation Hardware
- 2 Charge the Battery
- 3 Insert the Battery
- 4 Download the Ring App
- 5 Do You Have an In-Home Chime?
- 6 Don’t Have an In-Home Chime?
- 7 Install Your Ring Doorbell
- 8 Install the Anchors
- 9 Secure Your Ring Doorbell
- 10 Install the Faceplate
- 11 Secure the Faceplate
- 12 Install the Corner Mount
- 13 Connect to Existing Doorbell Wires
- 14 Review, Share and Download
- 15 What Is Ring Protect?
- 16 Important Product Information
- Download this manual
Advertisement
Table of Contents

Summary of Contents for ring Video Doorbell 4
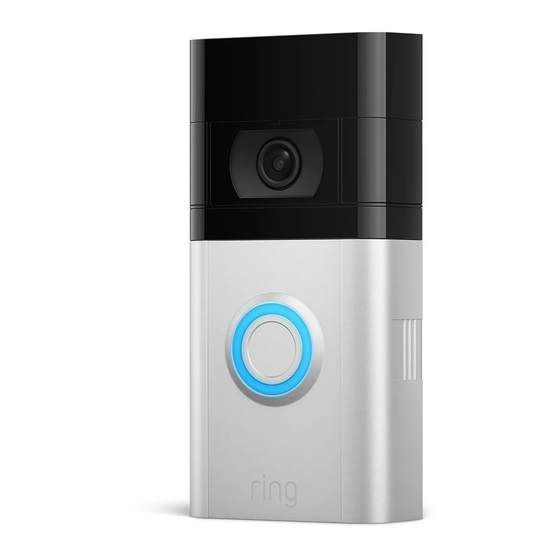
- Page 1 User Guide Video Doorbell 4 Brand: Ring Model: 5D22E9...
- Page 2 First, fully charge the battery by plugging it into a power source using the provided orange cable. (5) Short Mounting Screws The small light on top will glow green To mount Ring Doorbell directly to a wall once fully charged. Charging Charged (5) Wall Anchors...
- Page 3 To change your wiring settings after setup, go to Device Settings > Chime Connection. If you have problems with video quality after installation, you may need to move your router closer to your door, or add a Ring Chime Pro. Learn more at: ring.com/chime-pro...
- Page 4 If you’re connecting to existing doorbell wiring that’s higher than four feet and want to angle your Ring Doorbell down for a better view, you can purchase a Wedge Kit online at ring.com/accessories. Camera field of view...
- Page 5 Secure your Ring Doorbell. If installing on stucco, brick, or concrete, Use four of the provided Short Mounting mark 4 drill holes using the Ring Doorbell Screws to secure your Ring Doorbell as a template. Then, use a 1/4” masonry drill directly to the wall.
- Page 6 Install the faceplate. Secure the faceplate. Place the faceplate on your Ring Doorbell Lastly, use the included screwdriver to insert by slotting it in at the top and clicking it and tighten one of the Security Screws. Your into place.
- Page 7 You’ll be working with electrical wires during the install process. If you are uncomfortable or inexperienced with doing so, consult with a licensed electrician. Do not wire your Ring Doorbell to a DC-powered intercom system or other DC power source.
- Page 8 Use the Medium Bracket Screws to secure Ring Doorbell. the Corner Mount to your wall. Use the Short Bracket Screws to secure your Ring Doorbell It doesn’t matter which wire goes to each to the mount. If connecting to existing screw, as long as both are connected.
- Page 9 Ring Doorbell, use the provided wire Ring Doorbell to the wall using four of the extensions and wire nuts. provided Short Mounting Screws.
- Page 10 Lastly, use the included screwdriver to insert by slotting it in at the top and clicking it and tighten one of the Security Screws. into place. Your Ring Doorbell is now ready to use. Security Screw CAUTION! If you use the wrong screws to secure the...
- Page 11 Why do I want it? Ring lets you interact with visitors and monitor your property in real time, while Ring Protect allows you review and share those videos anytime. How much does it cost? Ring Protect Basic covers one Ring device for $3 USD/month or $30 USD/year.*...
- Page 12 For a list of all our customer support numbers, visit ring.com/callus For information on our warranty, theft protection, and Ring Protect Plans, see ring.com/legal © 2020 Ring LLC or its affiliates. Ring and all related marks are trademarks of Ring LLC or its affiliates.
- Page 13 XX-XXXXXX-XX...
- Page 14 • Reorient or relocate the receiving antenna. it to dry completely before plugging it in again. Do not attempt to dry If you install the Ring Doorbell 4 where a doorbell is already in use and • Increase the separation between the equipment and receiver.
- Page 15 II. THEFT PROTECTION LLC (“Ring”) will, at its sole option, repair or replace any Ring prod- If your Ring camera or doorbell product is stolen at any time after your ucts that malfunction due to defective parts or workmanship at no purchase, Ring will replace the stolen device at no charge to you.


Need help?
Do you have a question about the Video Doorbell 4 and is the answer not in the manual?
Questions and answers