Intellinet 524803 Quick Install Manual
Wireless 150n portable 3g router
Hide thumbs
Also See for 524803:
- User manual (139 pages) ,
- Specifications (4 pages) ,
- Quick install manual (44 pages)

Related Manuals for Intellinet 524803


Summary of Contents for Intellinet 524803
- Page 1 Wireless 150N Portable 3G router quick iNstall Guide Model 524803 INT-524803-QIG-1009-02...
- Page 2 This quick install guide presents the basic steps required to set up and operate this device. For detailed instructions and specifications, refer to the user manual on the enclosed CD or at www.intellinet-network.com. Easy-to-follow instructions in this guide and the user manual help make installation of the switch quick and simple, so you’ll soon be enjoying the...
-
Page 3: Regulatory Statements
reGulatory statemeNts Federal communications commission (Fcc) FCC Part 15 This equipment has been tested and found to comply with the limits for a Class B digital device, pursuant to Part 15 of FCC Rules. These limits are designed to provide reasonable protection against harmful interference in a residential installation. -
Page 4: R&Tte Compliance Statement
the FCC radio frequency exposure limits, human proximity to the antenna shall not be less than 20 cm (8 inches) during normal operation. The antenna(s) used for this transmitter must not be co-located or operating in conjunction with any other antenna or transmitter. The equipment marketed in the U.S. - Page 5 Network connections If needed, visit www.intellinet-network.com for a complete list of compatible 3G USB modems. 1. Connect your 3G / 3.5G USB...
-
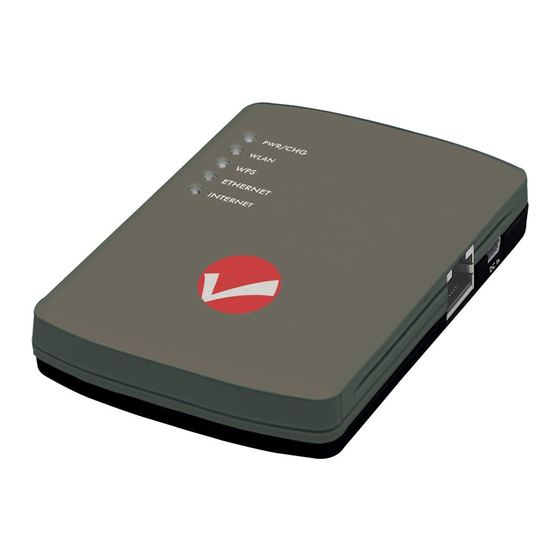
Page 6: Network Setup
2. Connect your computer to the Ethernet port on the right side panel of the router. NOTE: It’s recommended that you use a cable connection through the Ethernet port for the router’s initial configuration. The PWR/CHG LED should be lighted green and the Ethernet LED should be on if the computer or other network device connected to the router’s Ethernet port is turned on and connected properly. - Page 7 2. When the Local Area Connection Properties screen appears, select “Internet Protocol (TCP/IP),” then click “Properties.” 3. Select “Obtain an IP address automatically” and “Obtain DNS server address automatically,” then click “OK.”...
- Page 8 4. Once the IP address setup is complete, click “Start” on the desktop again, then click “Run.” At the first DOS prompt, enter “cmd” and click “OK.” 5. When the next prompt screen appears, enter “ipconfig,” then press <Enter> on your keyboard. Note the IP address and default gateway. HERE!
- Page 9 6. Open the Web browser and enter the IP address of the router in the address bar. When the prompt screen at right appears, enter “admin” (the default entry) in the “User name” text field; and “1234” (the default entry), in the “Password”...
- Page 10 8. When the subsequent Time Zone screen displays, select your local time zone from the drop-down menu and click “Next.” 9. When the subsequent Broadband Type screen displays, select “3/3.5G” from among the Internet connection options, then click “Next.” 10. Enter the Internet connection parameters required by your 3G/3.5G service provider, then click “OK.”...
- Page 11 11. With the Basic Settings screen displayed, make the selections/entries you prefer, then click “Next.” 12. To protect your wireless network, it’s recommended that the security be enabled. Select a security type from the drop-down menu, enter the encryption key, then click “OK.” 13.
- Page 12 INTellINeT NeTWoRK SolUTIoNS offers a complete line ™ of active and passive networking products. Ask your local computer dealer for more information or visit www.intellinet-network.com Copyright © INTELLINET NETWORK SOLUTIONS All products mentioned are trademarks or registered trademarks of their respective owners.
Need help?
Do you have a question about the 524803 and is the answer not in the manual?
Questions and answers