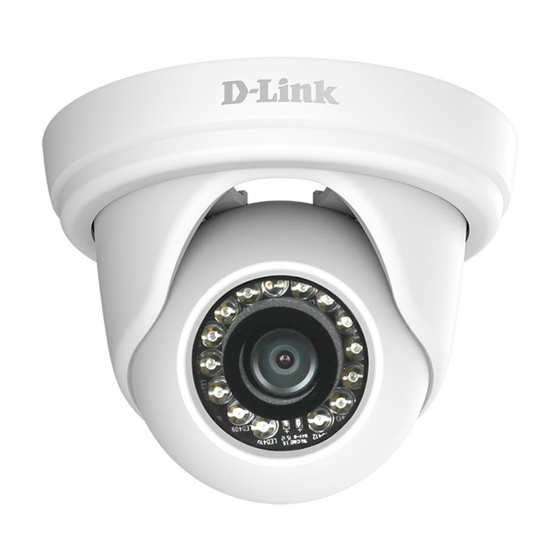
D-Link DCS-4802E Quick Installation Manual
Hide thumbs
Also See for DCS-4802E:
- User manual (98 pages) ,
- User manual (73 pages) ,
- User manual (20 pages)
Table of Contents
Advertisement
Quick Links
Quick Installation Guide
Vigilance Full HD Outdoor PoE Mini Dome Camera
This document will guide you through the
basic installation process for your new
D-Link Network Camera.
DCS-4802E
Quick Installation Guide
Installationsanleitung
Guide d'installation
Guía de instalación
Guida di Installazione
Краткое руководство по установке
Guia de Instalação Rápida
快速安裝指南
Petunjuk Pemasangan Cepat
Documentation also available on
CD and via the D-Link Website
Advertisement
Table of Contents

Subscribe to Our Youtube Channel
Summary of Contents for D-Link DCS-4802E
- Page 1 D-Link Network Camera. DCS-4802E Quick Installation Guide Installationsanleitung Guide d’installation Guía de instalación Guida di Installazione Краткое руководство по установке Guia de Instalação Rápida 快速安裝指南 Petunjuk Pemasangan Cepat Documentation also available on CD and via the D-Link Website...
-
Page 3: Package Contents
Quick Installation Guide This installation guide provides basic instructions for installing the DCS-4802E on your network. For additional information about how to use the camera, please see the User Manual, which is available on the CD included in this package, or you can download it from the D-Link support website. -
Page 4: Hardware Overview
Power Connector Connects to an optional 12 V / 1.5 A power adapter (not included) Ethernet Jack RJ-45 connector for Ethernet which can also be used to power the camera using Power over Ethernet (PoE) D-Link DCS-4802E Quick Installation Guide... -
Page 5: Connecting The Camera
Connecting the Camera You can power the DCS-4802E two different ways: Power over Ethernet (PoE) or with a power adapter. Powering the camera using PoE (Class 2): Connect an Ethernet cable to the Ethernet jack on the camera. Connect the other end of the cable to your PoE switch or PoE injector. -
Page 6: Configuring The Camera
Insert the DCS-4802E CD into your computer's CD-ROM drive to begin the installation. If the Autorun function on your computer is disabled, or if the D-Link Launcher fails to start automatically, click the Start button and type D:\autorun.exe (where D: represents the drive letter of your CD-ROM drive) and press Enter. - Page 7 Take a moment to confirm your settings and click Restart. Viewing Your Camera via Web Browser Click on the D-Link Setup Wizard SE icon that was created in your Windows Start menu (Start > D-Link > Setup Wizard SE). Select the camera and click Link to access the web configuration.
-
Page 8: Mounting Instructions
Use the screws provided to mount the camera to the wall or ceiling. Attach the camera base cover by lining up the cable channel with the mark on the camera base, then turn the camera base cover clockwise until it clicks. D-Link DCS-4802E Quick Installation Guide... -
Page 9: Waterproofing Your Installation
RJ-45 plug onto the cable. Connect the RJ-45 plug into the Ethernet connector, then screw the waterproof connector to the Ethernet connector by turning it about a half-turn clockwise. D-Link DCS-4802E Quick Installation Guide... -
Page 10: Additional Information
Additional Information Additional help and product information is available online at http://www.dlink.com. Warranty Information Please visit http://warranty.dlink.com/ for warranty information for your region. D-Link DCS-4802E Quick Installation Guide... - Page 11 Notes D-Link DCS-4802E Quick Installation Guide...
- Page 12 Ver. 1.00(WW) 2015/07/14...


Need help?
Do you have a question about the DCS-4802E and is the answer not in the manual?
Questions and answers