Table of Contents
Advertisement
> Before start > Hookup > Setup > Playback > Part Names
> Advanced Manual
Troubleshooting | Appendix
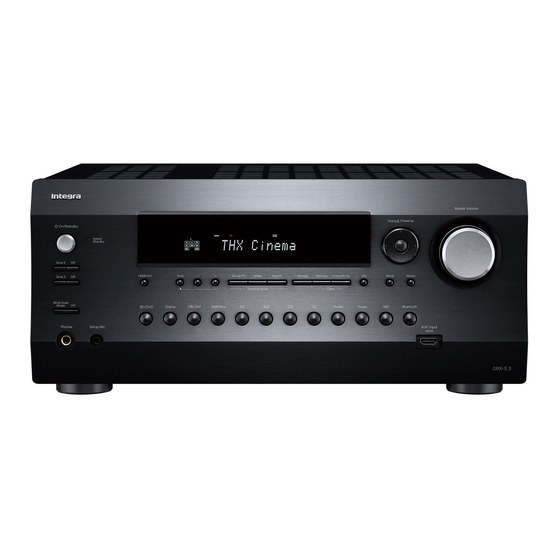
AV Receiver
DRX-5
Step1: Choose your Speaker Layout .......................................3
Step2: Connect the Speakers ..................................................9
Step3: Connect the TV ..........................................................11
Step4: Connect the AV Components .....................................13
Step5: Multi-zone Connection ...............................................16
Basic Manual
Step6: Connect Other Cables ................................................19
Step7: Power On & Initial Setup ............................................20
HDMI Setup ...........................................................................21
Basic Playback ......................................................................22
Network Functions .................................................................23
Others ....................................................................................24
Front Panel ............................................................................27
Rear Panel ............................................................................28
Remote Controller .................................................................29
Display ...................................................................................29
The Advanced Manual
Advertisement
Chapters
Table of Contents


Need help?
Do you have a question about the DRX-5 and is the answer not in the manual?
Questions and answers