Table of Contents
Advertisement
Quick Links
Advertisement
Table of Contents

Related Manuals for Siemens HP243527M


Summary of Contents for Siemens HP243527M
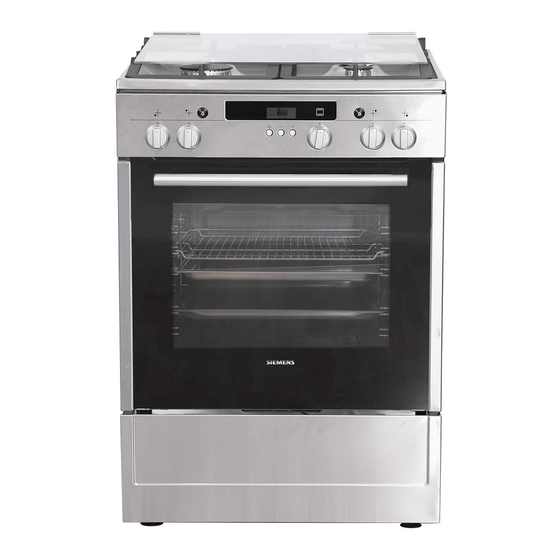
- Page 1 [en] Instruction manual HP243227M, HP243527M Free standing cooker...
-
Page 3: Table Of Contents
Making settings on the hob ............. 11 Lighting the gas burner ..............11 Acrylamide in foodstuffs ............18 Table - Cooking ................11 Produktinfo Additional information on products, accessories, replacement parts and services can be found at www.siemens-home.com and in the online shop www.siemens-eshop.com... -
Page 4: Safety Precautions
Safety precautions Read this instruction manual carefully. Keep the instruction and The surfaces of the plinth drawer may become very hot. Only installation manuals, as well as the various accessories, in a store oven accessories in the drawer. Flammable and safe place. -
Page 5: Causes Of Damage
or ban base. The handle does not become damaged, and Oven door - Additional safety precautions greater energy savings are guaranteed. During long cooking times, the oven door may become very hot. Ensure that the gas burners are clean and dry. The burner ■... -
Page 6: Electrical Connection
Electrical connection Setting up the appliance Caution! Have the appliance set up by your after-sales service. A 16 A ■ fuse is required for connection. The appliance is designed for operation at 220-240 V. If the electricity supply drops below 180 V, the electrical ■... -
Page 7: Your New Cooker
Your new cooker General information Here you will learn about your new cooker. We will explain the control panel, the hob and the individual operating controls. The design depends on the respective appliance model. You will find information on the cooking compartment and the accessories. -
Page 8: Oven
Burner knob Buttons and display You can adjust the heat setting of the hotplates using the four The buttons are used to select the various additional functions. burner knobs. In the display, you can read the values that you have set. Positions Function/gas oven Button... - Page 9 ordering them on the internet vary depending on the country. Optional accessories You can find information on this in the sales documents. You can buy optional accessories from your after-sales service or from specialist retailers. You will find a variety of suitable Not every optional accessory is suitable for every appliance.
-
Page 10: Before Using The Oven For The First Time
service, specialist retailers or (in some countries) online via the After-sales service products eShop. Please specify the relevant product number. You can obtain suitable care and cleaning agents and other accessories for your domestic appliances from the after-sales Cleaning cloths for stainless-steel surfaces Product no. 311134 Reduces the build-up of dirt. -
Page 11: Cleaning The Accessories
Cleaning the accessories Keeping the function selector pressed, push the ignition button. Before you use the accessories for the first time, clean them thoroughly with hot soapy water and a soft dish cloth. Advance cleaning of burner cup and cap Clean the burner cap (1) and cup (2) with water and washing- up liquid. -
Page 12: Setting The Oven
Example Dish Burner Heat setting Rice, vegetables, meat dishes Standard burner Large flame Cooking* (with sauces) Pancakes, potatoes, schnitzel, High output burner between large and small flame Roasting fish fingers * If you are using a saucepan with a cover, turn the flame down as soon as it reaches boiling point. Setting the oven Here you can find out how to set the oven. -
Page 13: Setting The Timer
Setting the timer You can use the timer as a kitchen timer. It runs independently A signal sounds. Press the Clock button. The timer display of the oven. The timer has a special signal. This means that you goes out. can tell whether the timer or cooking time has expired. -
Page 14: Detaching And Attaching The Oven Door
Do not clean in the dishwasher. Remove the wire rack and clean with a sponge, washing-up liquid and Burners and steel some hot water. Remove the burner cup and cap. Clean with a sponge and some hot water and washing-up grid of the gas burn- liquid. -
Page 15: Removing And Installing The Door Panels
Removing and installing the door panels Attaching the door Reattach the oven door in the reverse sequence to removal. To facilitate cleaning, you can remove the glass panels from the oven door. When attaching the oven door, ensure that both hinges are inserted straight into the opening (figure A). -
Page 16: After-Sales Service
After-sales service Our after-sales service is there for you if your appliance needs to be repaired. We will always find the right solution in order to Customer Service avoid unnecessary visits from a service technician. E-number and FD-number Please find the contact data of all countries in the enclosed customer service list. -
Page 17: Cakes And Pastries
Cakes and pastries slightly smaller than normal cake tins. For this reason, the quantities may be slightly different to those indicated in your recipe. Cake tins When you are baking in the cake tin, insert the wire rack at the Baking tables for the lower burner in the gas oven level indicated and place the cake tin on the wire rack. -
Page 18: Meat, Poultry, Fish, Toast
The pieces of dough are sticking There must be a distance of about 2 cm between the bread rolls. This gives enough together when the yeast rolls are baked. space for the bread rolls to expand and bake evenly on all sides. Condensation forms when you bake Steam can form during baking, which escapes via the door. - Page 20 Siemens-Electrogeräte GmbH Carl-Wery-Straße 34 81739 München Germany *9000738550* 9000738550 01 161291...