udir/c Swan U42 User Manual
Hide thumbs
Also See for Swan U42:
- Operation manual (29 pages) ,
- User manual (28 pages) ,
- Operation manuals (2 pages)
Table of Contents
Advertisement
Quick Links
Aerial Photography
U42
Main Specification
Drone Size
361*355*107mm
Charging Time for Drone Battery
Drone Weight
120g
Propeller Diameter
146mm
Max Flying Distance/Radius
Flying Time
6~7mins
Camera Resolution
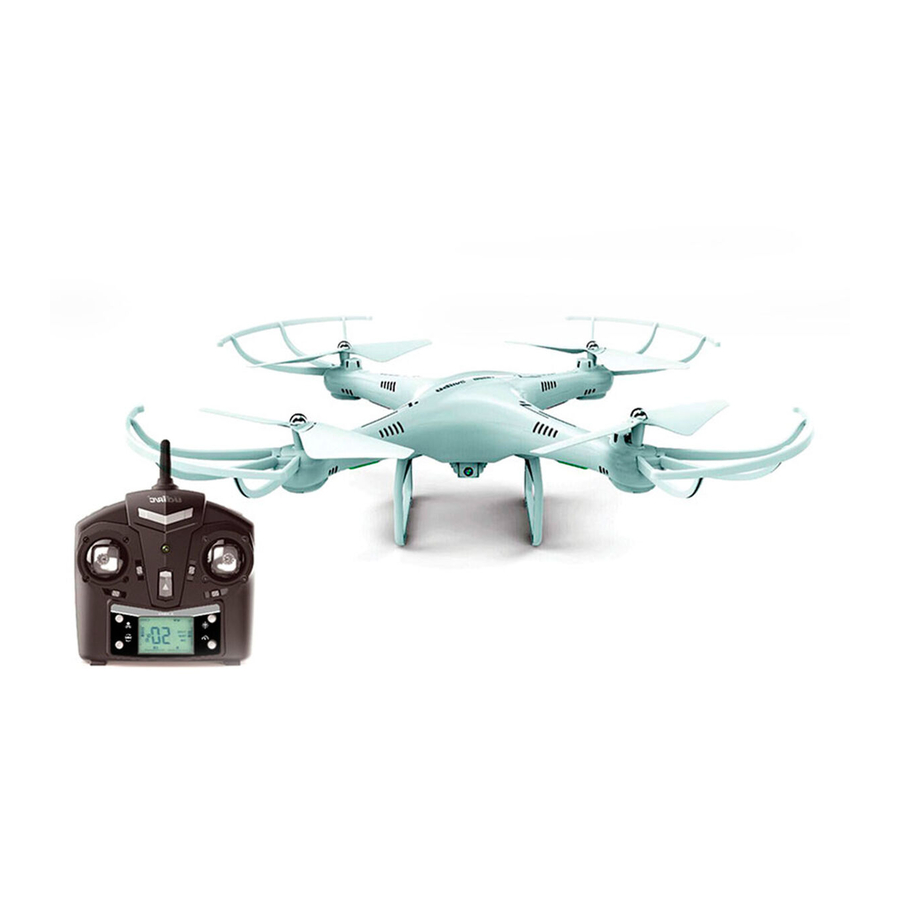
Name of Parts
1. Drone
Front
Propeller Guard
A Propeller
Left
B Propeller
Rear
Camera
Front Lamp Cover
(Green)
Rear Lamp Cover
(Orange)
Lower Cover
2
Drone Battery
3.7V 500mAh
About 70mins
60m
1280x720P
B Propeller
Right
Upper Cover
A Propeller
Front Lamp Cover
(Green)
Landing Gear
Rear Lamp Cover
(Orange)
Advertisement
Table of Contents

Related Manuals for udir/c Swan U42


Summary of Contents for udir/c Swan U42
- Page 1 Main Specification Drone Size 361*355*107mm Drone Battery 3.7V 500mAh Charging Time for Drone Battery About 70mins Drone Weight 120g Propeller Diameter 146mm Max Flying Distance/Radius Flying Time 6~7mins Camera Resolution 1280x720P Aerial Photography Name of Parts 1. Drone Front Propeller Guard B Propeller A Propeller Left...
- Page 2 2. Transmitter 2. Safety Precautions: Keep away from crowd when flying because a flying RC drone is very dangerous. Improper assembly, broken main frame, defective electronic equipment or unskilled operation all may cause unpredictable accidents such as drone damage or human injury. Please pay special attention to safety operation and have good knowledge of accident Power Indicator Light responsibility that the user may cause.
- Page 3 Transmitter Installation: Li-Po Battery Disposal & Recycling Battery installation: open the battery cover on the back side of the transmitter and put 4 Wasted Lithium-Polymer batteries must not be placed with household trash. alkaline batteries (not included) into the box in accordance with Please contact local environmental or waste agency or the supplier electrode instructions.
-
Page 4: Pre-Flight Operation
Pre-Flight Operation: 1. Turn on the transmitter switch and the LED indicator begins to flash rapidly. Push the Left Stick all the way down to the lowest position and then release. The Left Stick will back to the middle position automatically. The LED indicator starts flash slowly, which indicates the transmitter enters frequency pairing. -
Page 5: Flying Control
Flying Control 1. Move the Right Stick to the left to fly the drone 2. Push the Left Stick up to fly the drone up, and to the left, and move the Right Stick to the right pull the Left Stick down to fly the drone down. to fly the drone to ther right. - Page 6 High / Low Speed Mode To turn on heading hold mode, press Heading Hold Mode button and the drone LED lights flash, which indicates the By default, the drone is in Low Speed Mode. Press the High / drone enters heading hold mode. Low Speed Mode button and the transmitter will beep and enter To turn off heading hold mode, press Heading Hold Mode High Speed Mode.
- Page 7 Installation of Propeller Guard Spare Parts For convenience, the spare parts are listed for you to choose, which can be purchased Install the propeller guard to the drone and lock the propeller guard by attached screws. from the local distributor. ( Please refer to the exploded view below to check the circled Remove the screw from the propeller guard and pull out the propeller guard with icon) moderate force.
-
Page 8: Exploded View
Exploded View Troubleshooting Guide Problem Problem Cause Solution 1. The transmitter battery is too low. 1. Replace battery. 2. The battery positive pole and negative 2. Install the battery in accordance with the transmitter pole are in reverse order. user manual. indicator light is off 3.
Need help?
Do you have a question about the Swan U42 and is the answer not in the manual?
Questions and answers