Advertisement
Table of Contents
PRECAUTIONS
1. RC drone is not a toy and it is only suitable for more than 14 years old people.
2. Please choose spacious eld to use this drone and keep away from obstacle, crowd,
power lines etc.
3. Please do not use the drone in terrible weather, such as strong wind, thunder rainy,
foggy etc.
4. Please do not disassembly or change the drone randomly. If you have any questions
about use, operation, repair etc., please contact the local distributor.
5. The drone inside is consisted of precise electronic components. Humidity or water
vapor may damage electronic components and cause accident.
6. The RC drone is made of metal, ber, plastic, electronic components etc. Keep away
from heat and sunshine to avoid distortion and damage.
7. Keep your nger and body away from rotating blades, which may cause serious injury
and damage.
8. Please obey laocal laws and regulations when using this product and never use for
illegal purpose.
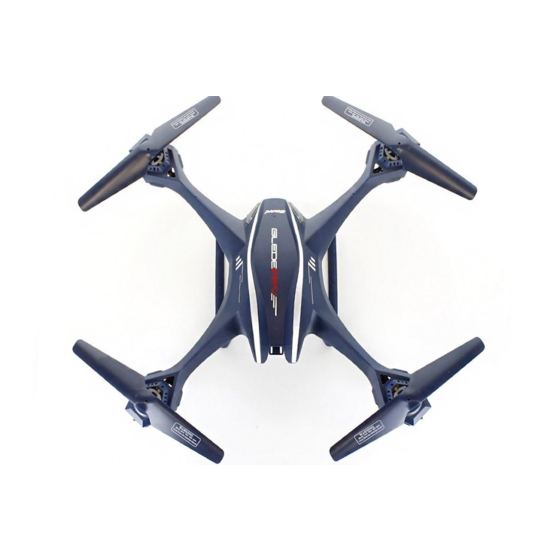
NAME OF PARTS
1. Quadcopter
Blade Guard
LED Lights
Blade A
Blade B
2
Blade B
Blade A
Advertisement
Table of Contents

Related Manuals for udir/c FALCON U842


Summary of Contents for udir/c FALCON U842
- Page 1 PRECAUTIONS 1. RC drone is not a toy and it is only suitable for more than 14 years old people. 2. Please choose spacious eld to use this drone and keep away from obstacle, crowd, power lines etc. 3. Please do not use the drone in terrible weather, such as strong wind, thunder rainy, foggy etc.
-
Page 2: Charge The Battery
LED Lights BLADE GUARD INSTALLATION 1.7*6PB Screw LED Lights 2. Transmitter Flip Control Button Light Control Button 1. Install the blade guards in the end of the drone arms and x them by tighten the Forward/Backward Trim Power Indicator Light attached screws. - Page 3 Connect the battery with USB before inserting the USB plug into the computer or the 2. Turn on the transmitter switch and the indicator light starts to ash quickly. Push the throttle stick to the highest position and then pull to the lowest. At this time the charger.The USB indicator light stays in red when charging and turns to green when indicator light turns to slowly ash and enter frequency pairing search state.(see fully charged.The charging time is about 150 minutes.
-
Page 4: Flying Control
3. Left/Right Flying Control Push the Right Stick to left or to right, the drone will y to corresponding direction. Turn on the power switch 4. Forward and Backward Flying Control on the bottom. Push the Right Stick to forward or 6. - Page 5 High/Low Speed Mode VIDEO AND CAMERA OPERATION Press the bottom-right button to choose High/Low Speed Mode. The display screen 1. Insert a TF card into the video and the indicator light turns to green and keeps bright. 2. Press the camera button and the indicator light turns from red to green about 2 will show Mode 1 or Mode 2.Mode 1 is Low Speed Mode, which is suitable for beginner.
-
Page 6: Spare Parts
INSTALLATION AND REPLACEMENT OF MOTOR AND SPARE PARTS BLADE For convenience, the spare parts are listed for you to choose, which can be purchased from the local distributor. 1. Blade replacement Replace the damaged blade with new blade and install in accordance with the following steps.
Need help?
Do you have a question about the FALCON U842 and is the answer not in the manual?
Questions and answers