HP MSM710 Quick Start Manual
Hide thumbs
Also See for MSM710:
- Reference manual (206 pages) ,
- Installation manual (27 pages) ,
- Reference manual (244 pages)
Advertisement
In
This Quickstart applies to both the MSM710 Access Controller (J9328A) and the MSM710 Mobility Controller (J9325A).
This Quickstart introduces the HP ProCurve Networking MSM710 Controller and shows you how to get started using it. After following the directions in this
Quickstart, see the MSM7xx Controllers Management and Configuration Guide available at: www.hp.com/go/procurve/manuals.
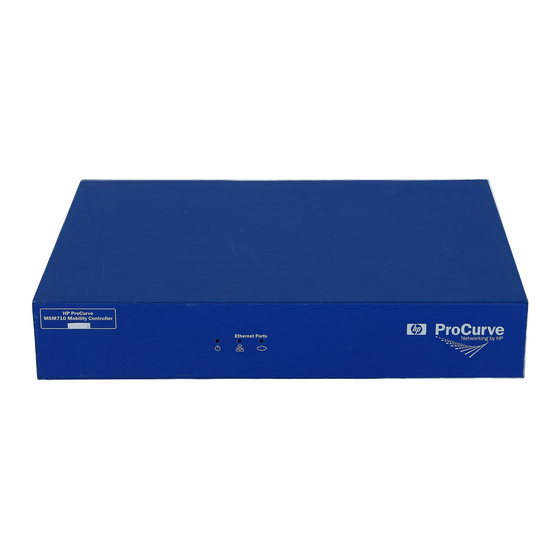
Hardware overview
MSM710 front panel
Package contents
MSM710, documentation, power supply, self-adhesive rubber feet.
LAN port and Internet port
The MSM710 has auto-sensing 10/100/1000 Ethernet ports, each with a corresponding
status light on the front panel. The LAN port supports Power over Ethernet (PoE) 802.3af,
enabling the MSM710 to be powered by a PoE switch or PoE power injector.
MSM710 Controller Quickstart
MSM710 rear panel
Reset button
Press and quickly release the button to reset the MSM710. This button can also be used to
reset the MSM710 to factory defaults. See Resetting to factory defaults in the MSM7xx
Controllers Management and Configuration Guide.
Console port
The MSM710 console port is a standard serial port with DB-9 connector. To connect to a
computer, use a standard (straight-through) serial cable (male-to-female). For pin-out
details, see the MSM7xx Controllers Management and Configuration Guide.
Advertisement
Table of Contents

Subscribe to Our Youtube Channel
Related Manuals for HP MSM710


Summary of Contents for HP MSM710
- Page 1 This Quickstart applies to both the MSM710 Access Controller (J9328A) and the MSM710 Mobility Controller (J9325A). This Quickstart introduces the HP ProCurve Networking MSM710 Controller and shows you how to get started using it. After following the directions in this Quickstart, see the MSM7xx Controllers Management and Configuration Guide available at: www.hp.com/go/procurve/manuals.
-
Page 2: Status Lights
Description Installation The MSM710 has no power. It is recommended that you mount the MSM710 only after performing the procedures in this Blinking The MSM710 is starting up. If the power light continues to Quickstart and familiarizing yourself with the product. -
Page 3: Initial Configuration
Connect the MSM710 LAN port to the LAN port on your computer. include four different characters. Connect the MSM710 Internet port to a network with Internet access or to the PC port of a DSL modem or equivalent. Key elements of the management tool user interface are defined as follows:... - Page 4 If you choose to use the MSM710 DHCP server, enable it as follows: Accurate time is critical for correct operation of the MSM710, as the time configured on the Select Controller >> Network > Address allocation > DHCP server > Configure.
-
Page 5: Working With Controlled Aps
Confirm that the User accounts list displays the new account. I. Test the public access interface This test uses your existing wired connection to the MSM710 LAN port to test the public access interface. The MSM710 Internet port must be connected to the Internet for this test to be successful. - Page 6 Optionally enable the DHCP server on page 4. To verify that the MSM AP has been discovered, do the following on the MSM710: In the Network Tree, select the + symbol next to Controller and then select the + symbol next to Controlled APs.
Need help?
Do you have a question about the MSM710 and is the answer not in the manual?
Questions and answers