Sign In
Upload
Download
Table of Contents
Contents
Add to my manuals
Delete from my manuals
Share
URL of this page:
HTML Link:
Bookmark this page
Add
Manual will be automatically added to "My Manuals"
Print this page
×
Bookmark added
×
Added to my manuals
Manuals
Brands
Behringer Manuals
Electronic Keyboard
MOTOR 61
User manual
Behringer MOTOR 61 User Manual
Hide thumbs
Also See for MOTOR 61
:
User manual
(8 pages)
,
Quick start manual
(19 pages)
1
Table Of Contents
2
3
4
5
6
7
8
9
10
11
12
13
14
15
16
17
18
19
20
21
22
23
24
25
26
27
28
29
30
31
32
33
34
35
36
37
38
page
of
38
Go
/
38
Contents
Table of Contents
Bookmarks
Table of Contents
Table of Contents
Thank You
Important Safety Instructions
Legal Disclaimer
Limited Warranty
Introduction
Control Elements
Quick Start
Display Menus
Connections
Applications
MC Mode Assignment Table
General Information
How to Use MC Mode in Your DAW
How to Make the Best Use of Motor Faders
Using Presets
Specifications
Advertisement
Quick Links
1
Introduction
2
Control Elements
3
Quick Start
4
Connections
5
MC Mode Assignment Table
6
How to Use MC Mode in Your Daw
7
Using Presets
8
Specifications
Download this manual
User Manual
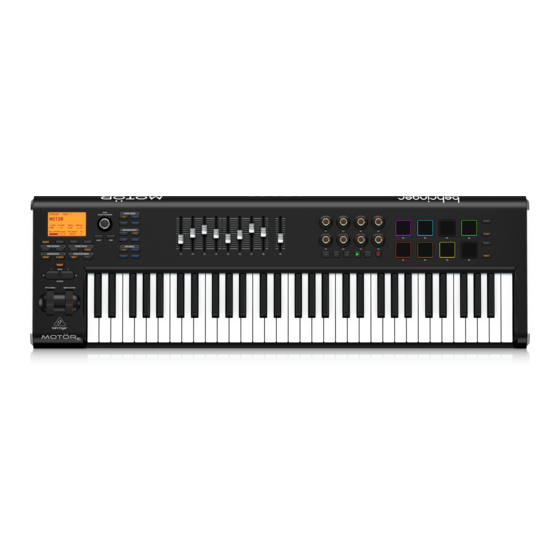
MOTÖR 61 / MOTÖR 49
61/49-Key USB/MIDI Master Controller Keyboard with
Motorized Faders and Touch-Sensitive Pads
Table of
Contents
Previous
Page
Next
Page
1
2
3
4
5
Advertisement
Table of Contents
Need help?
Do you have a question about the MOTOR 61 and is the answer not in the manual?
Ask a question
Questions and answers
Related Manuals for Behringer MOTOR 61
Keyboard Behringer MOTÖR 49 Quick Start Manual
61/49-key usb/midi master controller keyboard with motorized faders and touch-sensitive pads (19 pages)
Electronic Keyboard Behringer MOTÖR 61 User Manual
(8 pages)
Electronic Keyboard Behringer MOTÖR 49 User Manual
How to use “mc mode” in your daw (5 pages)
Electronic Keyboard Behringer MOTÖR 49 User Manual
How to use “mc mode” in your daw (7 pages)
Electronic Keyboard Behringer MOTOR 49 User Manual
(38 pages)
Electronic Keyboard Behringer U-CONTROL UMX49 User Manual
Behringer spezielle studiotechnik user's manual electric keyboard u-control umx49, u-control umx61 (16 pages)
Electronic Keyboard Behringer U-Control UMA25S User Manual
Behringer keyboard user manual (23 pages)
Electronic Keyboard Behringer U-CONTROL UMX49 User Manual
Behringer u-control umx49: user guide (14 pages)
Electronic Keyboard Behringer U-Control UMX250 User Manual
25-key usb midi controller keyboard with separate usb/audio interface (15 pages)
Electronic Keyboard Behringer U-Control UMX25 User Manual
The ultimate studio in a box: 25-key usb/midi controller keyboard with usb/audio interface, 50 software instruments and ableton live lite 4 behringer edition (15 pages)
Electronic Keyboard Behringer U-CONTROL UMX610 User Manual
Ultimate studio in a box: 61/49-key usb/midi controller keyboard with separate usb/audio interface (16 pages)
Electronic Keyboard Behringer U-CONTROL UMX250 Quick Start Manual
61/49/25-key usb/midi controller keyboard with separate usb/audio interface (16 pages)
Electronic Keyboard Behringer U-Control UMX490 User Manual
(16 pages)
Electronic Keyboard Behringer U-Control UMX250 User Manual
25-key usb/midi controller keyboard with usb/audio interface, 300 software instruments, 50 vst effects, energyxt2.5 compact music production software and ni koreplayer software sound module (18 pages)
Electronic Keyboard Behringer U-CONTROL UMA S UMA25S User Manual
Ultra-slim 25-key usb/midi controller keyboard with audio interface (23 pages)
Electronic Keyboard Behringer U-Control UMX490 Quick Step Manual
Ultimate studio in a box: 61/49/25-key usb/midi controller keyboard with separate usb/audio interface (13 pages)
This manual is also suitable for:
Motor 49
Table of Contents
Print
Rename the bookmark
Delete bookmark?
Delete from my manuals?
Login
Sign In
OR
Sign in with Facebook
Sign in with Google
Upload manual
Upload from disk
Upload from URL


Need help?
Do you have a question about the MOTOR 61 and is the answer not in the manual?
Questions and answers