Table of Contents
Advertisement
Advertisement
Table of Contents

Subscribe to Our Youtube Channel
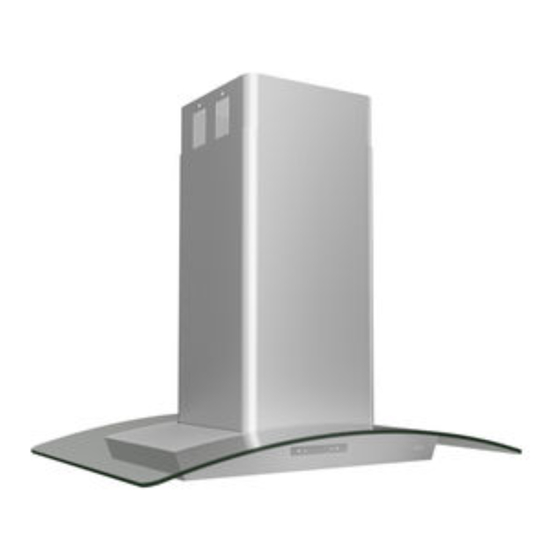
Summary of Contents for Zephyr ZML-M90S/G
- Page 2 ZML-M90S/G, ZML-E42S/G...
-
Page 3: Table Of Contents
CONTENTS INSTALLATION Mount heights & clearance Ducting Specifications Electrical Mounting the hood Ductless Conversion Carbon Filters FEATURES & CONTROLS Touch controls & features Advance display functions Filter change indicator Filter clean indicator MAINTENANCE Cleaning Lights replacement WARRANTY Coverage & exceptions... -
Page 4: Installation
INSTALLATION MO UNT HEIG HTS & C LEARANC E Minimum mount height between range top to hood bottom should be no less than 28". Maximum mount height should be no higher than 36". 27.5" – 38" It is important to install the hood at the 2.625"... -
Page 5: Ducting
INSTALLATION DUCTING WARNING FIRE HAZARD NEVER exhaust air or terminate duct work into spaces between walls, crawl spaces, ceiling,attics or garages. All exhaust must be ducted to the outside. Use Metal ductwork only. Fasten all connections with sheet metal screws and tape all joints w/ certified Silver Tape or DuctTape. Some Ducting Options: Roof Pitch w/ Flashing &... -
Page 6: Specifications
INSTALLATION SPECIFICATIONS 6-1/2" 7" 7" 10-3/4" 10-3/8" 2-1/2" 25-5/8" 17-3/4" 27.5" - 38" 23" – 37" 35-3/8" – 41-3/8" 2-7/8" ELECTRICAL WARNING All Electrical work must by performed by qualified electrician or person with similar technical know how and background. For personal safety, remove house fuse or open circuit breaker before beginning installation. - Page 7 rear Add Blockings front Support Arms with Tabs position Fasten Ceiling Plate Fasten Support Frame Mounting the Range Hood 1. Add and secure blockings (minimum 2x4 studs) onto ceiling joist. 2. Center, mark and fasten Ceiling Plate onto ceiling where hood is to be hung. Make sure front of bracket is facing as shown on diagram.
-
Page 8: Mounting The Hood
INSTALLATION INSTALLATION Mounting the Range Hood 7. Locate cover panel onto top of intake unit, then attach assembly to blower unit using supplied metal tabs. Secure with screws. 8. Reinstall diffuser panels before installing filters. -
Page 9: Ductless Conversion
Carbon Filters (Required) 1. Purchase ductless Charcoal Filters as follow: Hood Model: Part No. Filters in pkg. ZML-M90S/G ZOF-CO22 ZML-E42S/G ZOF-CO22 2. Remove metal filters on hood. Clip carbon filters onto each slot opening. 3. Re-install metal filters. -
Page 10: Touch Controls & Features
CONTROLS & FEATURES TOUCH CONTROLS & FEATURES Blower On/Off Display (Speed level, Delay Off Indicator, Filter Clean/ Change) Lights On/Off/ Hold to Dim Adjust 6 Speed Levels 15 Min Delay Off Blower On/Off By pressing , the blower is switched On and Off. When switched on, the blower starts up on speed level 3. Speed Selection The 6 speed levels are selected by pressing to decrease and... - Page 11 CONTROLS & FEATURES CONTROLS: FILTER CHANGE INDICATOR (CARBON FILTERS) Filters Change Reminder (Carbon, if fitted): When your hood is installed as a 'Purifying' (Ductless Recirculating) unit, it is fitted with a set of Carbon Filters to purify exhaust and fumes from cooking, and re-circulates the air within the home. These Carbon Filters are required to be replaced after every 120 hours of use.
- Page 12 CONTROLS & FEATURES CONTROLS: FILTER CLEAN INDICATOR (METAL FILTERS) Filter Clean Reminder (Standard Metal Filters fitted) Whether your hood is installed as an Exhaust or Purifying unit, a set of metal filters are fitted by the factory. These Metal Filters are intended to filter out residue from cooking. It need not be replaced on a regular basis but are required to be kept clean.
-
Page 13: Maintenance
Should filters wear out due to age and prolonged use, replace with following part number: Hood Model: Part No. Filters in pkg. ZML-M90S/G ZOF-MO32 ZML-E42S/G ZOF-MO32 Also replace damaged filter that has punctured or broken mesh, bent or broken frame. -
Page 14: Lights Replacement
MAINTENANCE LIGHTS Replacing Light Bulbs CAUTION: Light bulb becomes extremely hot when turned on. DO NOT touch bulb until switched off and cooled. Touching hot bulbs could cause serious burns. Make sure all power is turned off and bulbs are not hot. Remove by turning bulb counter clockwise. -
Page 15: Warranty
Damaged because of improper connection with equipment of other manufacturers. Repaired or modified by anyone other than Zephyr's Authorized Agents. What is Not Covered: Consumable parts such as light bulbs, filters, and fuses. - Page 16 TO OBTAIN SERVICE UNDER WARRANTY or any Service Related Questions, please call: 1-888-880-8368 Have your product proof of purchase with date ready for warranty issues. Or write to: Zephyr Corporation Service and Warranty Department 395 Mendell Street San Francisco, CA 94124...


Need help?
Do you have a question about the ZML-M90S/G and is the answer not in the manual?
Questions and answers