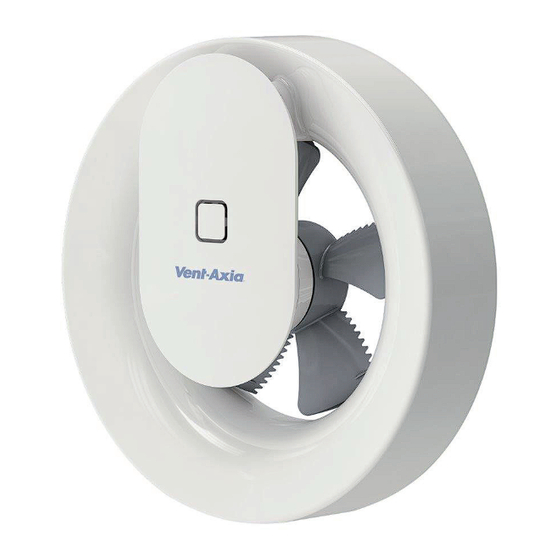
Summary of Contents for Intertek Vent-Axia Svara
- Page 1 Vent-Axia Svara ® Multifunctional app controlled fan Important Information Installation and Wiring Instructions 3-11 Accessories Pin Code...
-
Page 2: Installation
Installer information Important: Installation READ THESE INSTRUCTIONS BEFORE COMMENCING THE INSTALLATION room containing a fuel-burning appliance, Installation Preparation DO NOT install this product in areas where the ensure that the air replacement is adequate for • Loosen the motor unit by grasping it as shown in following may be present or occur: both the fan and the fuel-burning appliance. - Page 3 Installer information Installer information • Vent-Axia wall kits and external grilles are available • Mark the three attachment points for the appro- as accessories. (Figure E). priate screws to the substrate (Figure J). Tighten the screws so that gasket seals against the wall.
- Page 4 Installer information Installer information ELECTRICAL CONNECTION 100-240VAC NOTE! The integrated all-pole switch S only No 100-240V wiring may pe- NOTE! Wiring of 100-240VAC must be Connection of 100-240VAC functions at 100-240VAC wiring. netrate the electronics portion performed by a qualified electrician. and 12VDC can not be done (Figure O.) simultaneously (Figure N).
- Page 5 (Figure P). Default setting: Activate the app: Vent-Axia Svara is programmed to cope with the You have to use a code to activate the app, the vast majority of installations.
-
Page 6: Servicing And Maintenance
For the user For the user The Vent-Axia Guarantee Servicing and maintenance Safe Water Installation WARNING: THE FAN AND ANCILLARY CONTROL EQUIPMENT MUST BE Applicable only to products installed and used ISOLATED FROM THE POWER SUPPLY DURING MAINTENANCE. This product conforms to industry regulations for in the United Kingdom. -
Page 7: Technical Support
Head Office: Fleming Way, Crawley, West Sussex, RH10 9YX. SALES ENQUIRIES: Tel: 0844 8560590 Fax: 01293 565169 TECHNICAL SUPPORT: Tel: 0344 8560594 Fax: 01293 532814 Pin Code for app Important; save this in a secure place. Scan this through the Vent-Axia Connect App or type in the numbers to access the application.


Need help?
Do you have a question about the Vent-Axia Svara and is the answer not in the manual?
Questions and answers