
Related Manuals for Lionel Hot Air Balloon Ride


Summary of Contents for Lionel Hot Air Balloon Ride
- Page 1 72-4177-250 6/04 Lionel Hot Air Balloon Ride Owner’s Manual Caution! Possible entanglement or strangulation injury. Keep fishing line out of the reach of children.
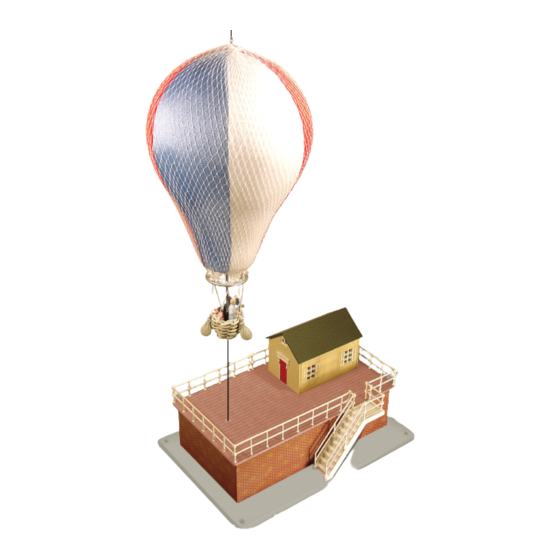
- Page 2 Hot Air Balloon Ride accessory from the Miniature Railroad & Village ® ! Each afternoon, many tiny passengers gather at the airfield to board the hot air balloon sunset tour of the Miniature Railroad & Village® river valley. As the colorful aerostat ascends above the valley before gliding over the river and out of sight, we can hear the call “Hey, I can see my house!”...
- Page 3 Installing the accessory Operating the accessory Wiring and operating the accessory with TrainMaster Command Control Limited Warranty/Lionel Service The following Lionel marks may be used throughout this instruction manual and are protected under law. All rights reserved. Lionel ® , TrainMaster ®...
-
Page 4: Powering The Accessory
2. Attach one wire to the U terminal on the base of the accessory and connect it to the Common/Ground/U terminal on the power supply or the #2 terminal on the Lionel Lockon. If you are using the FasTrack Accessory Power Wire, simply connect the bare end of this wire to a U terminal on the accessory. - Page 5 Installing the accessory ou must choose two locations on your layout for the Hot Air Balloon ride. The first location is for the platform. The second location is a landing area for the weighted balloon. The balloons are suspended above these locations by pulleys, which must be attached to the ceiling.
- Page 6 Operating the accessory lide the separate switch to the ON position to start the action. The balloons will automatically ascend and descend. Note that the action reverses each time one of the balloons reaches the bottom. Wiring and operating the accessory with TrainMaster Command Control ou may choose to wire your accessory with an SC-2 Switch and Accessory Controller (available separately, 6-22980) or the Accessory Switch Controller (available separately, 6-14182)
- Page 7 Wiring and operating the accessory with TrainMaster Command Control (continued) Accessory Switch Controller wiring and operation Four wires (included) are needed to connect your accessory to the Accessory Switch Controller (ASC) and a separate accessory transformer. Connect the accessory as illustrated in Figure 4. Use the AUX2 button on your CAB-1 Remote Controller to toggle the accessory ON and OFF.
-
Page 8: Warranty Information
Lionel L.L.C. or an authorized Lionel L.L.C. Service Center, together with proof of original purchase will, at the option of Lionel L.L.C., be repaired or replaced, without charge for parts or labor. In the event the defective product cannot be repaired, and a replacement is not available, a refund of the original purchase price will be granted.
Need help?
Do you have a question about the Hot Air Balloon Ride and is the answer not in the manual?
Questions and answers