Advertisement
5.0 Lbs.
2.2 Kg.
H
33.06 Lbs.
15.0 Kg.
V
W
U
R
ORDEN DE PRODUCCIÓN
PRODUCTION ORDER
CODIGO:
CODE:
FECHA:
DATE:
10.0 Lbs.
4.5 Kg.
N
M
K
P
5.0 Lbs.
2.2 Kg.
E
G
C
33.06 Lbs.
15.0 Kg.
D
150.0 Lbs.
J
68.0 Kg.
S
INSTRUCCIONES PARA ARMAR
CENTRO DE COMUPUTO
O
ASSEMBLY INSTRUCTIONS
L
Q
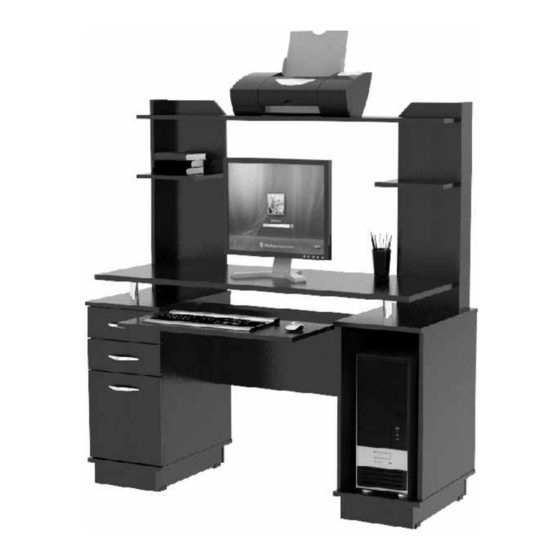
WORKCENTER WITH HUTCH
Este manual contiene
información IMPORTANTE.
I
Por favor léalo y guardelo
para consultas en el
futuro.
This instruction manual
contains IMPORTANT
information. Please
read and keep for
future reference.
B
T
REF.: CC 4301
COMPUTER CREDENZA
REF.: CC 4301
Lea detenidamente y siga
en orden consecutivo las
Instrucciones de Armado
Read the instructions
carefully and follow them
in consecutive order
Proteja el mueble del agua
y de la humedad. No use
el mueble al aire libre
Protect furniture from
water and moisture. This
piece of furniture must not
be used outdoors
No lo exponga al calor
Do not expose it to heat
No lo golpee ni lo martille
(sólo donde se le indica)
Do not hit or hammer the
structure (unless it is so
indicated)
No pinte ni use elementos
abrasivos para limpiar el
mueble
Do not paint or use
abrasive elements to clean
your unit
No arrastre ni se suba al
mueble. Si necesita
moverlo, levántelo
Do not drag or cimb on
your furniture. If you need
to move it, lift it
HECHO EN COLOMBIA
MADE IN COLOMBIA
Advertisement
Table of Contents

Subscribe to Our Youtube Channel
Related Manuals for Inval CC 4301


Summary of Contents for Inval CC 4301
- Page 1 10.0 Lbs. 5.0 Lbs. 4.5 Kg. 2.2 Kg. INSTRUCCIONES PARA ARMAR CENTRO DE COMUPUTO REF.: CC 4301 5.0 Lbs. HECHO EN COLOMBIA 2.2 Kg. ASSEMBLY INSTRUCTIONS 33.06 Lbs. COMPUTER CREDENZA 15.0 Kg. WORKCENTER WITH HUTCH REF.: CC 4301 MADE IN COLOMBIA...
-
Page 2: Identificación De Partes
IDENTIFICACIÓN DE PARTES PARTS IDENTIFICATION IDENTIFICACIÓN DE HERRAJES PIEZA CANTIDAD DESPIECE HARDWARE IDENTIFICATION EXPLODED VIEW PARTS QUANTITY Tenga precaución al abrir la bolsa de herrajes de no perder ninguno. Compruebe si el contenido de las piezas es el correcto; separe los herrajes en grupos para facilitar su identificación durante el armado.En caso de un faltante no devuelva el mueble al almacén, le agradecemos llamar a la línea gratuita en Colombia 01800 09 33444. - Page 3 RECOMENDACIONES DE ENSAMBLE ASSEMBLY SUGGESTIONS INSTALACIÓN DE LA TUERCA Y EL PERNO DE EXPANSIÓN INSTALLING THE CAM LOCKS AND CAM STUD EXPANSION En las perforaciones de los cantos Señal de dirección NO INSERTE Orientation Mark pernos DO NOT insert cam studs into the holes on the unfinished edge of the panel.
- Page 4 PASOS PARA ENSAMBLAR / ASSEMBLY STEPS PREPARACIÓN DE PIEZAS PARTS SET UP T(x4) S(x4) X(x2) W(x2) V(x2) Asegure los deslizadores (#10) en los bordes inferiores de las partes T,S, con tornillos deslizador (#11). Fasten the glides (#10) to the inferior edges of parts T/S, with glider screws (#11).
- Page 5 PASOS PARA ENSAMBLAR / ASSEMBLY STEPS PREPARACIÓN DE PIEZAS PARTS SET UP (#7) (#7) (#7) (#7) Coloque un tornillo corredera (#7)en la perforación que señala la flecha, ubique los otros dos tornillos donde coincidan con las perforaciones guías de las partes. Place a Drawer Slide Screw (#7) in the hole indicated by the arrow, place the other two screws to coincide with the pre-drilled holes.
- Page 6 PASOS PARA ENSAMBLAR / ASSEMBLY STEPS PREPARACIÓN DE PIEZAS PARTS SET UP X(x2) V(x2) W(x2) X(x2) V(x2) (#7) W(x2) U(x2) (#7) (#7) (#8) (#7) (#8) (#8) Y(x2) U(x2) (#8) EN ESTE PASO NECESITA: FOR THIS STEP, YOU WILL NEED: 9/16” 1/2”...
- Page 7 PASOS PARA ENSAMBLAR / ASSEMBLY STEPS EN ESTE PASO NECESITA: FOR THIS STEP, YOU WILL NEED: TORNILLO TUBO SOPORTE ATORNILLADOR TORNILLOS SUPPORTS TUBES DRYWALL DE ESTRELLA MARTILLO SCREWS DRYWALL SCREWS / PHILLIPS SCREWDRIVER ( # 13 ) ( # 19 ) /HAMMER...
- Page 8 PASOS PARA ENSAMBLAR / ASSEMBLY STEPS S(x4) T(x4) S(x2) J(x2) T(x2) S(x4) T(x4) S(x2) T(x2) Canto Enchapado Finished Edge EN ESTE PASO NECESITA: FOR THIS STEP, YOU WILL NEED: TORNILLO/ BISAGRA/ ATORNILLADOR PLATINA TORNILLOS SCREW HINGES/ DRYWALL DE ESTRELLA MARTILLO BRACKETS DRYWALL SCREWS / PHILLIPS SCREWDRIVER...
- Page 9 PASOS PARA ENSAMBLAR / ASSEMBLY STEPS Ubique las tapas tuerca ( #4 )en las partes V-W-M. Place the Cam Caps (#4) on Parts V-W-M Para nivelar la puerta parte R, tenga en cuenta las siguientes indicaciones: AJUSTE DE ALTURA: Le permite subir o bajar la parte R, cuadrándola al nivel de la parte A, aflojando el tornillo de la bisagra , como lo muestra el detalle.
-
Page 10: Servicio Al Cliente
Si la -Proteja el mueble del agua y de la humedad. parte o herraje del mueble es defectuosa, INVAL la reemplazará -No use el mueble al aire libre. sin ningún costo. La labor de ensamble NO está incluida.
Need help?
Do you have a question about the CC 4301 and is the answer not in the manual?
Questions and answers