Table of Contents
Advertisement
Quick Links
Download this manual
See also:
User Manual
Advertisement
Table of Contents

Related Manuals for TRENDnet TV-IP312PI


Summary of Contents for TRENDnet TV-IP312PI
-
Page 2: Table Of Contents
Time Settings ..........................17 FTP Server ............................ 40 Daylight Savings ........................... 18 Restore Default Password ..............40 Live View Settings ........................18 Maintenance ..........................19 Troubleshooting ................. 41 Network Settings ................20 TCP/IP ............................20 © Copyright 2015 TRENDnet. All Rights Reserved. -
Page 3: Product Overview
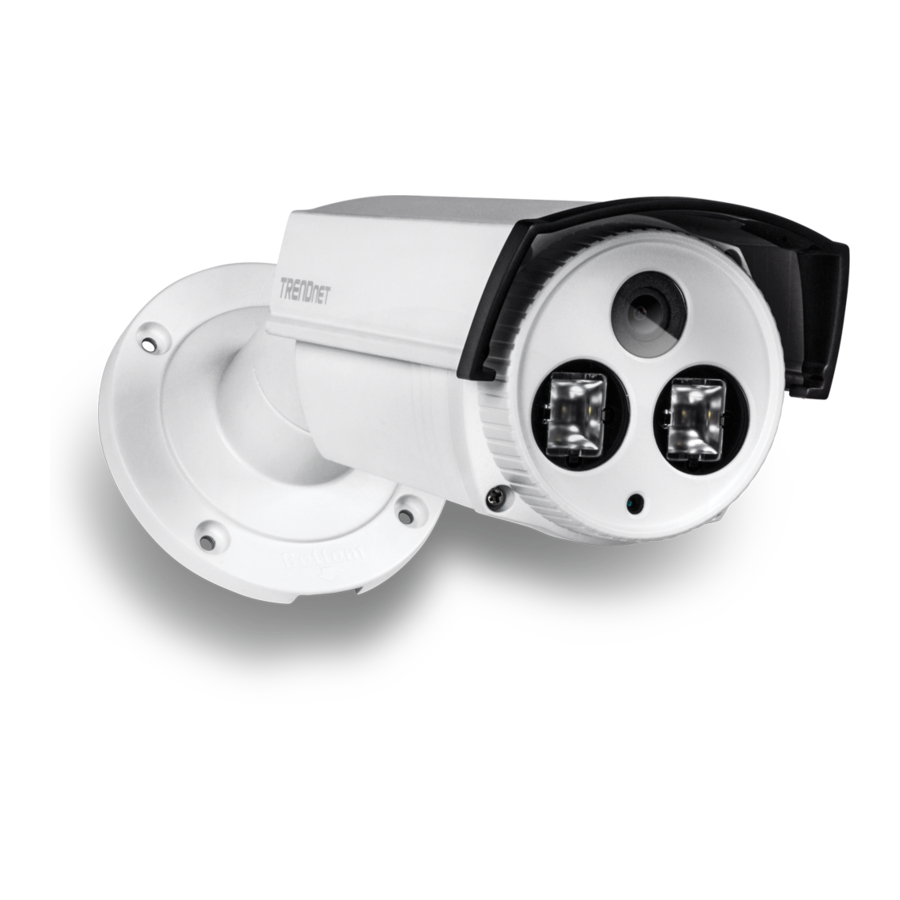
Features Product Overview TRENDnet’s Outdoor 3 MP Full HD 1080p PoE IR Network Camera, model TV-IP312PI, offers night vision up to 50 meters (164 ft.), an IP66 weather rating, and an integrated mounting bracket. Ultra energy efficient advanced infrared creates a more balanced night vision illumination field and reduces close object overexposure. -
Page 4: Product Hardware Features
Adjustable Sun Visor: Adjustable sun visor to prevent direct sun to the camera. While shipping, the camera should be packed in its original packing. Use waterproof cap to prevent water soaking into the cable. © Copyright 2015 TRENDnet. All Rights Reserved. -
Page 5: Plan For Installation
Hardware Installation Waterproof cap Plan for Installation The TV-IP312PI is IP66 weather rated camera. There is a set of network cable waterproof cap that comes with the package. Run the network cable going through the cap and then Viewing angle using crimp the tool to crimp the cable with an RJ-45 modular. -
Page 6: Setup Camera With Cd
1. Insert the Installation CD-ROM into your computer’s CD-ROM drive to initiate the Auto-Run program. Click the Install Camera. Wait while searching the cameras. 2. Write down the MAC ID of the camera. Click Next. © Copyright 2015 TRENDnet. All Rights Reserved. - Page 7 Change Password box and click next to get the link to access your camera. ** Please save the password for future reference. This device does not have a hardware rest function for temper proof purpose. © Copyright 2015 TRENDnet. All Rights Reserved.
- Page 8 11. Click Finish to exit the program or click Home to return to the main screen. This device also supports the Mobile App. Using your mobile device to scan the QR code to install the App. © Copyright 2015 TRENDnet. All Rights Reserved.
-
Page 9: Hardware Installation
9. Power up the camera by connecting the other end of the cable to a PoE switch or injector on your network. 10. Loosen the screws and rotate the collar to final angle, then the screws. © Copyright 2015 TRENDnet. All Rights Reserved. - Page 10 Note: for Mac systems, the plug-in file is stored on the CD or you can download the latest version from http://www.trendnet.com/downloads/camera/mac/WebComponents.zip If the camera was not setup through the CD and you are accessing it the first time, you will be prompted to change password automatically. © Copyright 2015 TRENDnet. All Rights Reserved.
- Page 11 TRENDnet User’s Guide 4. Click Next to install the plug-in. 6. Open the browser and login again. Allow the plug-in from TRENDnet if prompted. The Live View page will show and begin streaming video. Click Finish to finish the installation.
-
Page 12: Basic Settings
Click once to enable zoom. Then, click and drag the area on the picture to zoom in. Click once on picture for 100% Zoom zoom. Click the icon again to disable zoom. The zoom function works in full screen mode as well © Copyright 2015 TRENDnet. All Rights Reserved. -
Page 13: Playback
Click and drag the time line to move your time manually Click this button to zoom in the scale Click this button to zoom out of the scale © Copyright 2015 TRENDnet. All Rights Reserved. - Page 14 Click to playback video frame by frame. Click again for the next frame. *There are 5 steps of playback speeds. You can choose from ¼, ½ , 1, 2, and 4 times of original speed. Click this button to download video sections © Copyright 2015 TRENDnet. All Rights Reserved.
- Page 15 Then, click Search to find the snapshot list. Check the time of the snapshot, and then select the snapshots you want to download, then click Download. Note: Where can I find saved files? Videos and snapshots captured from Playback will save to your computer. © Copyright 2015 TRENDnet. All Rights Reserved.
-
Page 16: Log
Click First Page, Prev Page, Next Page, and Last Page to show the logs. Click Save Log to save the logs to your computer. Default Gateway: Gateway for the camera Primary DNS: Primary DNS server address Secondary DNS: Secondary DNS server address © Copyright 2015 TRENDnet. All Rights Reserved. -
Page 17: Advanced Settings
Names Name of the camera. The camera name setup here can Camera Name: be discovered by other network camera software and OSD, On Screen Display. The default is the camera’s model name: © Copyright 2015 TRENDnet. All Rights Reserved. -
Page 18: Time Settings
The time interval that the camera will synchronize Interval: the time with NTP server. Default: 1440 minutes (24 hours). Click Save to save the changes Manual Time Sync. The system time of this camera. Device Time: © Copyright 2015 TRENDnet. All Rights Reserved. -
Page 19: Daylight Savings
With high buffer setting, starts you can have smooth video streaming, but the Enter the Month and Date that daylight savings ends End Time: video is delayed from the time happening. Medium © Copyright 2015 TRENDnet. All Rights Reserved. -
Page 20: Maintenance
Reset Click Save to save the changes Reset all camera parameters except the IP Reset: parameters and user information. Load complete factory default settings to the Default: camera. Import Config. File © Copyright 2015 TRENDnet. All Rights Reserved. -
Page 21: Network Settings
Status: Click Save to save the changes * TRENDnet may periodically release firmware upgrades that might add features or fix problems associated with your TRENDnet model and version. To find out if there is a firmware upgrade available for your device, please check your TRENDnet model and version using the link. -
Page 22: Port
Click Save to save the changes advertisement. IPv6 Address: IPv6 address of the camera. Prefix Length: Length of network prefix Default Gateway: The default route going further from camera IPv6 subnet. Click Save to save the changes © Copyright 2015 TRENDnet. All Rights Reserved. -
Page 23: Ddns
Enter the DDNS server address. Domain: Enter your registered domain name on selected Click Save to save the changes DDNS service. User Name: Enter the account name. Password: Enter the password. Click Save to save the changes © Copyright 2015 TRENDnet. All Rights Reserved. -
Page 24: Snmp
Choose the authentication method to verify the source of information: MD5 or SHA. Authentication Password: Specify the authentication password between 8 to 32 letters. Private-key Algorithm: Choose the privacy key to encrypt SNMP messages: DES or AES. © Copyright 2015 TRENDnet. All Rights Reserved. -
Page 25: 802.1X
(EAPoL). Choose version 1 or 2. This version number clicking on it. Then, click the Modify button. must matches to your 802.1X service EAPOL version. User Name: Enter the account name. Password: Enter the password. Confirm: Enter the password again. © Copyright 2015 TRENDnet. All Rights Reserved. -
Page 26: Qos, Quality Of Service
Choose Manual or Auto port mapping. Management DSCP: Enter Management DSCP. Default: 0. External Port: Choose the port number for mapping. Click Save to save the changes Click Save to save the changes © Copyright 2015 TRENDnet. All Rights Reserved. -
Page 27: Video Settings
H.264/MJPEG between I frames, (P frame or B frame) only records the image differences between two frames. Choose the I Frame Interval here. The default is 60. Click Save to save the changes © Copyright 2015 TRENDnet. All Rights Reserved. -
Page 28: Display Settings
The greater number means the color image sharpness. Default: 50 will be more saturated. Default: 50 Smart IR: Smart IR can adjust the strength of infrared lights at night depending on the distance of an object to © Copyright 2015 TRENDnet. All Rights Reserved. - Page 29 Higher value brings brighter images. define schedule. Day: The speed dome displays color image. It is used for White Balance: Choose a corresponding light source to fit the normal lighting conditions. environment. Night: © Copyright 2015 TRENDnet. All Rights Reserved.
-
Page 30: On Screen Display (Osd) Settings
Select different size format. (Auto, 16*16, 32*32, 48*48, 64*64) On Screen Display (OSD) Settings Click Save to save the changes You can display the camera name and the time the video is shooting on the screen. © Copyright 2015 TRENDnet. All Rights Reserved. -
Page 31: Text Overlay
Stop Drawing: Click this button to stop drawing. English characters. Clear All: Click this button to clear all the mask areas. Click Save to save the changes Click Save to save the changes © Copyright 2015 TRENDnet. All Rights Reserved. -
Page 32: Video Recording
Select Yes to allow older recordings to be overwritten. Click Save to save the changes Enable Record Schedule: Check this box and then click Save to enable video recording. Edit: Click Edit to edit the recording schedule. © Copyright 2015 TRENDnet. All Rights Reserved. -
Page 33: Event
The motion tracking is displayed by a green grid. The grid area represents that the camera detects motion in this area. Click Save to save the choices. © Copyright 2015 TRENDnet. All Rights Reserved. - Page 34 Click OK when you finished your setting. Notification Send Email: Check this box to send an e-mail notification when motion is detected. Go to Events / Email to setup email account information. © Copyright 2015 TRENDnet. All Rights Reserved.
-
Page 35: Video Tamper
You can set up tamper proof notifications to alert the system manager to check the camera. Sensitivity: Move the slider to adjust detection sensitivity. Clear All: Click this button to clear all the set up areas. Click Save to save the settings. © Copyright 2015 TRENDnet. All Rights Reserved. - Page 36 Notification Send Email: Check this box to send an e-mail notification when motion is detected. Go to Events / Email to setup email account information. Click Save to save the changes © Copyright 2015 TRENDnet. All Rights Reserved.
-
Page 37: Exception
Uses the same resolution set in Video Format for the snapshot resolution. Quality: Choose a compression quality for snapshots. Interval: State the time interval between snapshots. The default interval is 10 seconds. Click Save to save the changes © Copyright 2015 TRENDnet. All Rights Reserved. -
Page 38: Email
State how many snapshots you want to take in a single triggered event. Default: 3 pictures. Click Save to save the changes Sender Sender: Enter the name to appear as the email sender. Sender’s Address: Enter sender’s email address. © Copyright 2015 TRENDnet. All Rights Reserved. -
Page 39: Storage
Click Save to save the changes * Many ISPs do not allow service port 25 going through their network. Other popular ports are 587 and 465. Please consult your email service provider and ISP for details. © Copyright 2015 TRENDnet. All Rights Reserved. -
Page 40: Network Storage
“\SMB” in the File Path. Click Save to save the changes Network Storage The sequential number of the network storage. Type: The type of storage. Server Address: Enter the IP address of your network storage. © Copyright 2015 TRENDnet. All Rights Reserved. -
Page 41: Ftp Server
Find the support number for your country at: www.trendnet.com/contat password was entered correctly. Directory Structure: When saving snapshots on an FTP server, they can Online Support: www.trendnet.com/support/helpdesk be saved in a single place or organized with meaningful directory names. © Copyright 2015 TRENDnet. All Rights Reserved. -
Page 42: Troubleshooting
Make sure that the Network Camera isn’t conflicting with any Web server you may have running on your network. Google’s security settings may prevent the TV-IP312PI from accessing your gmail account to send notifications. To change the security settings, log into your The default router setting might be a possible reason. - Page 43 This equipment has been tested and found to comply with the limits for a Class B digital device, TRENDnet hereby declare that the product is in compliance with the essential requirements pursuant to Part 15 of the FCC Rules. These limits are designed to provide reasonable and other relevant provisions under our sole responsibility.
- Page 44 TV-IP312PI TRENDnet User’s Guide TRENDnet tímto prohlašuje, že tento TV-IP312PI je ve shodě se Šiuo TRENDnet deklaruoja, kad šis TV-IP312PI atitinka esminius Česky [Czech] Lietuvių základními požadavky a dalšími příslušnými ustanoveními reikalavimus ir kitas 2004/108/EB Direktyvos nuostatas. [Lithuanian] směrnice 2004/108/ES.
-
Page 45: Limited Warranty
Download section and look for in the manual. the desired TRENDnet product to access to the GPL Code or LGPL Code. These codes are distributed Warranty service may be obtained by contacting TRENDnet within the applicable warranty period WITHOUT WARRANTY and are subject to the copyrights of the developers. TRENDnet does not and providing a copy of the dated proof of the purchase.
Need help?
Do you have a question about the TV-IP312PI and is the answer not in the manual?
Questions and answers