TRENDnet TV-IP310PI Configuration Manual
Configure day/night network camera for cloud recording, remote monitoring and playback
Hide thumbs
Also See for TV-IP310PI:
- User manual (59 pages) ,
- User manual (59 pages) ,
- Quick installation manual (13 pages)
Table of Contents
Advertisement
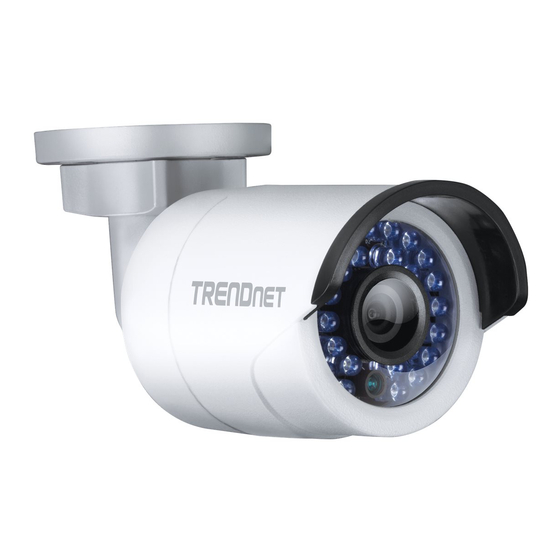
Configure TRENDnet TV-IP310PI Day/Night Network Camera for
Cloud Recording, Remote Monitoring and Playback
Contents
Introduction .............................................................................................................................................. 2
Step 1: Connect Camera to the Network and Find Its IP Address ............................................................ 3
Step 2. Access Camera's Web-based Configuration Tool ......................................................................... 6
Step 3. Configure the Video / Image Profile (Resolution) ......................................................................... 7
Step 4. Configure FTP Storage .................................................................................................................. 7
Step 5. Configure Events (Motion Detection and Snapshots) .................................................................. 8
5.1 Configure Motion Detection ........................................................................................................... 8
5.2 Configure Image Snapshot Settings ................................................................................................ 9
6. CameraFTP Viewer .............................................................................................................................. 10
2440 Camino Ramon, Suite 125
San Ramon, CA 94583
Tel: (800)836-0199 Fax: (925)270-1894
Advertisement
Table of Contents

Subscribe to Our Youtube Channel
Related Manuals for TRENDnet TV-IP310PI


Summary of Contents for TRENDnet TV-IP310PI
-
Page 1: Table Of Contents
2440 Camino Ramon, Suite 125 San Ramon, CA 94583 Tel: (800)836-0199 Fax: (925)270-1894 Configure TRENDnet TV-IP310PI Day/Night Network Camera for Cloud Recording, Remote Monitoring and Playback Contents Introduction .............................. 2 Step 1: Connect Camera to the Network and Find Its IP Address ............3 Step 2. -
Page 2: Introduction
Note: This document is not designed to replace the product manual from the manufacturer. The information provided is based on our knowledge of the model TRENDnet TV-IP310PI. It may not be accurate or completely up-to-date. Users shall contact the manufacturer for all camera- related issues and contact us only for CameraFTP-related (cloud service / FTP) issues. -
Page 3: Step 1: Connect Camera To The Network And Find Its Ip Address
Step 1: Connect Camera to the Network and Find Its IP Address Insert the Setup CD, follow the instructions to connect your camera. The TRENDnet TV-IP310PI supports PoE. So usually you need a PoE switch, or you need a compatible power adaptor (not included). - Page 4 Select DHCP and click Next. If you are familiar with networking, you can also change its IP address to a static IP address. This camera has enhanced security. It requires you to change the default password as the first step. The default username and password is admin / admin.
- Page 5 Don’t click Next yet. Click “here” instead. (If you already clicked Next, you need to run the Setup program to reach the above screen again.) After you click Here, it will launch a browser to access the camera’s configuration screens. See the screenshot below:...
-
Page 6: Step 2. Access Camera's Web-Based Configuration Tool
Step 2. Access Camera's Web-based Configuration Tool Now we have found the camera's IP address. The first step is to log on to the camera. Enter the camera’s username and password, click Ok. It will go to the following screen: If you have not installed the plug-in, you can install it for the live-view in your browser. -
Page 7: Step 3. Configure The Video / Image Profile (Resolution)
Step 3. Configure the Video / Image Profile (Resolution) Click Advanced --> Video --> Video Format, you can see the screenshot as follows: This camera can only upload image snapshots, so only the resolution field needs to be configured. The resolution to select is dependent on your subscription level. For this camera, the lowest resolution is 720P, so your CameraFTP subscription plan should not be lower than 1280x720. -
Page 8: Step 5. Configure Events (Motion Detection And Snapshots)
You need to set the following parameters: Enable snapshot to FTP: Enable Server address: 66.220.9.45 Port: Username, password and confirm password: The same username and password used on CameraFTP.com Directory structure: Save in directory Directory: With Camera Name Step 5. Configure Events (Motion Detection and Snapshots) 5.1 Configure Motion Detection If you ordered a service plan with motion detection enabled, then you must configure motion detection with your camera. -
Page 9: Configure Image Snapshot Settings
Enable Motion Detection: Enable Draw a motion area in Area Settings; set a sensitivity level based on your need; Upload to FTP: Check the checkbox. 5.2 Configure Image Snapshot Settings This camera can only upload image snapshots and not video clips. If you ordered a video plan, you need to order a new image plan and cancel the old video plan. -
Page 10: Cameraftp Viewer
If you ordered a motion-detection plan, you must configure the camera with motion detection: In the EVENT-TRIGGERED section, please set: Enable: Check the checkbox Format: JPEG Resolution: 1280x720 (based on your CameraFTP service level) Quality: Medium Interval: 1000ms (based on your subscription level). If you ordered 1 image/2s, then enter 2000ms.
Need help?
Do you have a question about the TV-IP310PI and is the answer not in the manual?
Questions and answers