Advertisement
Quick Links
Advertisement

Related Manuals for NEC NC1100CM


Summary of Contents for NEC NC1100CM
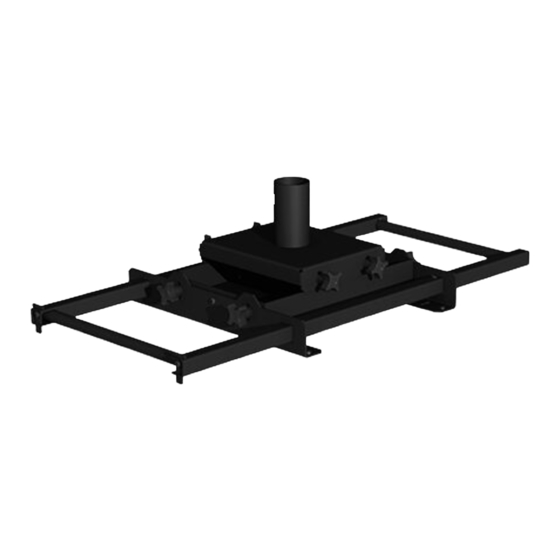
- Page 1 NC1100CM Projector Mount 150 lb (68 kg) CONFIGURATION NC900C NC1100L PX750U PROJECTORS NC900C NC1100L, NC1201L, PX602WL, PX602UL, PH1202HL, PX700W, PX750U, PH1202HL1,PH1201QL PX800X, PX700W2, PX750U2, PX800X2, PX803UL 2016-02-10 #:126-9107-2 2016-04-15...
-
Page 2: Parts List
WARNING Before installing make sure the supporting truss will support the combined load of the equipment and hardware. Screws must be tightly secured. Do not overtighten screws or damage can occur and product may fail. Never exceed the Maximum Load Capacity. Always use an assistant or mechanical lifting equipment to safely lift and position equipment. - Page 3 I (8) L (2) D (1) G (2) H (6) collar handle tab M6 x 16mm knob 1-4x20 x 3/4" E (2) T (1) J (16) handle bracket washer 1/4" fl at washer F (2) K (14) M (2) handle bar nylon washer 1/4-20 hex nut N (7)
- Page 4 Assemble as shown. Locate projector below and follow proper confi guration. I (4) J (4) K (4) M (2) L (2) J (2) K (6) CONFIGURATION NC900C NC1100L PX750U PROJECTORS NC900C NC1100L, NC1201L, PX602WL, PX602UL, PX700W, PH1202HL, PX750U, PX800X, PX700W2, PH1202HL1,PH1201QL PX750U2, PX800X2, PX803UL 2016-02-10...
- Page 5 Thread collar (D) onto the extension column. Align the notch inside the extension column with one of the threaded holes in the collar as shown. Secure using an M5x 10mm type-F screw (N). hardware as shown. Secure set screws to prevent excess movement. O (4) 2016-02-10 #:126-9107-2 2016-04-15...
- Page 6 Attach assembly to projector as shown. Note the orientation for each specifi c projector. H or U (6) J (6) NC1100L Confi guration H or U(6) J (6) NC900C Confi guration R or Q (4) S (4) center screw not required PH1000U Confi...
- Page 7 PX750U Confi guration NC900C Confi guration NC1100L Confi guration N (4) 2016-02-10 #:126-9107-2 2016-04-15...
- Page 8 Position second handle bar in the relief cut in the handle brackets at the opposite end of the assembly. Secure using the handle tabs with M5 x 10 mm type-F screws (N). 2016-02-10 #:126-9107-2 2016-04-15...
- Page 9 Hook the assembly to the ceiling mount assembly as shown. Use handle bars (F) to lift projector. Attach cable assembly. CLAMP U-BOLT J(4) K(4) I(4) 2016-02-10 #:126-9107-2 2016-04-15...
- Page 10 Adjust tilt and roll by loosening the knobs, setting the position, then retightening the knobs. Loosen Adjust Loosen Tighten Adjust Tighten generic projector generic projector 2016-02-10 #:126-9107-2 2016-04-15...
-
Page 11: Top View
Adjust swivel by loosening set screws (O), turning assembly, then retightening. O (4) Loosen Adjust Tighten TOP VIEW 2016-02-10 #:126-9107-2 2016-04-15... -
Page 12: Limited Five-Year Warranty
LIMITED FIVE-YEAR WARRANTY Peerless Industries, Inc. (“Peerless”) warrants to original end-users of Peerless ® products will be free from defects in material and workmanship, under normal use, for a period of fi ve years from the date of purchase by the original end-user (but in no case longer than six years after the date of the product's manufacture).
Need help?
Do you have a question about the NC1100CM and is the answer not in the manual?
Questions and answers