Table of Contents
Advertisement
Quick Links
Advertisement
Table of Contents

Related Manuals for Beko CTB 6253X


Summary of Contents for Beko CTB 6253X
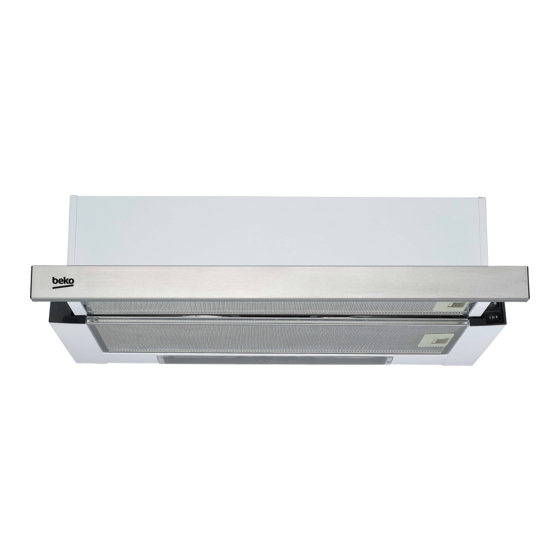
- Page 1 Hood CTB 6253 X User Manual...
- Page 2 Please read this user manual first! Dear Customer, Thank you for prefering a Beko product. We hope that you get the best results from your product which has been manufactured with high quality and state-of-the-art technology. Therefore, please read this entire user manual and all other accompanying documents carefully before using the product and keep it as a reference for future use.
-
Page 3: Table Of Contents
TABLE OF CONTENTS 1 Recommendations and Suggestions 4-5 1.1 General ......4 1.2 Safety Precaution .....4 1.3 Warning . -
Page 4: Recommendations And Suggestions
Recommendations and Suggestions • T here is a fire risk if cleaning is 1.1 General not carried out in accordance • C arefully read the following im- with the instruction. portant information regarding installation safety and mainte- • T here shall be adequate ventila- nance. Keep this information tion of the room when the range booklet accessible for further hood is used at the same time consultations. -
Page 5: Warning
Recommendations and Suggestions • I f the supply cord is damaged, it • C hildren don’t recognize the must be replaced by the manu- risks of electrical appliance. facturer or its service agent or a Therefore use or keep the appli- similarly qualified person in or- ance only under supervision of der to avoid a hazard. -
Page 6: Characteristics
Characteristics 2.1 Technical Specifications CTB 6253 X Width 695 mm Depth 265 mm Height 400 mm Supply voltage 220 - 240 V, 50 Hz Control 2 positions 440 m 3 /h / 260 m 3 /h (with CF) Suction power Motor power 200 W Lamp power... -
Page 7: Installation Instructions
Installation Instructions • The exhaust air must not be discharged into a The cooker hoods should be placed at a distance flue which is used for exhausting fumes from of 65-75cm from the cooking surface for best other appliances burning gas or other fuels. (Not effect. - Page 8 Installation Instructions Way two: (See Pic 2B) • Drill 6 holes of 4mm diameter at the bottom of the hanging cupboard • Put the air outlet on the cooker hood, then ins- tall the cooker hood on the bottom of the cup- board, tighten the hood with enclosed 6 screws. • Install the adjusted board on the bottom of the hood in order to keep out the gap between hood back and cupboard.
- Page 9 Installation Instructions 7 Replacement for the front panel Replace the front panel (80mm) is as below: - Side the front panel of the cooker hood. - In order to change front panel, the Al anti-grease filter should be detached firstly. Press the lock and pull it downward. - Remove 4 screws in the back of the front panel (40mm) - Put the front panel (80mm) on the slider board, adjust position in order to keep balance with the hood body, tighten with enclosed 4 screws.
-
Page 10: Operation
Operation Connect the plug into the power. Choose the ducting mode or the recirculation mode as you need (for Front- re-circulating mo- dels only): ducting mode recirculation mode Push the switch into “ ”, the lamp be on; push into “0”, the lamp be off. -
Page 11: Use And Maintenance
Use and Maintenance • It is recommended to operate the appliance • The aluminum panels may alter in color after prior to cooking. several washes. This is not cause for customer complaint nor replacement of panels. • There shall be adequate ventilation of the room when the cooker hood is used at the same time as appliances burning gas or other fuels(not applicable to appliances that only discharge the air back into the room. -
Page 12: Carbon Filter (Not Supplied)
5.1 Carbon filter 1.Put the charcoal filter foam on the back of the outer alu. Filter. 2.Use an iron wire to insert in the side of alu. Filter and press the charcoal filter foam. 3.Use other three iron wires in the same method to press the charcoal filter foam 4.The same method to install the charcoal filter foam for inner alu. -
Page 13: Trouble Shooting
Trouble shooting Problem Possible cause Solution The extractor fan cea- The kitchen hood feed cable is Connect feed cable to the network. ses to function. not connected to the network. Check that the network has electrical There is no electrical current in current. - Page 14 “Recommended Solutions for the problems” The commencement date of this guarantee starts on the day of purchase and proof of purchase must be supplied to the Beko Service Centre prior to commencement of any guarantee work.
- Page 15 Terms and Conditions Beko Australia and New Zealand Pty Ltd guarantees to the original purchaser , r i which is not of ‘acceptable quality’ within two years of date of purchase. if the product fails more than 2 times during “No Lemon Guarantee”...
- Page 16 Any loss caused from extreme events of nature including but Use of non genuine/authorised parts m. Any repair or other work carried out on the Beko product other than by an Authorised Beko Service Personnel. 3. This Guarantee does not cover costs associated with replacing and...
- Page 17 Service under this Manufacturer’s Guarantee is provided by the Beko Aus- tralia and New Zealand Authorised Repairer. The Guarantee is provided by Beko Australia and New Zealand Pty Ltd (ABN: 49 152 055 162) of 55 Blanck Street, Ormeau, QLD Australia 4208, P O Box 354 Ormeau QLD Australia 4208.
- Page 20 www.beko.com...
Need help?
Do you have a question about the CTB 6253X and is the answer not in the manual?
Questions and answers