Table of Contents
Advertisement
Quick Links
Advertisement
Table of Contents

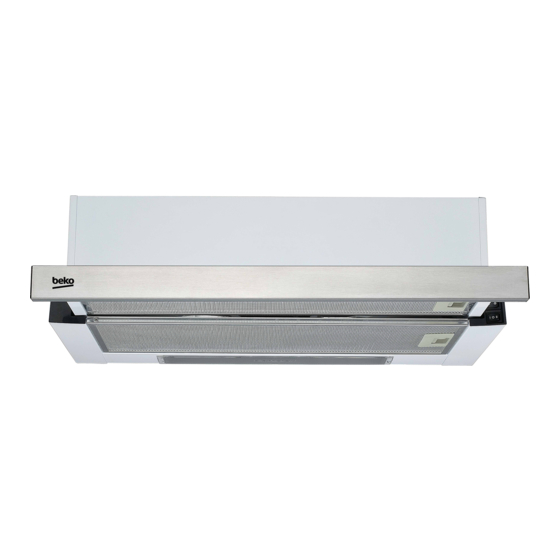
Summary of Contents for Beko CTB 6253 X
- Page 1 3323-06...
-
Page 2: Table Of Contents
CONTENTS 1 Important safety and environmental instructions 1.1 General safety ....4 1.2 Compliance with the WEEE Directive and Disposing of the Waste Product: . 7 1.3 Compliance with RoHS Directive . 7 1.4 Package Information . - Page 3 Please read this user manual first! Dear Valued Customer, Thank you for preferring this Beko appliance. We hope that you get the best results from your appliance which has been manufactured with high quality and state-of- the-art technology. For this reason, please read this entire user manual and all other accompanying documents carefully before using the appliance and keep it as a reference for future use.
-
Page 4: Important Safety And Environmental Instructions
Failure to follow improper installation or misuse of these instructions shall void any the product. warranty. Beko products comply with the This appliance can be used by • • applicable safety standards; children aged from 8 years and... - Page 5 Important safety and environmental instructions The minimum distance between Do not touch the lamps if they • • the supporting surface for the have operated for a long time. cooking vessels on the hob and They can burn your hands since the lowest part of your product they will be hot.
- Page 6 Important safety and environmental instructions Product shall be cleaned ac- In the environment where the • • cordance with user manual. If appliance is being used, the cleaning was not carried out in exhaust of devices running on accordance with user manual, fuel or gas, such as room heater there may be fire risk.
-
Page 7: Compliance With The Weee Directive And Disposing Of The Waste Product
Important safety and environmental instructions Objects placed on the product 1.3 Compliance with RoHS Directive • may fall. Do not place any ob- The product you have purchased complies with EU jects on the product. RoHS Directive (2011/65/EU). It does not contain harmful and prohibited materials specified in the Do not flambe under the your •... -
Page 8: General Appearance
General appearance 2.1 Overview Control and parts . 1 Front panel . 2 Switch . 3 Aluminum grease filter . 4 Halogen lighting 2.1 Technical data Supply voltage & Frequency 220 - 240 V~ 50 Hz Lamp power 2x28 W Motor power 200 W Flow rate –... -
Page 9: Operation Of The Appliance
Operation of the appliance 3.1 Controlling the appliance • For better performance, we recommend using low speeds under normal conditions and high speeds in cases of strong odours and intense vapour. • You can start your appliance by pressing on the desired speed setting button. -
Page 10: Operation With Chimney Connection
Operation of the appliance 3.5 Operation with chimney connection • Vapour is extracted through the flue duct, which is fastened to the connection head on the hood. • The diameter of the flue duct must be the same as the connection ring. In horizontal settings, the pipe has to have a slight upward slope (around 10º) so that the air can exit the room easily. -
Page 11: Cleaing And Maintenance
Cleaing and maintenance Before cleaning and maintenance, CAUTION: In case of normal use, unplug the product or turn off the clean your aluminum grease filter switch. once in a month. 4.1 Cleaning of aluminum grease Carbon filter filter 1. Put the charcoal filter foam on the back of the outer aluminium cassette filter. -
Page 12: Installation Of Appliance
For the installation of the hood, please contact the nearest Authorized Service. Hood Cooker User Manual It is the customer’s responsibility to prepare the CTB 6253 X location and electrical installation of the hood. 01M-8842013200-2721-04 1. Hood 5.1 Position of the appliance 2. -
Page 13: Installation Of The Hood
Installation of appliance 5.3 Installation of the hood Way one: (See Pic 2A) • To install onto the wall drill 4 holes of Ø8 mm on a suitable place according with the centre distance of hole in the back of the cooker hood. •... - Page 14 Installation of appliance Way two: (See Pic 2B) • Drill 6 holes of 4 mm diameter at the bottom of the hanging cupboard • Put the air outlet on the cooker hood, then install the cooker hood on the bottom of the cupboard, tighten the hood with enclosed 6 screws.
-
Page 15: Storage
Installation of appliance • Always keep the appliance out of the reach of 7 Replacement for the front panel children. Replace the front panel (80 mm) is as below: • Side the front panel of the cooker hood. 5.5 Handling and transportation •... -
Page 16: Troubleshooting
Troubleshooting Troubleshooting Root cause Help Appliance is not working. Check your fuses. Fuse may be blown, inspect and restore it. Appliance is not working. Check the electrical connection. Mains voltage shall be between 220 and 240 V. Appliance is not working. Check the electrical connection. Check if other appliance in your kitchen operate. - Page 17 10. New Zealand: For Appliances and services provided by Beko in of the Appliance to and from Beko or its ASC. Travel and New Zealand, the Appliances come with a guarantee by Beko transporta�on will be arranged by Beko as part of any valid...
- Page 18 Australia Service Contact Details: h�ps://www.beko.com/au-en/support/help-center Toll Free 1300AUBEKO 1300 282 356 Email: beko.care@beko.com Fax: (07) 5549 3546 New Zealand Service Contact Details: h�ps://www.beko.com/nz-en/support/help-center Toll Free 0800NZBEKO 0800 69 2356 Email: beko.care@beko.com Fax: (+617) 5549 3546...
- Page 19 Beko A&NZ Pty Ltd 55 Blanck Street , Ormeau QLD, 4208 AUSTRALIA www.beko.com.au...


Need help?
Do you have a question about the CTB 6253 X and is the answer not in the manual?
Questions and answers