Table of Contents
Advertisement
Quick Links
Advertisement
Table of Contents

Related Manuals for Planet ICA-2250VT


Summary of Contents for Planet ICA-2250VT
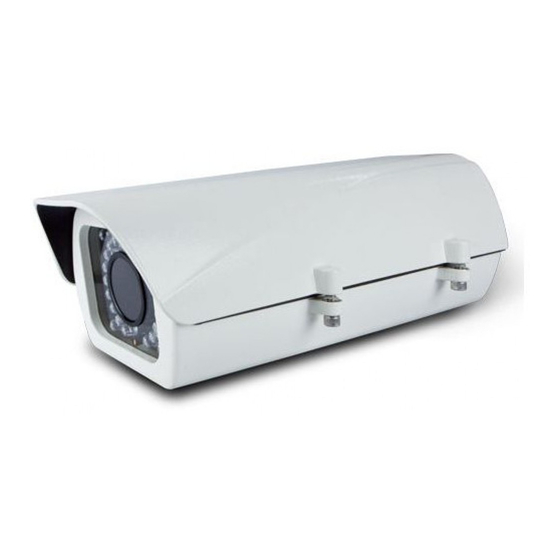
- Page 1 Industrial PoE Plus Outdoor IR IP Camera ICA-2250VT Quick Installation Guide...
-
Page 2: Table Of Contents
1.1 Before Installation ................3 1.2 System Requirements ................3 Chapter 2. Physical Description and Installation ..........4 2.1 ICA-2250VT Package Contents .............. 4 2.2 ICA-2250VT Physical Details ..............4 2.3 ICA-2250VT Installation ............... 6 Chapter 3. Camera Windows Utility ..............10... -
Page 3: Chapter 1. Introduction
Chapter 1. Introduction Thank you for purchasing the PLANET Industrial PoE Plus Outdoor IR IP Camera. It is versatile and high image solution of surveillance application for day and night. PLANET ICA-2250VT IP Camera supports multi-profile function that can play simultaneous video streams. -
Page 4: Chapter 2. Physical Description And Installation
Chapter 2. Physical Description and Installation 2.1 ICA-2250VT Package Contents ICA-2250VT x 1 Wall Mounter x 1 Wall Mounting Kit x 1 User’s Manual CD x 1 Quick Installation Guide x 1 If any of the above items are missing, please contact your dealer immediately. - Page 5 Rear View Micro SD Microphone in card slot Reset button Power jack Video out Audio out DI/DO connector LAN connector Interface Description DC Power The input power is DC 12V, 1A. (Power Jack) Note: The power supply from 802.3at PoE module. Connect to PC or Switch.
-
Page 6: Ica-2250Vt Installation
RS485. Please refer below for more information. Name Number Function 12V DC DC 12V (50mA maximum) Digital signal input Digital signal output 485+ RS485 data + 485- RS485 data - 2.3 ICA-2250VT Installation 2.3.1 Take out the ICA-2250VT from the package. - Page 7 2.3.2 Use the wrench from the wall mounting kit to counterclockwise release the screw and protective cap. Counterclockwise release screw LAN cable in Counterclockwise I/O, Audio cable release protective cap out (Optional) 2.3.3 Slide an RJ-45 cable without its plug through the stand and the protective cap.
- Page 8 2.3.4 Use the wrench from the wall mounting kit to clockwise tighten the screw and protective cap. Clockwise tighten screw Clockwise tighten protective cap Two screws of shield will effects camera’s waterproof. Please notice Note 2.3.5 Use the wrench to tighten the four screws.
- Page 9 2.3.6 After the above steps have been done, place the ICA-2250VT on the wall with the four screws tightened. Please make sure the hardware had been located on the wall properly. If the hardware drops down, it is possible make someone injury or hurt.
-
Page 10: Chapter 3. Camera Windows Utility
Camera. The Industrial PoE Plus Outdoor IR IP Camera is with the default settings. However, to help you find the networked camera quickly, the windows utility (PLANET IPWizard II) can search the IP cameras in the network that can help you to configure some basic setting before you start advanced management and monitoring. - Page 11 View function: If PLANET IPWizard II finds network devices, View button will be available. Please select the device you want to view and click the View button. Furthermore, you could double-click the left button of mouse to link to the network device by browser.
- Page 12 1. If no IP address is assigned within 30 seconds, the networked device will automatically assign 192.168.0.20. User may now open your web browser, and key in http://192.168.0.20 in the address bar of your web browser to log-on IP Camera’s web configuration page.
- Page 13 After being connected to networked device, the device will prompt for User Name and Password. For the first time, please enter: admin as user name and password to continue Web Management. Default User Name: admin admin Default Password: Default IP: 192.168.0.20 –...
-
Page 14: Further Information
Further Information This guide is used to help you start up your IP Camera settings. It is also recommended to check the user manual in CD disk for more details of the system and user configuration. - Page 15 This page is intentionally left blank...
- Page 16 This page is intentionally left blank...
Need help?
Do you have a question about the ICA-2250VT and is the answer not in the manual?
Questions and answers