
Subscribe to Our Youtube Channel
Related Manuals for Prodipe Pro5 V3


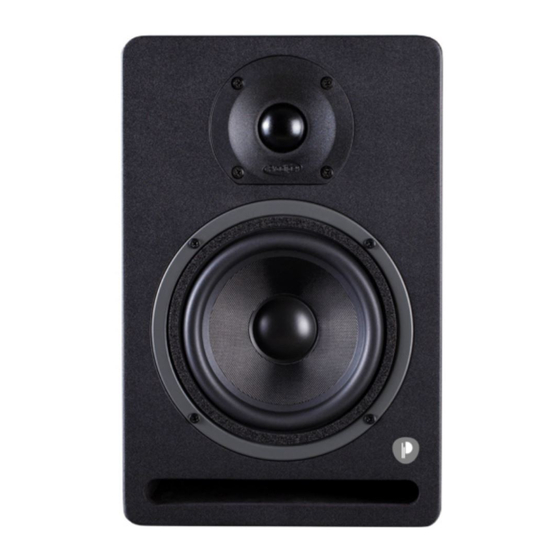
Summary of Contents for Prodipe Pro5 V3
- Page 1 S p e a k e r s m o n i t o r i n g S t u d i o a n d H o m e - s t u d i o Pro5 V3 –...
-
Page 2: Safety Precautions
Precaution Thank you for purchasing this digital appliance. To ensure perfect operation and security, please read the manual carefully and retain it for future reference. Safety Precautions The lightning flash with the arrowhead symbol in an equilateral triangle is intended to alert the user to the presence of non-insulated “dangerous voltage”... -
Page 3: Table Of Contents
Contents 1 – Introduction ..................1 2 – Connections ..................2 3 - Settings.................... 3 4 – Audio Inputs/Outputs ................ 4 5 – Monitor Layout .................. 5 6 - Specifications ..................6 7 – Response curve ................7... -
Page 4: Introduction
When the volume is high, this system can produce noise levels that could permanently damage your hearing. Figure 1 – Rear panels for Pro5 V3 / Pro8 V3 and the Pro10s V3 Illustrations et photos non contractuelles Copyright © 2015 IPE Music... -
Page 5: Connections
2. Switch on the other equipment you intend to use (audio mixer, PC, audio source, etc.) 3. Check your monitor settings and the settings of your audio sources (lowest volume). 4. Check the voltage (2), switch on the Prodipe monitors by putting switch (1) in the ON position and the blue LED will light up. -
Page 6: Settings
You can adjust the high frequencies at the back of the monitor (Figure 4). The possible values are -2dB, -1dB, 0dB (flat), 1dB, or at around 2 kHz. The crossover frequency between the tweeter and the woofer is 3KHz (Pro5 V3) and 2.4KHz (Pro8 V3). Figure 4... -
Page 7: Audio Inputs/Outputs
4 – Audio Inputs/Outputs The XLR and TRS connectors are balanced whilst the RCA connectors are unbalanced. Figure 7 – TRS, XLR and RCA inputs for Pro5 V3 and Pro8 V3 Figure 8 – RCA inputs/outputs for the Pro10S V3 Subwoofer Figure 9 –... -
Page 8: Monitor Layout
TRS, XLR ou RCA TRS, XLR ou RCA Figure 10 – Stereo connections with/without subwoofer 5 – Monitor Layout The Prodipe studio monitors can be placed in a vertical or horizontal position. Optimum listening height Figure 11 Illustrations et photos non contractuelles... - Page 9 Positioning in Stereo We recommend that you respect the layout of this diagram i.e. the equilateral triangle showing the optimum positions for you and your speakers, as much as possible. In addition, the speakers should be turned towards the listener. On a final note, you should try the sub bass woofer in a number of positions to determine which position gives the highest level of volume.
-
Page 10: Specifications
6 - Specifications Pro5 V3 Pro8 V3 Pro10s V3 55Hz -22KHz 50Hz -22KHz 36Hz -150Hz FREQUENCY REPONSE 1” (25mm) 1” (25mm) HF DRIVER Neodymium soft dome Neodymium soft dome 5.25” (130mm) 8” (200mm) 10" (250mm) long excursion LF DRIVER Fiberglass cone... -
Page 11: Response Curve
7 – Response curve Curve of Pro5 V3 speaker (dB SPL, resolution 1/12 d'octave) Curve of Pro10s V3 subwoofer (dB SPL, resolution 1/12 d'octave) Illustrations et photos non contractuelles Copyright © 2015 IPE Music... - Page 12 IPE Music 20, rue Clément ADER Z.A. Les Gloriets 85340 OLONNE SUR MER France www.prodipe.com Illustrations et photos non contractuelles Copyright © 2015 IPE Music...
Need help?
Do you have a question about the Pro5 V3 and is the answer not in the manual?
Questions and answers