Table of Contents
Advertisement
Advertisement
Table of Contents

Related Manuals for Logik LUR55S13


Summary of Contents for Logik LUR55S13
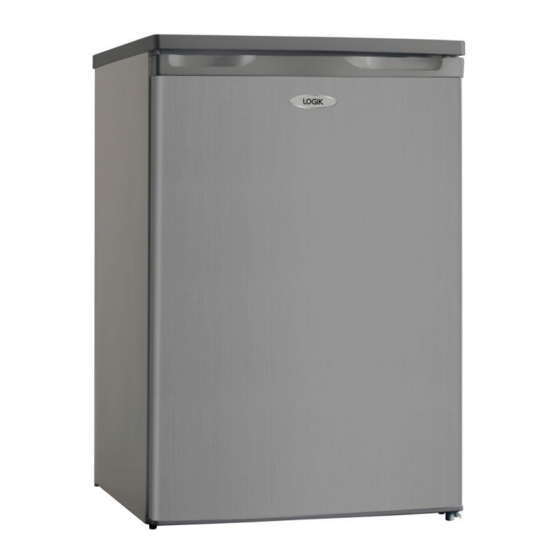
- Page 1 Instruction Manual Undercounter Fridge LUR55S13...
-
Page 3: Table Of Contents
Contents Safety Warnings ..........................4 Unpacking ............................. 5 Installation ............................ 6 Location ..................................6 Reversing the Door Swing ..........................6 Space Requirements ............................. 9 Levelling the Unit ..............................9 Cleaning Before Use .............................. 9 Before Using Your Unit ............................9 Interior Accessories ............................... -
Page 4: Safety Warnings
Safety Warnings For your continued safety and to reduce the risk of injury or electric shock, please follow all the safety precautions listed below. • Read all instructions carefully before using the unit and keep them for future reference. • Retain the manual. If you pass the unit onto a third party, make sure to include this manual. -
Page 5: Unpacking
Unpacking Remove all packaging from the unit. Retain the packaging. If you dispose of it please do so according to local regulations. The following items are included: Adjustable Glass Shelf Salad Bin Cover The Main Unit Upper Door Shelf x 2 Lower Door Shelf Salad Bin Egg Tray... -
Page 6: Installation
Installation INSTALLATION Location When selecting a position for your unit you should make sure the floor is flat and firm, and the room is well ventilated with an average room temperature of between 16°C and 38°C. Avoid locating your unit near a heat source, e.g. - Page 7 INSTALLATION Remove the 2 screw covers first, then undo the screws underneath. Remove the 2 screws on the back. Lift the top cover away from the fridge. Remove the three screws, then remove the upper hinge that hold the door in place. Lift the door and place it on a padded surface to prevent it from scratching.
- Page 8 INSTALLATION Remove the screw-type adjustable feet from another side of the unit bottom and transfer it to the corresponding position on the opposite side of the unit bottom. Reattach the two lower screws, hinge bracket and adjustable feet to the opposite side of the unit bottom.
-
Page 9: Space Requirements
INSTALLATION Space Requirements The unit’s door must be able to open fully as shown. min xxx xxx - xxx xxx - xxx xxx = xxx - xxx xxx = xxx - xxx xx - xx Levelling the Unit To do this adjust the two levelling feet at the front of the unit. If the unit is not level, the door and magnetic seal alignments will not be covered properly. -
Page 10: Product Overview
Product Overview Freezer Compartment Internal Light and Thermostat Control Dial Upper Adjustable Door Glass Shelf Shelves Salad Bin Cover Salad Bin Lower Door Shelf Levelling Feet Egg Tray Ice Tray... -
Page 11: Operation
Operation Switching On Your Unit Before connecting the unit to the mains supply make sure that the thermostat control dial is set at position OFF. This is located on the right side of the cabinet. Connect the mains cable to the mains socket. Adjust the thermostat control dial to the desired position, bear in mind that the higher the number, the lower the temperature. -
Page 12: Cleaning
Cleaning Defrosting the Fridge Compartment Frost may accumulate on the inner rear surface of the appliance which will automatically defrost during the off cycle of the compressor. Water is channelled via the drain hole to the collection tray above the compressor where it will evaporate. -
Page 13: Maintenance
Maintenance Changing the Internal Light Before carrying out the bulb replacement always adjust the thermostat control dial to Position 0FF, then disconnect the mains supply. While holding the lamp cover place coin between lamp cover lip and internal wall of the refrigerator and twist the coin. -
Page 14: Specifications
Specifications Model LUR55S13 Fresh Food Storage Compartment Volume Frozen Food Storage Volume Freezer: ≤ -18°C Storage Temperature Fridge: 0°C - 8°C Average: ≤ 4°C Energy Consumption 0.47kwh / 24hr Energy consumption 172 kwh per year, based on standard test results for 24 hours. - Page 15 For general information about this appliance and handy hints and tips, please visit www.knowhow.com/knowledgebank or call 0844 5611234. Visit Partmaster.co.uk today for the easiest way to buy electrical spares and accessories. With over 1 million spares and accessories available we can deliver direct to your door the very next day.
Need help?
Do you have a question about the LUR55S13 and is the answer not in the manual?
Questions and answers