Table of Contents
Advertisement
Quick Links
Advertisement
Table of Contents

Summary of Contents for Logik LUL55S12
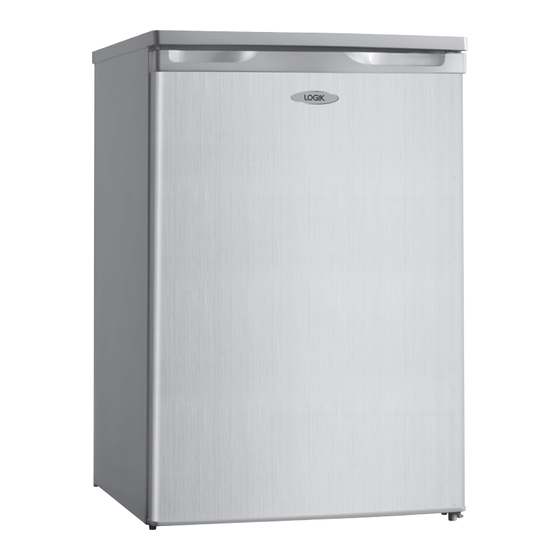
- Page 1 Instruction / Installation Manual Silver Undercounter Larder Fridge LUL55S12...
-
Page 3: Table Of Contents
Contents Safety Warnings ..........................4 Unpacking ............................. 6 Installation ............................ 7 Location ..................................7 Levelling the Unit ..............................7 Installing the Spacers ..............................7 Free Space Requirements ............................7 Reversing the Door Swing .............................8 Cleaning Before Use ............................. 11 Before Using Your Unit ............................11 Product Overview ........................ -
Page 4: Safety Warnings
Safety Warnings For your continued safety and to reduce the risk of injury or electric shock, please follow all the safety precautions listed below. • Read all instructions carefully before using the unit and keep them for future reference. • Retain the manual. If you pass the unit onto a third party, make sure to include this manual. - Page 5 • Children should be supervised to ensure that they do not play with the unit. • If your unit is fitted with a lock to prevent children being trapped inside, keep the key out of reach and not in the vicinity of the unit. •...
-
Page 6: Unpacking
Thank you for purchasing your new Logik Undercounter Fridge. We recommend that you spend some time reading this instruction manual in order that you fully understand all the operational features it offers. Read all the safety instructions carefully before use and keep this instruction manual for future reference. -
Page 7: Installation
Installation INSTALLATION Location When selecting a position for your unit you should make sure the floor is flat and firm, and the room is well ventilated with an average room temperature of between 16°C and 38°C. Avoid locating your unit near a heat source, e.g. cooker, boiler or radiator. Also avoid direct sunlight as it may increase the electrical consumption. -
Page 8: Reversing The Door Swing
INSTALLATION If the appliance is placed under a continuous worktop, the appliance lid (if applicable) may be removed and a ventilation grille of at least 200 cm (available from DIY shops or specialist retailers) should be installed to the worktop above the rear of the appliance to increase ventilation. - Page 9 INSTALLATION 2. Lift the top cover away from the fridge. 3. Remove the three screws, then remove the upper hinge that hold the door in place. Lift the door and place it on a padded surface to prevent it from scratching.
- Page 10 INSTALLATION 6. Remove the screw-type adjustable feet from another side of the unit bottom and transfer it to the corresponding position on the opposite side of the unit bottom. 7. Reattach the two lower screws, hinge bracket and adjustable feet to the opposite side of the unit bottom.
-
Page 11: Cleaning Before Use
INSTALLATION Cleaning Before Use Wipe the inside of the unit with a weak solution of bicarbonate soda. Then rinse with warm water using a ‘wrung-out’ sponge or cloth. Wash the shelves and salad bin in warm soapy water and dry completely before replacing in the unit. Clean the exterior of the unit with a damp cloth. -
Page 12: Product Overview
Product Overview Internal Light and Thermostat Control Dial Door Shelves Adjustable Glass Shelves Glass Shelf Salad Bin Lower Door Shelf Levelling Feet Egg Tray... -
Page 13: Operation
Operation Switching On Your Unit 1. Before connecting the unit to the mains supply make sure that the thermostat control dial is set at position OFF. This is located on the right side of the cabinet. Connect the mains cable to the mains socket. -
Page 14: Noises Inside The Unit
Noises Inside the Unit! You may notice that your unit makes some unusual noises. Most of these are perfectly normal, but you should be aware of them! These noises are caused by the circulation of the refrigerant liquid in the cooling system. It has become more pronounced since the introduction of CFC free gases. -
Page 15: Cleaning
Cleaning Defrosting Frost may accumulate on the inner rear surface of the appliance which will automatically defrost during the off cycle of the compressor. Water is channelled via the drain hole to the collection tray above the compressor where it will evaporate. Please ensure the drain hole is checked and cleaned on a regular basis so water can exit the storage compartment. -
Page 16: Maintenance
Maintenance Changing the Internal Light 1. Before carrying out the bulb replacement always adjust the thermostat control dial to Position 0, then disconnect the mains supply. 2. Hold and twist to remove the light bulb cover. 3. Remove the old bulb by unscrewing in an anti-clockwise direction. -
Page 17: Specifications
Specifications Model LUL55S12 Fresh Food Storage Compartment 133L Volume Storage Temperature 0 - 8°C, average ≤ 4°C Energy Consumption 0.32 kWh/24hr Energy consumption 117 kWh per year, based on standard test results for 24 hours. Actual energy consumption will depend on how the appliance is used and where it is located. - Page 20 EU. For more information, please contact the local authority or your retailer where you purchased the product. DSG Retail Ltd. (co. no. 504877) Maylands Avenue, Hemel Hempstead, Herts., HP2 7TG, UK. IB-LUL55S12-140423V3...


Need help?
Do you have a question about the LUL55S12 and is the answer not in the manual?
Questions and answers