Table of Contents
Advertisement
Advertisement
Table of Contents

Related Manuals for Artsound ART 2.4


Summary of Contents for Artsound ART 2.4
- Page 1 Manual ART 2.4 n.v Jobetrade s.a www.artsound.be info@artsound.be R1.1 ENG 1/14...
-
Page 2: Table Of Contents
Using the system ........................... 12 The LED displays ........................12 Using the RF handheld transmitter..................12 Using the RF wall-mounted transmitter................. 13 6.4 ‘Party mode’ ..........................14 7. Warranty conditions ..........................14 n.v Jobetrade s.a www.artsound.be info@artsound.be R1.1 ENG 2/14... -
Page 3: Warnings And Safety
• Pull the plug out of the wall socket whenever the device is not being used for longer periods. Hold the plug to do this, not the cable. n.v Jobetrade s.a www.artsound.be info@artsound.be R1.1 ENG 3/14... -
Page 4: Dear Customer
2. Dear customer Thank you for entrusting us with your confidence in our product and congratulations on choosing to buy the ART 2.4 music distribution system. The device enables you to listen to your favourite music in four different zones of a home, office or restaurant. The device and its controls can be used independently, but also controlled, for example, by a home automation system (domotics). -
Page 5: Technical Specifications And Connecting Options
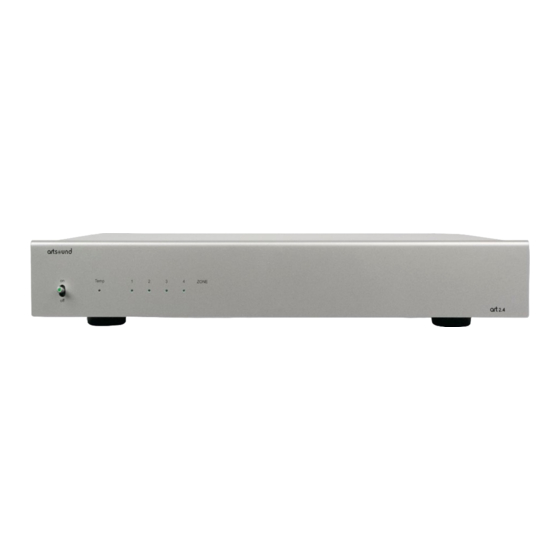
7. Connections for loudspeakers (Zone 1.4, left and right) 8. 230V connection Fig 2: Front 1. On/off switch with integrated LED (green) 2. Temperature warning LED (red) 3. LED zone, activation level of the zone (blue) n.v Jobetrade s.a www.artsound.be info@artsound.be R1.1 ENG 5/14... -
Page 6: Aux Line Input
• RS232, 9600 baud, 8 databits, 1 stopbit, no parity • Pin connections: Pin 2: Transmit data Pin 3: Receive data Pin 5: Common A communication protocol can be obtained on request from your dealer or via info@artsound.be n.v Jobetrade s.a www.artsound.be info@artsound.be R1.1 ENG 6/14... -
Page 7: Power Supply
5. Installation To install correctly follow the steps listed below. Positioning • Ensure that the ART 2.4 is positioned in a well-ventilated place and that all ventilation slats are free. • Observe all statutory regulations. • Position the device centrally, so that distance to the wireless controls is minimised. -
Page 8: Connection To An External Audio Source
TIP: use the “tape-out” or “pre-out” connection on the amplifier and connect this to the audio input of the ART 2.4 in order to listen to the music selected on your amplifier in 4 other zones. -
Page 9: Fm Aerial
(Fig 1-4) Configuration of the device with one or more RF remote controls To operate the ART 2.4 with the RF handheld transmitter on its own, proceed as follows in order for the ART 2.4 to identify the hand transmitter: •... -
Page 10: Configuration For Use With One Or More Rf Handheld Transmitter And Rf Wall-Mounted Transmitters
The appropriate LED lights • Next, press on the key with number 1. The zone LEDs will start to flash temporarily. This is to confirm that the remote control has been read in. • n.v Jobetrade s.a www.artsound.be info@artsound.be R1.1 ENG 10/14... - Page 11 When all wall-mounted transmitters have been read in (max. 4), hold down the set-up button for approx. 3 seconds to leave set-up (no LED will be flashing in this event). The system is now ready to use. n.v Jobetrade s.a www.artsound.be info@artsound.be R1.1 ENG 11/14...
-
Page 12: Deleting Programmed Function From The Memory
All the addresses of the controls, are now deleted and the configuration of these functions can be repeated, as described in sections 5.5 and 5.6. 6 Using the system Before the ART 2.4 can be used it must be correctly installed. See section 5 for this. The LED displays •... -
Page 13: Using The Rf Wall-Mounted Transmitter
1. Select external audio source (AUX) 2. Select a radio preset (1-4) 3. Zone out 4. Volume higher – lower See also the specific manual for the RF wall- mounted transmitter for correct installation. n.v Jobetrade s.a www.artsound.be info@artsound.be R1.1 ENG 13/14... -
Page 14: Party Mode
Artsound is not responsible for any other costs that ensue as a result of the defect (e.g. transport). For details, please consult our general terms and conditions of sale.
Need help?
Do you have a question about the ART 2.4 and is the answer not in the manual?
Questions and answers