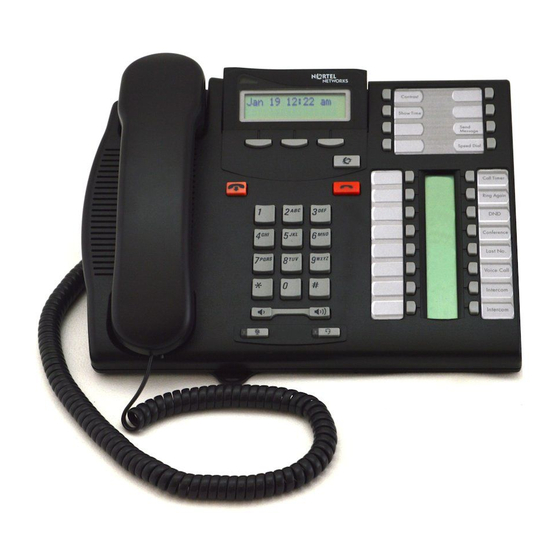
Summary of Contents for Nortel 7100
- Page 1 Business Communications Manager Telephone Feature User Guide Return to Menu © 2004 Nortel Networks P0609371 01 March 24, 2004...
- Page 3 This book uses FEATURE to indicate pressing the Feature key before entering a feature code. The table below shows which buttons to use on the different types of Nortel Networks telephones to use the features. Refer to each user card for specific details about each type of telephone.
-
Page 4: Telephone Features
Put a call on hold so that it can be picked up from any telephone in your system. The display shows a three-digit retrieval code. To retrieve a parked call: press an intercom button and dial the retrieval code. On model 7000, 7100 and 2001telephones, just lift the handset and dial the retrieval code. Call Pickup,... - Page 5 4. After the second call is connected, press FEATURE 3. 5. Press the line or intercom button of the first held call (not required on model 7000, 7100 or 2001 telephones). 6. Press RLS to end the conference call. To remove yourself from a conference permanently (unsupervised conference): Press FEATURE 70.
- Page 6 Do Not Disturb FEATURE 85 When you are not on a call prevent all incoming calls, except priority calls, from ringing at your telephone. When you are on a call, block an incoming priority call. Group FEATURE 802 Listening Use both the handset and speaker while you are on a call.
- Page 7 Hold Press HOLD Temporarily suspend a call. To retrieve a held call, press the line button for the held call. (Press HOLD on model 7000, 7100 and 2001 telephones to toggle between two calls.) Hold - FEATURE 79 or FEATURE/HOLD Exclusive Temporarily suspend a call and prevent other telephones from picking it up.
- Page 8 Messages FEATURE 1 Send a message to another telephone within your system. To view and reply to your messages: 1. Press FEATURE 65. 2. Press * and # to view your message list.
- Page 9 Make a page announcement through an external loudspeaker system. Internal and external page FEATURE 63 and zone (0 to 6) Make a page announcement through both your telephone speakers and an external loudspeaker system. Zone 0 pages all zones. Incoming page during active call: The system can be set to either: •...
- Page 10 2. Enter the ring type number (1 to 4). 3. Press HOLD. Ring volume FEATURE *80 Make your telephone ring so that you can adjust the volume. You can also adjust the volume any time your telephone rings. Run/stop FEATURE *9 Store more than one autodial number or external carrier feature code on one memory button by inserting a break point between numbers or codes.
- Page 11 If you do not specify the external line, the system automatically chooses a line for the call. 4. Dial the telephone number you want to program (up to 24 digits). 5. Press HOLD. 6. Record the code and number you have just programmed.
- Page 12 FEATURE 70 Send a call to another telephone within your system, or to an external telephone. You may not be able to transfer a call on an external line to an external telephone, depending on the capabilities of the lines.
-
Page 13: Call Display Services
Call Display Services The following features are available only if you subscribe to Call Display services from your local telephone company. Autobumping FEATURE 815 Have the system automatically delete the oldest log item from a full Call Log, so that a new log item can be stored. - Page 14 To return a call from your Call Log: return call 1. Display the desired number on your telephone. 2. Edit the number, if required. You can add numbers for long distance dialing or line pool access or remove numbers using the volume bar.
- Page 15 Activate a display menu of feature options. 1. Press Page+ (move forward) and Page- (move back) to scroll through the list. You can also use the up and down navigation keys on the telephone. 2. When the feature you want is highlighted, press Select.
- Page 16 Time zone - Use this feature to reset the time on an IP telephone that is located in a adjust different time zone from the Business Communications Manager to which it is registered.


Need help?
Do you have a question about the 7100 and is the answer not in the manual?
Questions and answers