Table of Contents
Advertisement
ATTACH YOUR RECEIPT HERE
Serial Number
Questions, problems, missing parts? Before returning to your retailer, call our customer
service department at 1-866-994-4148, 8 a.m. - 6 p.m., EST, Monday - Thursday; 8 a.m. -
5 p.m., EST, Friday.
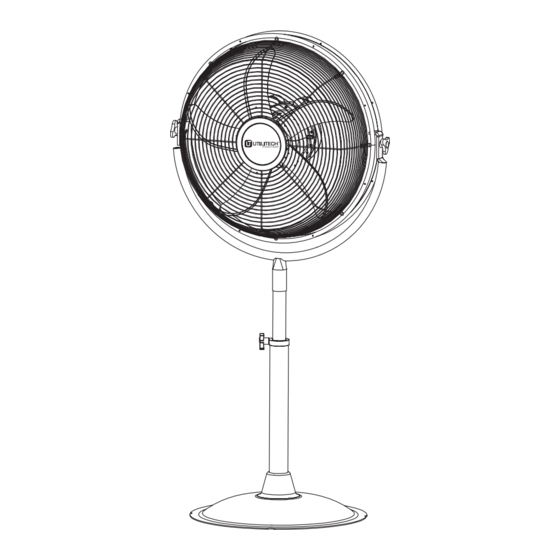
24 IN. / 61 CM HIGH VELOCITY
Purchase Date
1
ITEM #0333662
PEDESTAL FAN
MODEL # HVP-24S180
Français p.9
Español p.17
Advertisement
Table of Contents

Subscribe to Our Youtube Channel
Related Manuals for Utilitech HVP-24S180


Summary of Contents for Utilitech HVP-24S180
- Page 1 ITEM #0333662 24 IN. / 61 CM HIGH VELOCITY PEDESTAL FAN MODEL # HVP-24S180 Français p.9 Español p.17 ATTACH YOUR RECEIPT HERE Serial Number Purchase Date Questions, problems, missing parts? Before returning to your retailer, call our customer service department at 1-866-994-4148, 8 a.m. - 6 p.m., EST, Monday - Thursday; 8 a.m. -...
- Page 2 PACKAGE CONTENTS PART DESCRIPTION QUANTITY Stand Pole Base Spring...
- Page 3 HARDWARE CONTENTS (shown actual size) ∅ ∅ Plastic Nut Tightener Hexagonal Head 5/16 in. x 5/8 in. Screw 3/8 in. Spring Washer 2 pieces Screw Key 7 pieces 7 pieces 1 pieces SAFETY INFORMATION Please read and understand this entire manual before attempting to assemble, operate or install the product.
- Page 4 CAUTION • CONSIDER YOUR WORK AREA ENVIRONMENT. Don’t use fan in damp or wet locations. Don’t operate fan in presence of flammable liquids, gases like gasoline or other fuels, lighter fluid cleaners, oil-based paints, natural gas, hydrogen, coal dust, magnesium dust, grain dust, or explosive dust like powder.
- Page 5 ASSEMBLY INSTRUCTIONS 1. Loosen the 3-wing plastic head screw from the outer tube of stand pole (B). Extend the inner tube to maximum height. Insert the spring (D) into the outer tube of stand pole (B) and tighten back the 3-wing plastic head screw firmly.
- Page 6 ASSEMBLY INSTRUCTIONS Attach the fan body (A) to the stand pole (B). Align 2 holes at the pole of fan body (A) and attach 2 screws (BB) and 2 spring washers (CC) on it, then tighten the screws (BB) firmly. To adjust air flow up and down, tilt the fan to the desired angle.
- Page 7 OPERATING INSTRUCTIONS 1. ADJUSTING AIR SPEED The fan has 3-Speeds (OFF, LOW, MEDIUM AND HIGH). Rotate the speed control switch on the back of the unit to adjust air flow to desired speed (positions 0, 1, 2, 3). 2. ADJUSTING OSCILLATION FEATURE The internal oscillation feature can be turned on by setting the RED switch on the motor to the ON (1) position.
- Page 8 WARRANTY Orient Industries, Inc. Limited One-Year Warranty Every fan is thoroughly inspected and tested before leaving the factory. It is warranted to be free of defects in workmanship and materials for the period of ONE YEAR from the date of purchase. This Warranty is Void if: •...
Need help?
Do you have a question about the HVP-24S180 and is the answer not in the manual?
Questions and answers