Table of Contents
Advertisement
Advertisement
Table of Contents

Related Manuals for Vacmaster VQ1220PFC


Summary of Contents for Vacmaster VQ1220PFC
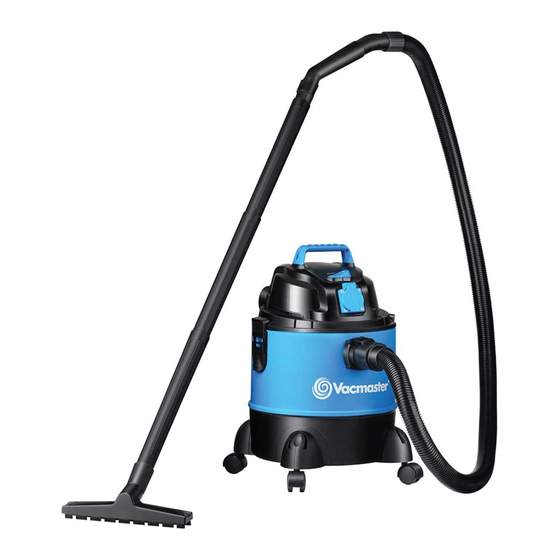
- Page 2 13 Installing & Cleaning Cartridge................. 13 Installing & Cleaning Foam Filter………………....………..….……….… 14 Trouble shooting………………………………………………..…….……….. 15 Exploded view and parts list……………........…….……….. ® Thank you for purchasing this Vacmaster wet/dry vacuum cleaner. Feel ® confident that with Vacmaster you are obtaining a high quality product engineered for optimal performance.
-
Page 3: Important Safety Instructions
Use this Wet/Dry Vac only as described in this manual. To reduce the risk of personal injury or damage to your ® Wet/Dry Vac, use only Vacmaster recommended accessories. SAVE THIS MANUAL FOR FUTURE REFERENCE. - Page 4 • The manufacturer cannot be made responsible for damages that are caused by improper use or incorrect operation. • Connect the appliance only to a 220-240 volt alternating current receptacle. The receptacle should be protected by a 16-amp fuse. • Make sure that the correct dust bag has been inserted securely in its holder before using the appliance.
- Page 5 appliance. Pull the plug out of the receptacle, if you are not going to use the appliance for an extended period of time. Never pull on the cable to unplug the appliance, rather pull on the plug itself. Also, remove any special accessories from the appliance.
- Page 6 • Keep the vacuum cleaner away from heat sources such as radiant heaters, ovens, and so on. • Do not run vac unattended Disposal Information: The appliance contains electric and electronic components and may not be disposed of as household garbage. The local and currently applicable legislation must be observed unconditionally.
- Page 7 1.Overview Appliance Components Vac assembly….…………….…... 1 B Hose…………….………...……... 1 C Caster ………….…………...…... 4 D Extension wands..……….……... 3 E Crevice tool……………………..1 F Adaptor for power tools…………. 1 G Round dust brush...…………….. 1 H Floor brush…......…. 1 I Foam filter………………….…..1 J Cartridge filter......…..
- Page 8 Verify that the power cord is disconnected from the power outlet.(As show in fig.1) 3.2. Undo the latches. (fig.2) 3.3. Lift the power head off the container. (fig.3) 3.4. Remove the contents from inside the container; make sure you have all contents as listed.
- Page 9 3.10. Insert the locking end of the hose into the port of the container and turn to lock in to place. (fig.12) 3.11 Choose the desired accessories and extension wands and push onto the suction tube.(fig.13) Switch on electrical appliance: Press Switch on electrical appliance.
- Page 10 WARNING! Ensure you read, understand and apply Section 1 ‘Safety Instructions’. Reminder: DO NOT vacuum hazardous substances. Use of an incorrect dust bag will invalidate your warranty 4.1. Verify that the power cord is disconnected from the outlet.(fig.1) 4.2. In order to prepare your vacuum for dry vacuuming, verify that the cartridge filter is securely mounted.
- Page 11 WARNING: BE SURE TO READ, UNDERSTAND, AND APPLY INFORMATION, ENTITLED ‘SAFETY INSTRUCTIONS & WARNINGS’. DO NOT VACUUM IN AREAS WITH FLAMMABLE GASES, VAPORS, OR EXPLOSIVE DUSTS IN THE AIR. FLAMMABLE GASES OR VAPORS INCLUDE BUT ARE NOT LIMITED TO; LIGHTER FLUID, SOLVENT TYPE CLEANERS, OIL-BASE PAINTS, GASOLINE, ALCOHOL OR AEROSOL SPRAYS.
- Page 12 and outside before storage. REMEMBER! The foam filter must be removed after wet vacuuming, and a cartridge filter must be installed before dry vacuuming again. This Wet/Dry Vac has blowing capabilities. To use the blower feature follow the instructions listed. WARNING: KEEP BYSTANDERS CLEAR FROM BLOWING DEBRIS.
- Page 13 7.1. Verify that the power cord is disconnected from the outlet. (fig.1) 7.2. Disconnect the hose from the vacuum, turning large end in counter clockwise direction. (fig.2) 7.3. Undo the latches and remove the power head from the container. (fig.3) 7.4.
- Page 14 Removing and Cleaning Cartridge Filter Unlock and remove the filter retainer by tuning retainer handle counter clockwise. Carefully hold and pull the cartridge filter up for removal. (fig.6) Clean the cartridge filter by gently tapping or brushing dirt off. Cleaning should not be done indoors in living areas.
- Page 15 WARNING: TO REDUCE THE RISK OF ELECTRIC SHOCK-UNPLUG BEFORE TROUBLESHOOTING The appliance No power Functional Check the power supply. doesn’t work. fault in the power Have the damaged part cord, switch, or checked by qualified motor Tank is full of personnel or replace it.
- Page 18 Distributed by:...
Need help?
Do you have a question about the VQ1220PFC and is the answer not in the manual?
Questions and answers
As dori o perie , cealaltă s- a rupt
The replacement part for the Vacmaster VQ1220PFC brush is the Vacmaster Brass Bristle Brush Tool 35mm.
This answer is automatically generated