Advertisement
Quick Links
Thank you for purchasing this LITECRAFT product. For your own safety, please
read the instruction manual carefully before turn on the product for the first time.
SAFETY NOTES
• Each person which is responsible for the installation, the use or service
of this unit must be:
- qualified
- has to follow the instructions in this manual.
• WARNING! Be careful when using the device. You risk an electrical
shock from high voltage, if you touch the wires!
• The device has left our company in manufacturer proofed state. To
maintain this status and to ensure a permanent safe operation, it is
absolutely necessary to follow the safety instructions and warnings in
this manual.
• IMPORTANT: Errors, caused by not following these instructions are not
covered by the warranty. The manufacturer will not accept liability for any
resulting defects or problems.
• Keep the unit away from radiators or other heat sources!
• If the unit has been exposed to tremendous temperature changes (e.g.
after transportation), do not turn it on immediately. The resulting
condensation could damage the unit. Don`t switch unit on until the
device reaches room temperature.
• This device belongs to protection class I. Therefore, it is imperative that
the green/yellow wire is connected to the earth contact of the plug. The
electrical connection must be made by a qualified person.
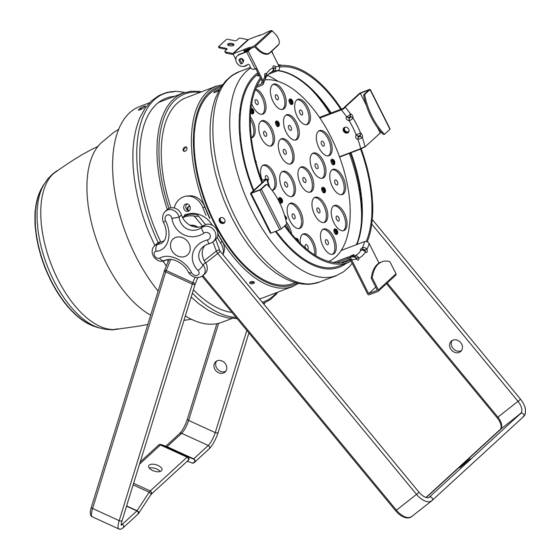
LED PAR 64 AT3
MANUAL
I
Advertisement

Related Manuals for Litecraft LED PAR 64 AT3


Summary of Contents for Litecraft LED PAR 64 AT3
-
Page 1: Safety Notes
LED PAR 64 AT3 MANUAL Thank you for purchasing this LITECRAFT product. For your own safety, please read the instruction manual carefully before turn on the product for the first time. SAFETY NOTES • Each person which is responsible for the installation, the use or service... - Page 2 • Make sure that the cable has never been squeezed or damaged by sharp objects. Check the device and the cables regularly. • If the cable is damaged, it must be replaced immediately by the manufacturer, its service agent or a qualified person in order to avoid danger.
- Page 3 OPERATION • This device has several DMX- and Stand-Alone-Modes. In DMX-mode, multiple devices can be connected and controlled by a controller. The device accepts the settings of the DMX-controller, as soon as the corresponding start address is set. • Slave mode: Connect the DMX-output of the master device (XLR female) to the DMX-input of the slave device (XLR male).
-
Page 4: Technical Specification
CONTROL MODES / DMX DESCRIBTION mode display function DMX- 1 channel mode 1***, *** = DMX ch1 = color macro mode mode adress (35 colors + black) 2 channel mode 2***, *** = DMX ch1 = color macro mode adress (35 colors + black) ch2 = dimmer 3 channel mode 3***, *** = DMX...
Need help?
Do you have a question about the LED PAR 64 AT3 and is the answer not in the manual?
Questions and answers