Table of Contents
Advertisement
Quick Links
Advertisement
Table of Contents

Related Manuals for Heatrae Sadia Multipoint 30H


Summary of Contents for Heatrae Sadia Multipoint 30H
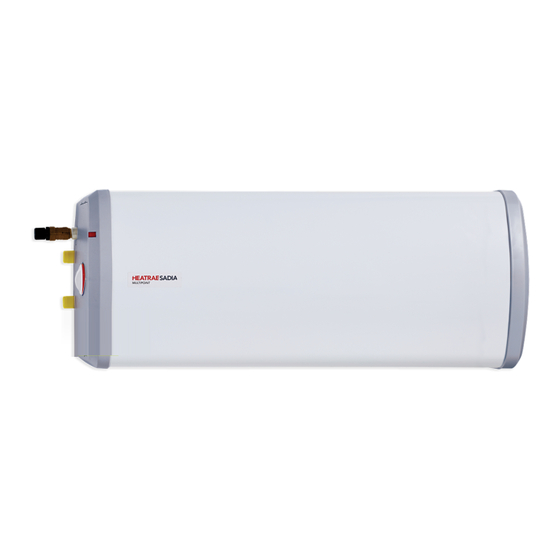
- Page 1 Multipoint Horizontal 30 and 50 litre Fitting Instructions...
-
Page 2: Table Of Contents
Contents 1. Introduction ..........3 6. Installation ............8 1.1 General ..........3 6.1 General ..........8 1.2 Symbols used .........3 6.2 Water connections ........8 1.3 Abbreviations ..........3 6.3 Electrical connections ......11 1.4 Liabilities ..........3 7. Commissioning ..........11 2. Safety ............4 7.1 General ..........11 2.1 General safety warnings ......4 7.2 Checklist before commissioning .....11 2.2 Recommendations .........4... -
Page 3: Introduction
1.4 Liabilities 1. Introduction Manufacturer’s liability Our products are manufactured in compliance with 1.1 General the requirements of the various applicable European Directives. The following instructions are offered as a guide to the user and installer. This product complies with the requirements of the CE marking directive. -
Page 4: Safety
2.3 Specific safety instructions 2. Safety WARNING 2.1 General safety warnings DO NOT operate the product if: DANGER Water ceases to flow during use. Water has entered inside the This product is unvented and as such product because of an incorrectly becomes pressurised when in operation. -
Page 5: Technical Specification
3. Technical specification 3.1 Technical data Electrical rating 3kW@240V~/2.75kW@230V~ Capacities 30 or 50 litres Weight (full) 30 litre - 42.5kg 50 litre - 69.3kg Rated pressure 0.6MPa (6 bar) Minimum recommended supply pressure 0.08MPa (0.8 bar) Maximum supply pressure to PRV 1.6MPa (16.0 bar) Combined pressure reducing valve 0.35MPa (3.5 bar) -
Page 6: Description Of The Product
4.2 Operation principle 4. Description of the product The product is used to heat and store hot water for use in domestic applications. 4.1 General description 4.3 Standard delivery This product is a purposed designed unvented water heater. The product has a copper inner vessel, Product which ensures an excellent standard of corrosion Expansion vessel... -
Page 7: Before Installation
5.3 Choice of location 5. Before installation National Wiring rules may contain restrictions concerning the installation of these products in 5.1 Installation regulations bathrooms. The product should be Horizontally wall mounted using the wall bracket supplied. The WARNING water connections must always be to the right of the product. -
Page 8: Installation
6. Installation WARNING Failure to provide adequate pressure relief 6.1 General will invalidate any warranty and lead to a dangerous installation. After reading the previous sections in this booklet and choosing a good location for the product please Discharge install, paying attention to the following hydraulic, electrical and commissioning sections. - Page 9 Tundish 3.59 – Where a single common discharge pipe serves more than one system, it should be 3.54 – The tundish should be vertical, located at least one pipe size larger than the largest in the same space as the unvented hot water individual discharge pipe (D2) to be connected.
- Page 10 3.63 – The discharge would consist of high temperature water and steam. Asphalt, roofing felt and non-metallic rainwater goods may be damaged by such discharges. Worked example of discharge pipe sizing Fig. 15: shows a G1/2 temperature relief valve with a discharge pipe (D2) having 4 No. elbows and length of 7m from the tundish to the point of discharge.
-
Page 11: Electrical Connections
6.3 Electrical connections 7. Commissioning WARNING 7.1 General Disconnect from mains After filling the installation with water in the previous electrical supply before removing section please follow the following steps to complete any covers. the installation of the product. This product must be earthed. It is suitable for a.c. -
Page 12: Operation
Setting the “mid-range” position: 8. Operation Rotate the thermostat knob to the mid position. Remove the terminal cover by using a large flat bladed screwdriver to depress the four snap lugs 8.1 General located in the four top rectangular depressions on the cover. -
Page 13: Maintenance
Maintenance should be carried out by a a new sealing gasket. Rewire the product with competent person and any replacement reference to the Wiring Diagrams. Refit the parts should be authorised Heatrae Sadia insulating pad to ensure the correct operation of spare parts. the thermostat. -
Page 14: Troubleshooting
10.1 Fault finding 10. Troubleshooting Disconnect the electrical supply before removing the terminal cover. It is recommended that any service operations on the product are carried out by a WARNING competent person. Do not tamper with any of the safety valves or controls supplied with the cylinder as this will invalidate any warranty. -
Page 15: Decommissioning Procedure
Remove product ensure the correct spare part is obtained. Cap pipework Do not replace with parts not recommended by Heatrae Sadia - this will invalidate your warranty and Environmental information may render the installation dangerous. The Waste Electrical and Electronic Equipment... -
Page 16: Accessories
(code no. 95 970 354) is recommended. Follow the correctly. installation instructions supplied with the valve for connection to the system. 2. Any valves or controls are of Heatrae Sadia recommended type. 3. The product has not been tampered with and has been regularly maintained as detailed in these instructions. - Page 20 Parts Center OUR NATIONWIDE NETWORK OF CUSTOMER SUPPORT ENGINEERS Tel: 0344 292 7057 Heatrae Sadia has its very own dedicated nationwide network of highly trained www.partscenter.co.uk customer support engineers so you can have peace of mind that we’re always here to help.
Need help?
Do you have a question about the Multipoint 30H and is the answer not in the manual?
Questions and answers