Table of Contents
Advertisement
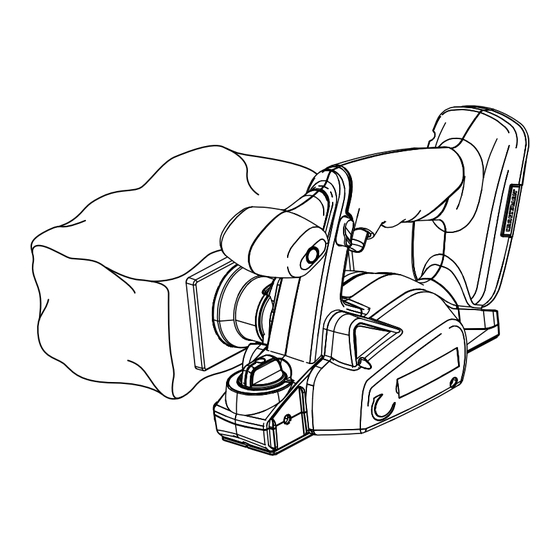
OPERATOR'S MANUAL
19.2 VOLT PLANER
Model No.
315.115840
WARNING:
To reduce the risk of injury,
the user must read and understand the
operator's manual before using this
product.
Customer Help Line: 1-800-932-3188
Sears, Roebuck and Co., 3333 Beverly Rd., Hoffman Estates, IL 60179 USA
Visit the Craftsman web page: www.sears.com/craftsman
983000-796
7-05
Save this manual for future reference
BATTERIES AND CHARGERS
SOLD SEPARATELY
Advertisement
Table of Contents

Related Manuals for Craftsman 315.115840


Summary of Contents for Craftsman 315.115840
- Page 1 SOLD SEPARATELY operator’s manual before using this product. Customer Help Line: 1-800-932-3188 Sears, Roebuck and Co., 3333 Beverly Rd., Hoffman Estates, IL 60179 USA Visit the Craftsman web page: www.sears.com/craftsman Save this manual for future reference 983000-796 7-05...
-
Page 2: Table Of Contents
If this Craftsman tool fails to give complete satisfaction within one year from date of purchase, RETURN IT TO THE NEAREST SEARS STORE IN THE UNITED STATES, and Sears will replace it, free of charge. If this Craftsman tool is used for commercial or rental purposes, this warranty applies for only 90 days from the date of purchase. -
Page 3: General Safety Rules
Store idle power tools out of the reach of children MODEL BATTERY PACK CHARGER and do not allow persons unfamiliar with the power 315.115840 130279003 Model No. 1425301 tool or these instructions to operate the power tool. 130279005 (Item No. -
Page 4: Specific Safety Rules
GENERAL SAFETY RULES n Use the power tool, accessories and tool bits etc., make a connection from one terminal to another. in accordance with these instructions and in the Shorting the battery terminals together may cause manner intended for the particular type of power burns or a fire. -
Page 5: Safety Rules For Charger
SAFETY RULES FOR CHARGER could result in a risk of fire and electric shock. If WARNING! READ AND UNDERSTAND ALL extension cord must be used, make sure: INSTRUCTIONS. Failure to follow all instructions a. That pins on plug of extension cord are the listed below, may result in electric shock, fire same number, size and shape as those of and/or serious personal injury. -
Page 6: Symbols
SYMBOLS Some of the following symbols may be used on this tool. Please study them and learn their meaning. Proper interpreta- tion of these symbols will allow you to operate the tool better and safer. SYMBOL NAME DESIGNATION/EXPLANATION Volts Voltage Amperes Current Hertz... - Page 7 SYMBOLS The following signal words and meanings are intended to explain the levels of risk associated with this product. SYMBOL SIGNAL MEANING Indicates an imminently hazardous situation, which, if not avoided, will DANGER: result in death or serious injury. Indicates a potentially hazardous situation, which, if not avoided, could WARNING: result in death or serious injury.
-
Page 8: Features
FEATURES PRODUCT SPECIFICATIONS Motor ...............19.2 Volt DC Rabbet Depth ............0-1/2 in. No Load Speed ..........11,000/min. Charger Input ........120 V, 60 Hz, AC only Planing Width ............... 2 in. Charge Rate ............. 1 hour Planing Depth............1/64 in. EDGE GUIDE/ SWITCH RABBET GUIDE TRIGGER... -
Page 9: Assembly
ASSEMBLY UNPACKING DUST BAG This product requires assembly. ADAPTOR n Carefully remove the tool and any accessories from the box. Make sure that all items listed in the packing list are included. n Inspect the tool carefully to make sure no breakage or damage occurred during shipping. -
Page 10: Operation
OPERATION CHARGING A COOL BATTERY PACK WARNING: Do not allow familiarity with tools to If battery pack is below normal temperature range, the make you careless. Remember that a careless green LED on charger will come on. Allow battery pack to fraction of a second is sufficient to inflict serious reach normal temperature, then the red LED will come on. - Page 11 OPERATION CHARGING A HOT BATTERY PACK TO INSTALL BATTERY PACK See Figure 5. When using the tool continuously, the batteries in the n Place the lock-off button in the center position to lock battery pack will become hot. You should let a hot bat- tery pack cool down for approximately 30 minutes before the switch.
- Page 12 OPERATION WARNING: Battery tools are always in operating KICKSTAND condition. Therefore, switch should always be locked when not in use or carrying at your side. STARTING/STOPPING THE PLANER See Figure 6. n To start the planer: Push the lock-off button from either side, and then depress the switch trigger.
- Page 13 OPERATION FRONT WARNING: Always clamp the workpiece securely HANDLE before making a cut. Work moving during a cut could result in loss of control of the planer and cause seri- ous injury. REAR OPERATING THE PLANER HANDLE See Figure 9. n Clamp the work securely.
- Page 14 OPERATION CHAMFERING PLANING EDGES AND MAKING RABBET CUTS See Figure 10. The planer comes with an adjustable edge guide for preci- The planer is designed with a chamfering groove in the sion edge planing and rabbet cutting. Attach the edge front shoe to chamfer edges of boards as shown.
- Page 15 OPERATION MAKING RABBET CUTS PLANING EDGES See Figure 13. See Figure 12. Follow the directions in the Operating the Planer section Follow the directions in Operating the Planer. Hold the edge earlier in this manual. Hold the edge guide firmly against guide firmly against the edge of the work surface.
-
Page 16: Maintenance
CLEANING THE CHIP EXHAUST AND EMPTYING WARNING: When servicing, use only identical THE DUST BAG Craftsman replacement parts. Use of any other part See Figure 14. may create a hazard or cause product damage. After using the planer for an extended period of time or... - Page 17 MAINTENANCE CHANGING BLADES See Figures 15 - 17. BLADE BLADE CLAMP WRENCH The planer blades are reversible. When one edge be- comes dull, the blade can be reversed so that the other side can be used. Always replace or reverse blades in pairs. Do not at- tempt to sharpen blades.
- Page 18 MAINTENANCE REPLACING THE BELT See Figures 18 - 19. When replacing the belt, use recommended replacement belt only (Part No. 570279002). n Remove the battery pack from the tool. n Remove the belt cover screws. n Remove the belt cover. n Force the old belt from the small pulley by turning in the direction shown.
- Page 19 MAINTENANCE BATTERY PACK REMOVAL AND PREPARATION BATTERIES FOR RECYCLING The battery pack for this tool is equipped with nickel-cad- To preserve natural resources, please mium rechargeable batteries. Length of service from each recycle or dispose of batteries charging will depend on the type of work you are doing. properly.
-
Page 20: Exploded View And Parts List
CRAFTSMAN PLANER – MODEL NUMBER 315.115840 The model number will be found on a plate attached to the motor housing. Always mention the model number in all correspondence regarding your PLANER or when ordering repair parts. SEE BACK PAGE FOR PARTS ORDERING INSTRUCTIONS...
Need help?
Do you have a question about the 315.115840 and is the answer not in the manual?
Questions and answers
Good afternoon, I need to replace the belt of my planer 315.115840, where can I buy it from?