DOD LS430W User Manual
Hide thumbs
Also See for LS430W:
- User manual (28 pages) ,
- User manual (20 pages) ,
- Hardware installation manual (2 pages)
Table of Contents
Advertisement
Available languages
Available languages
Quick Links
Download this manual
See also:
User Manual
Advertisement
Table of Contents

Related Manuals for DOD LS430W


Summary of Contents for DOD LS430W
- Page 1 LS430W USER MANUAL...
-
Page 2: Table Of Contents
INSTALLATION ET CONNEXION ................22 GETTING START ......................7 DÉMARRER .........................23 INTRODUCTION OF OTHER FUNCTIONS ..............12 INTRODUCTION AUX AUTRES FONCTIONS ............28 ON-SCREEN DISPLAY (OSD) MENUS ..............14 MENUS À L'ÉCRAN (OSD) ..................30 ADDITIONAL INFORMATION ..................16 INFORMATIONS COMPLÉMENTAIRES ..............32 Copyright © 2013 DOD Tech All Rights Reserved... -
Page 3: Important Safety Instruction
IMPORTANT SAFETY INSTRUCTION PACKAGE CONTENTS About the Product • Please do not install the product in a highly humid environment. • Please avoid fierce impact upon the product • Due to high temperatures during summer, please do not expose the product to long period of time, because it may reduce the product’s lifespan. -
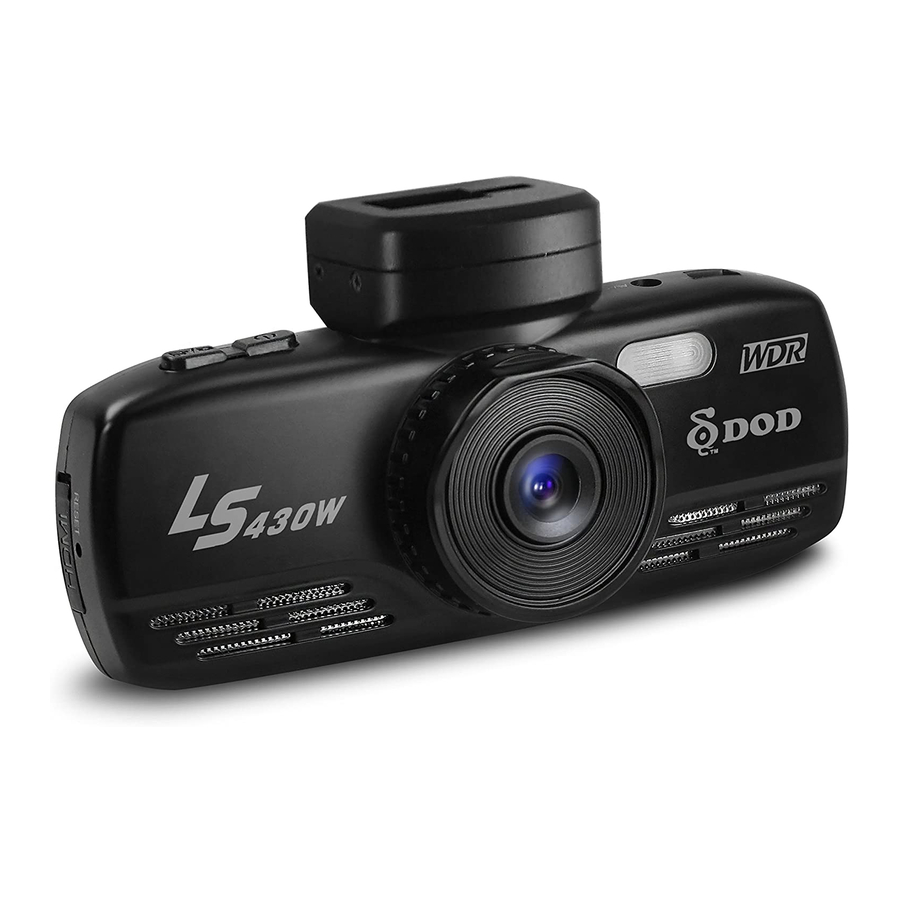
Page 4: Controls And Functions
CONTROLS AND FUNCTIONS CONTROLS AND FUNCTIONS Power/ [ Press and hold [ ] until icon 1 Turn on/off the unit appears during recording, the record audio 1 turns off. Record/Shutter/OK/[ When the unit is on Recording, press it for EV adjustment/[ stop Recording. -
Page 5: Installation And Connection
INSTALLATION AND CONNECTION GETTING START 1. Insert a memory card (sold separately) • Please insert a micro SDHC card with class 10 or above, into the slot located on the side of the unit. • Be sure to format the SD card before the initial use. *This Camera supports to 32GB Micro SD Card. -
Page 6: Getting Start
GETTING START GETTING START 3. Select language 4. Setting the date and time • Press [ ] Twice to enter system settings, Select [ ] to Language setting. • Press [ ] Twice to enter System settings, Select [ ] to Date/Time setting •... - Page 7 GETTING START GETTING START 6. Taking Photos 7. Playback Mode • Press [ ] once to Camera Mode • Select the preview/next photo/movie • Press [ ] to take a picture. - Press [ ] twice to enter Playback Mode - Press [ ] / [ ] to select the photo or movie clip you want to playback.
-
Page 8: Introduction Of Other Functions
INTRODUCTION OF OTHER FUNCTIONS INTRODUCTION OF OTHER FUNCTIONS • GPS Track (only available when connect with GPS signal) • Loop Recording ( default Loop Recording can be set at 2/3/5 minutes, it means that the video clip intervals will Display the driving route with Google Maps. be set at 2/3/5 minutes long and after memory card is full, the oldest video clips will be deleted and new video clips will take its place. -
Page 9: On-Screen Display (Osd) Menus
ON-SCREEN DISPLAY (OSD) MENUS ON-SCREEN DISPLAY (OSD) MENUS Main Menu Sub Menu Options Main Menu Sub Menu Options [MODE] [UP]/[DOWN] - [OK] [UP]/[DOWN] - [OK] [MODE] [UP]/[DOWN] - [OK] [UP]/[DOWN] - [OK] Image Size 12M/10M/8M/5M/3M/2MHD/VGA/1.3M Resolution 1080FHD/720P/720P 60FPS/WVGA/VGA Exposure +3/+2/+1/0/-1/-2/-3 Color Normal/Black&White/Sepia Auto/Daylight/Cloudy/Tungsten/... -
Page 10: Additional Information
Please plug the AV or HDMI cable to the unit and connect the other end to the video/ audio equipment. FIRMWARE UPGRADE Please visit DOD Tech official website (http://www.dod-tech.com) to download the latest firmware for your unit. Before download the updated firmware, please navigate to the System Menu and select “Version” to view the current firmware version. -
Page 11: Important Instructions De Sécurité
IMPORTANT INSTRUCTIONS DE SÉCURITÉ CONTENU DE L'EMBALLAGE À propos du produit • N'installez pas le produit dans un environnement trop humide. • Évitez les impacts forts sur le produit. • En raison des températures élevées l'été, n'exposez pas le produit pendant une période prolongée, au risque de réduire sa durée de vie. -
Page 12: Commandes Et Fonctions
COMMANDES ET FONCTIONS COMMANDES ET FONCTIONS Alimentation/ [ s'affiche lors de l'enregistrement, l'audio de 1 Allumer/éteindre l'unité l'enregistrement est alors désactivé. 1 Enregistrer/Obturateur/OK/[ Ajustement EV/[ Lorsque l'unité enregistre, appuyez pour arrêter Menu/[ l'enregistrement. TAffiche le menu à l'écran (OSD), quitte et Lorsque l'unité... -
Page 13: Installation Et Connexion
INSTALLATION ET CONNEXION DÉMARRER 1. Insérez une carte mémoire ( vendue séparément • Veuillez insérer une carte micro SDHC de classe 10 ou supérieure dans l'emplacement situé sur le côté de l'unité. • Veillez à formater la carte SD avant la première utilisation. *La caméra prend en charge les cartes micro SD d’une capacité... - Page 14 DÉMARRER DÉMARRER 3. Sélectionner une langue 4. Configurer la date et l'heure • Appuyez deux fois sur [ ] pour accéder aux réglages du système. Sélectionnez • Appuyez deux fois sur pour accéder aux réglages du système. Sélectionnez [ ] pour accéder aux paramètres de langue. ] pour accéder aux paramètres de date/heure.
- Page 15 DÉMARRER DÉMARRER 6. Prendre des photos 7. Mode lecture • Appuyez sur[ ] une fois pour le mode caméra. • Sélectionner la photo/vidéo suivante/précédente • Appuyez sur [ ] pour prendre une photo. - Appuyez sur [ ] deux fois pour le mode lecture. - Appuyez sur [ ] / [ ] pour sélectionner la vidéo ou la photo à...
-
Page 16: Introduction Aux Autres Fonctions
INTRODUCTION AUX AUTRES FONCTIONS INTRODUCTION AUX AUTRES FONCTIONS • Surimpression de la plaque • Enregistrement en boucle (défaut) L'enregistrement en boucle peut être défini sur 2/3/5 minutes, ce qui signifie que Saisissez votre numéro de plaque ou le texte de votre choix, et celui-ci s'affichera sur l'intervalle des clips vidéo sera défini sur 2/3/5 minutes et qu'une fois la mémoire les vidéos prises. -
Page 17: Menus À L'écran (Osd)
MENUS À L'ÉCRAN (OSD) MENUS À L'ÉCRAN (OSD) Menu principal Sous-menu Options Menu principal Sous-menu Options [MODE] [UP]/[DOWN] - [OK] [UP]/[DOWN] - [OK] [MODE] [UP]/[DOWN] - [OK] [UP]/[DOWN] - [OK] Activé Activé Résolution 1080FHD/720P/720P 60 IPS/WVGA/VGA Taille d'image 12M/10M/8M/5M/3M/2MHD/VGA/1,3M Exposition +3/+2/+1/0/-1/-2/-3 Couleur Normal/Noir et blanc/Sépia... -
Page 18: Informations Complémentaires
équipement vidéo/audio. MISE À NIVEAU DU FIRMWARE Visitez le site Web officiel de DOD Tech (http://www.dod-tech.com) afin de télécharger la dernière version du firmware pour votre unité. Avant de télécharger le firmware mis à jour, veuillez naviguer vers le menu Système et sélectionner « Version »... - Page 19 Copyright © 2013 DOD Tech All Rights Reserved...
Need help?
Do you have a question about the LS430W and is the answer not in the manual?
Questions and answers