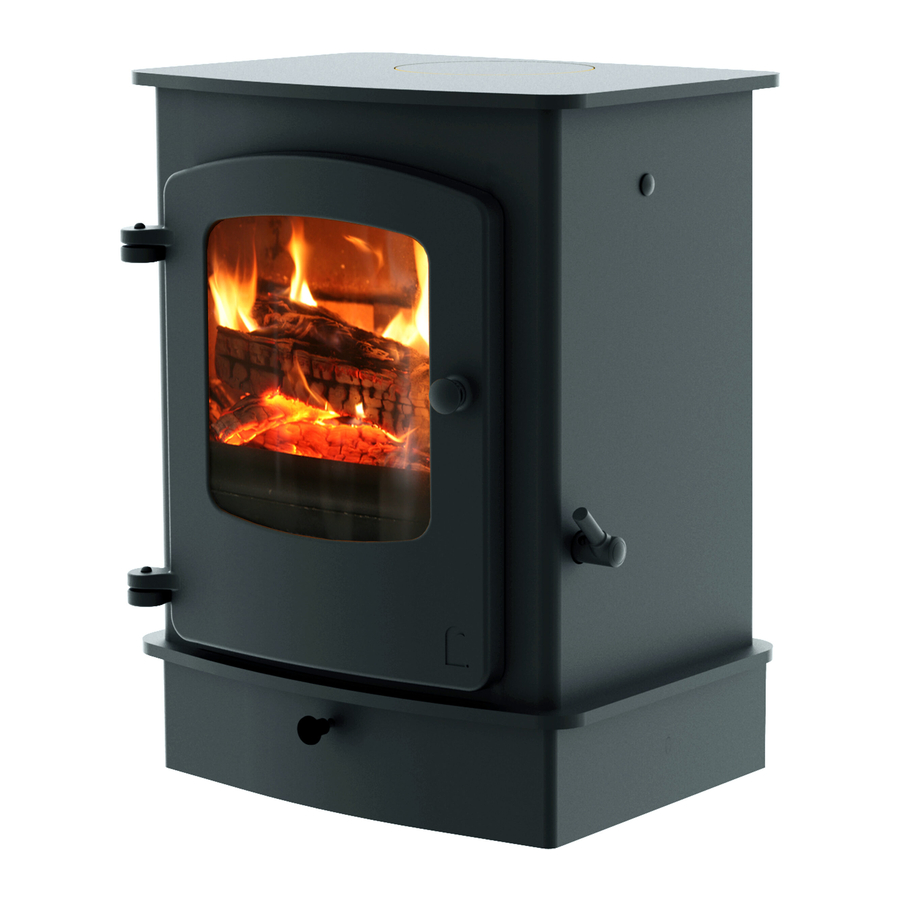
Charnwood Cove 1 Operating & Installation Instructions Manual
Hide thumbs
Also See for Cove 1:
- Operating & installation instructions manual (19 pages) ,
- Operating & installation instructions manual (20 pages)
Table of Contents
Advertisement
Quick Links
Advertisement
Table of Contents

Subscribe to Our Youtube Channel
Summary of Contents for Charnwood Cove 1
- Page 1 ® charnwood Operating & Installation Instructions...
-
Page 3: Table Of Contents
C O N T E N T S O P E R AT I N G I N S T R U C T I O N S Fuel Door Operation Multi Grate Lighting Controlling The Fire Riddling Refuelling Ash Clearance Maintenance Throat Plate &... -
Page 4: Operating Instructions
MULTI GRATE checks described in the Installation Instructions have been carried out Your Charnwood Cove is fitted with a multi grate to enable wood to correctly and that the chimney has been swept, is sound and free be burned and ash to be cleared. The grate has two positions: from any obstructions. -
Page 5: Controlling The Fire
OPERATING INSTRUCTIONS ® to become hot before adjusting the air controls to the required riddled when the ash begins to cover the slots in the rear fireplate. setting. The fire should be riddled with the door shut (see Fig. 2). Place the... -
Page 6: Maintenance
Do not use abrasive cleaners or pads as these can scratch the surface which will weaken To make ash removal easier there is a special Charnwood ash carrier the glass and cause premature failure. Aerosol spray cleaners should available. -
Page 7: Chimney Sweeping
OPERATING INSTRUCTIONS ® plate forwards to align the slots with the support pegs and then hinge therefore, when lighting the stove allow the fire bed to become well the plate down from its back supports. Lift up from the back established before closing the air control. -
Page 8: If You Need Further Help
Expert advice should be sought if necessary. IF YOU NEED FURTHER HELP If you need further help with your Charnwood Cove then your Installer will be able to provide the answers to most questions. Your Local Charnwood Premier Dealer has a great deal of experience and will also be able to provide helpful advice. -
Page 9: Installation Instructions
Solid Fuel must be used. supply must be via a permanently open vent. There is no requirement for Cove 1, but minimum free areas are: If there is no existing chimney then a prefabricated block chimney or... -
Page 10: Connection To Flues
4 pallet bolts using a 10mm spanner. The pallet brackets can now be removed from the stove by tilting it and using a 13mm COVE 1 COVE 2 COVE 3 spanner to remove the bolts. These 4 bolts are required for levelling 390mm (15.3in) -
Page 11: Pre Lighting Check
INSTALLATION INSTRUCTIONS ® 2. Store stand PRE LIGHTING CHECK Place the Store Stand on the hearth, with at least 100mm clear space Before initial lighting the following points should be checked: behind it. Remove the lower cover as described above - it is not used. -
Page 12: Commissioning
INSTALLATION INSTRUCTIONS ® COMMISSIONING On completion of the installation and after allowing a suitable period of time for the fire cement and mortar to dry out, the stove should be lit and checked to ensure that smoke and fumes are taken from the appliance up the chimney and emitted safely. -
Page 13: Dimensions
DIMENSIONS (mm) ® Flue outlet to suit 125mm (5") f lue pipe TOP VIEW Optional Vertical Rear Flue Adapter 795 745 795 745 Max dimension with door open = 673 FRONT VIEW SIDE VIEW BACK VIEW... - Page 14 DIMENSIONS (mm) ® Flue outlet to suit 150mm (6") f lue pipe TOP VIEW Optional Vertical Rear Flue Adapter 949 894 712 657 Max dimension with door open = 808 FRONT VIEW SIDE VIEW BACK VIEW...
-
Page 15: Dimensions
DIMENSIONS (mm) ® Flue outlet to suit 180mm (7") f lue pipe Optional Vertical Rear Flue Adapter TOP VIEW 1325 1280 1143 1325 1280 1143 1025 Max dimension with door open = 902 FRONT VIEW SIDE VIEW BACK VIEW... -
Page 16: Parts Lists
Description. In case of difficulty contact the manufacturer at the address shown. This drawing is for identification purposes only. charnwood BISHOPS WAY, NEWPORT, ISLE OF WIGHT PO30 5WS, UNITED KINGDOM T:+4 4 (0)1983 537799 • F:+4 4 (0)1983 537788 • SPARES@CHARNWOOD.COM • WWW.CHARNWOOD.COM ®... - Page 17 # Please specify colour when ordering.” contact the manufacturer at the address shown. This drawing is for identification purposes only. charnwood BISHOPS WAY, NEWPORT, ISLE OF WIGHT PO30 5WS, UNITED KINGDOM T:+4 4 (0)1983 537799 • F:+4 4 (0)1983 537788 • SPARES@CHARNWOOD.COM • WWW.CHARNWOOD.COM ®...
-
Page 18: Parts Lists
No. and Description. In case of difficulty Contact the manufacturer at the address shown. This drawing is for identification purposes only. charnwood BISHOPS WAY, NEWPORT, ISLE OF WIGHT PO30 5WS, UNITED KINGDOM T:+4 4 (0)1983 537799 • F:+4 4 (0)1983 537788 • SPARES@CHARNWOOD.COM • WWW.CHARNWOOD.COM ®... -
Page 19: Certification
A.J WELLS & SONS LTD A.J WELLS & SONS LTD Bishops Way, Newport, Isle of Wight PO30 5WS, United Kingdom A Division of A.J.Wells & Sons Limited Registered in England No. 03809371 EN13240:2001 ROOMHEATERS FIRED BY SOLID FUEL Cove I Cove 2 Cove 3 EC certificate of... - Page 20 BISHOPS WAY, NEWPORT, ISLE OF WIGHT PO30 5WS, UNITED KINGDOM T : + 4 4 ( 0 ) 1 9 8 3 5 3 7 7 7 7 • F : + 4 4 ( 0 ) 1 9 8 3 5 3 7 7 8 8 • C O N T A C T U S A T W W W . C H A R N W O O D . C O M ®...


Need help?
Do you have a question about the Cove 1 and is the answer not in the manual?
Questions and answers