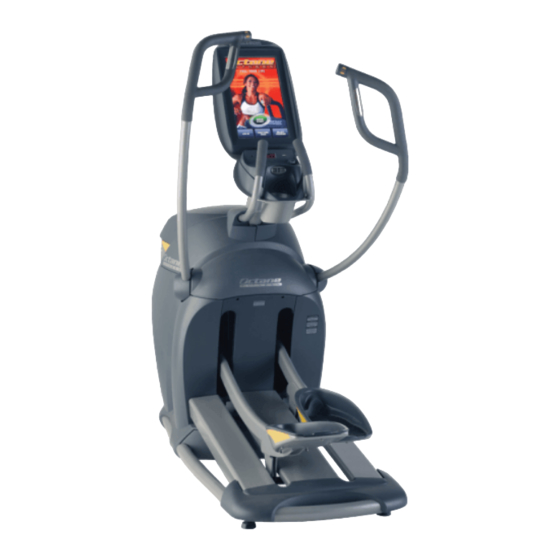
Octane Fitness PRO3700 Assembly Manual
Hide thumbs
Also See for PRO3700:
- Product safety information (33 pages) ,
- Operation manual (24 pages) ,
- Assembly manual (16 pages)
Advertisement
Quick Links
Advertisement

Related Manuals for Octane Fitness PRO3700


Summary of Contents for Octane Fitness PRO3700
- Page 1 PRO3700...
- Page 3 Octane Fitness customer service at 1.888.OctAne4 ext. 1, you may also send an email to customerservice@octanefitness.com, or visit us on the web at www.octanefitness.com.
- Page 4 P R O 3 7 0 0 C o n t e n t s the Octane Fitness base box contains the following: Tools required: A) 1 - Octane Fitness cross trainer base • Phillips screwdriver B) 1 - Detached right pedal lever •...
- Page 5 1 - cable tie (for securing loose wires to mast) O) 4 - lock washer (for moving handlebars) P) 2 - threaded plate (for moving handlebars) the PRO3700 console box contains the following: 1) 1 - console 2) 1 - Keypad...
- Page 6 1. Attach right pedal lever a. Remove bolt from 3-pivot link. b. Attach right pedal lever (b) to 3-pivot link. c. tighten the bolt and nut securely using 17mm socket and wrench. 2. Attach moving handlebars—Moving handlebars are labeled left and right, be sure to install accordingly. a.
- Page 7 3. Install console mast a. Attach the console mast (c) by placing the keyhole slots in the mast plate over the bolts and sliding the console mast toward the pedals. b. Tighten the four 6mm hex key bolts attaching console mast to frame.
- Page 8 (no action required) Note: If you are using the optional LCD Mounting Arm, the PRO3700 Entertainment Kit, or the PRO3700 900 MHz Audio Kit, skip step 6 of these instructions and instead follow the instructions included with the LCD Mounting Arm. Once you have completed those...
- Page 9 Pedal the unit and verify that the console leDs light and that the level and Program control buttons on the moving handlebars are working. if any issues are detected, recheck the connections, or contact Octane Fitness customer service for assistance. Once you have verified these functions, proceed with remaining steps.
- Page 10 Repeat for the other arm. should you have any questions or concerns in making this adjustment, please contact your local service provider or contact Octane Fitness customer service at 1.888.OctAne4, ext. 1. 8. Place handlebar covers a. Position the handlebar cover (H) at the base of the handlebar (F or G).
- Page 11 9. Adjust stride length (optional) Note: The PRO3700 is initially set to the “Running” stride length of 24”. To adjust to “Jogging” length (20.5”), follow these steps: a. locate the 3-pivot link on the right side of the machine. it is secured to the pivot arm by 3 bolts and a bracket.
- Page 12 10. Place top cover a Align top cover (D) on top of main housing. Hold the back edge (near the mast) in place and shift the front edge Hold here forward until it settles into position. b. While still holding the back edge in place, press firmly on Secure with screws the bottom edge of the front of the cover until it snaps into...
- Page 13 Tighten each leveler nut to the top of the leveler to lock. Note: If you move your PRO3700, you may need to adjust the levelers to make sure your product is level with the floor. Caution: If the unit is not level, it may not function properly.
- Page 14 PRO3700 features transport wheels on the front of the unit. be careful when moving from one surface to another, such as hardwood floor to carpet.
- Page 15 N O T E S...
- Page 16 ©2012 Octane Fitness, llc. All rights reserved. Octane Fitness, Dedicatedlogic, Fuel your life, Heartlogic, now-Zone, X-mode, Armblaster, GluteKicker, and smartstride are registered trademarks of Octane Fitness. Any use of these trademarks, without the express written consent of Octane Fitness, is forbidden.