Advertisement
Quick Links
INTRODUCTION
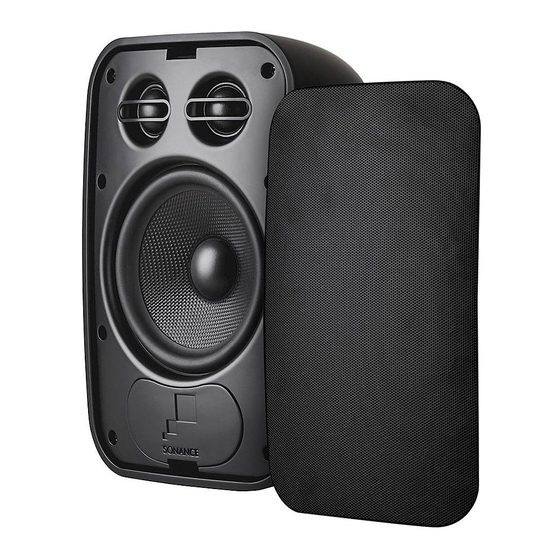
Thank you for purchasing Sonance Mariner® weather-resistant speakers.
When properly installed, these speakers will give you many years of
outdoor entertainment pleasure. To get the most out of your new
speakers, please read this manual thoroughly before you begin installation.
The directions in this manual apply to the Mariner 62SS and Mariner
52SS models.
PARTS LIST
Your Sonance Mariner speakers include the following:
• (1) Sonance Mariner SS speaker
• (1) Grilles
• (1) Wiring terminal covers
• (1) Fastmount Bracket
• (2) Mounting bracket base halves
SPEAKER PLACEMENT
Sonance Mariner SS speakers combine the outputs of your amplifier's
left and right stereo channels, and play both stereo channels from just
one speaker. A single Mariner SS speaker to deliver outstanding perfor-
mance in areas where listeners will be moving around, or where a pair of
stereo speakers would be impractical.
The Mariner SS speakers are highly weather-resistant, and when mount-
ed outdoors will perform exceptionally well for years even under adverse
weather conditions.
The new Mariner mounting system makes it easy to mount the speakers
in a variety of positions and locations:
Against a wall
Against a wall
(flush)
(angled, with base)
In a corner
• (1) Plastic inserts (to fill bracket
indentations when mounting
brackets are not used)
• (1) Hardware package
Under an eave
On a pole
I N S T R U C T I O N M A N U A L
S O N A N C E M A R I N E R
S I N G L E S T E R E O T E C H N O L O G Y
W E A T H E R - R E S I S T A N T S P E A K E R S
The best performance is obtained by placing the speaker at ear level,
facing the listeners.
• If you are mounting the speaker above or below ear level, pivot it up or
down to direct the sound towards the listeners.
• You can orient the speaker either horizontally or vertically without
affecting the sound quality.
CONNECTING AND ASSEMBLING THE SPEAKERS
WARNING: Turn the amplifier's power OFF until you have
completed all of the connections and have determined that they are
correct. (If the amp's AC plug is accessible we recommend that
you unplug it from the wall outlet to avoid accidental turn-on and
possible damage to the amplifier.)
1. In most cases you will be able to attach the mounting bracket directly
to the mounting surface. Run the
speaker wires from the amplifier to
the speaker location and through
the hole in the mounting bracket
(and mounting base, if used).
Note: To increase water resistance
and make installation easier, the
speaker wire terminals are located on
the Mariner speakers' front panel. Be
sure to leave enough wire at the
speaker location to feed through the
tunnel in the speaker enclosure and
connect to the terminals on the front.
2. Attach the mounting bracket to
the mounting surface using hard-
ware (not included) that is appro-
priate for the type of surface.
2. Attach
bracket
• If the installation requires that
the speaker be mounted in a
corner,attach the bracket with
hardware through the slots in
the angled corners as shown
to the right.
1
S E R I E S
®
( S S )
®
1. Pass wire
through hole
3. Corner
mounting
Advertisement

Subscribe to Our Youtube Channel
Related Manuals for Sonance Mariner Series


Summary of Contents for Sonance Mariner Series
-
Page 1: Parts List
SPEAKER PLACEMENT (and mounting base, if used). Note: To increase water resistance Sonance Mariner SS speakers combine the outputs of your amplifier’s and make installation easier, the speaker wire terminals are located on left and right stereo channels, and play both stereo channels from just the Mariner speakers’... - Page 2 I N S T R U C T I O N M A N U A L S O N A N C E M A R I N E R S E R I E S ® S I N G L E S T E R E O T E C H N O L O G Y ( S S ) ®...
- Page 3 9. Fit the grille onto the speaker. paint and a spray gun to paint the Mariner speakers. • The Sonance logo can be removed, rotated 90° and replaced in its 1. If it has already been installed, remove the grille from the speaker.
-
Page 4: Exclusions And Limitations
Sonance is a registered trademark of Dana Innovations, Inc. Sonance Mariner is a registered trademark of Sonance. Sonance • 212 Avenida Fabricante • San Clemente, CA 92672-7531, USA • (800) 582-7777 or (949) 492-7777 • FAX: (949) 361-5151 • Technical Support: (800) 582-0772 w w w .
Need help?
Do you have a question about the Mariner Series and is the answer not in the manual?
Questions and answers