
Subscribe to Our Youtube Channel
Related Manuals for Simplicity Pixie


Summary of Contents for Simplicity Pixie
- Page 1 (The chances are you’ r e never going to read me) Owner’s Manual www.SimplicityVac.com...
-
Page 3: Table Of Contents
Annual Checkup Power Cord Care Emptying the Dust Cup Replacing the Filters Cleaning the Dust Cup Removing the Brushroll Problem Solving Guide Troubleshooting Visit Simplicity Vacuums Online How to Contact Your Authorized Retailer Key Replacement Parts For Best Performance Warranty... -
Page 4: Important Safety Instructions
• Do not attempt to service the unit while appliance dropped, damaged, left outdoors, or dropped is plugged in. into water, return it to your Authorized Simplicity Retailer for service. • Do not use vacuum to pick up water or any wet materials. -
Page 5: Polarization Instructions
POLARIZATION INSTRUCTIONS Power Cord, 2-Wire Polarized Cord To reduce the risk of electric shock, the vacuum is equipped with a polarized alternating current line plug (a plug having one blade wider than the other). This plug will fit into the power outlet only one way. -
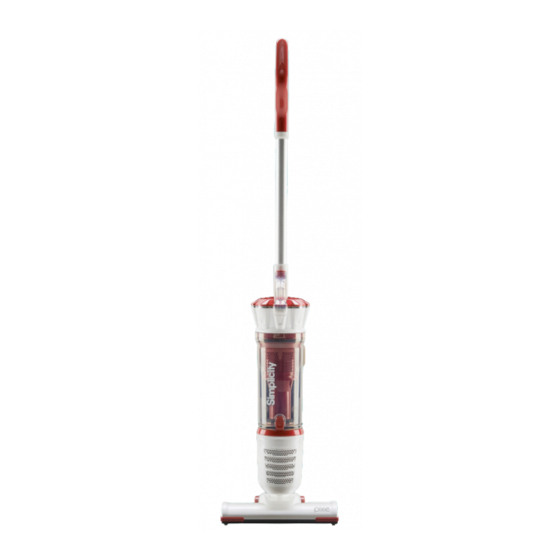
Page 6: Description Of The Vacuum
DESCRIPTION OF THE VACUUM Handle Dust Cup Handle Tube Lower Dust Cup Release Button Upper Dust Cup Release Button (to empty contents) (to remove and replace the dust cup) Floor Nozzle Dust Cup Handle Rotating Cord Hooks Dust Cup Cover On/Off Button Dust Cup Cover Latch (to access filter) Power Cord... -
Page 7: Assembling The Vacuum
ASSEMBLING THE VACUUM NOTE: Always unplug the vacuum before assembling or removing accessories. Attaching the Handle Insert the handle tube into the top of the vacuum (Fig. 1) until it clicks into place. Attaching the Floor Nozzle Place the floor nozzle on the floor with the neck locked in the upright position. -
Page 8: Unwinding The Power Cord
ASSEMBLING THE VACUUM Unwinding the Power Cord The upper cord hook rotates to allow for quick access to the power cord. Turn the upper cord hook downward and you can quickly drop the power cord to the floor without unwinding it from the cord hooks. -
Page 9: Maintenance And Care
Annual Checkup To keep your vacuum in peak operating condi- tion, it is recommended you bring your vacuum to an Authorized Simplicity Vacuum Retailer for an annual checkup. The Retailer will conduct a comprehensive examination to ensure your vacuum is in top operating condition. -
Page 10: Emptying The Dust Cup
MAINTENANCE AND CARE Emptying the Dust Cup WARNING: Empty the dust cup before the contents reach the “fill line” on the dust cup. Over-filling the dust cup may cause dirt and debris to clog the filter and cause loss of suction. WARNING: Always unplug the vacuum from the electrical outlet before removing the dust cup. -
Page 11: Replacing The Filters
MAINTENANCE AND CARE Replacing the Filters WARNING: Always unplug the vacuum from the electrical outlet before removing the filters. Replacing the HEPA Media Filter • Turn the vacuum off and unplug the power cord from the wall outlet. • Remove the dust cup from the vacuum by Fig. -
Page 12: Cleaning The Dust Cup
MAINTENANCE AND CARE Cleaning the Dust Cup WARNING: Always unplug the vacuum from the electrical outlet before removing the dust cup. • Turn the vacuum off and unplug the power cord from the wall outlet. • Remove the dust cup from the vacuum by pressing the upper dust cup release button on top of the dust cup (Fig. -
Page 13: Removing The Brushroll
MAINTENANCE AND CARE Removing the Brushroll • Remove the floor nozzle by pressing the floor nozzle release button on the back of the vacuum (Fig. 1). • Turn the floor nozzle over. Use a screwdriver or a coin to turn the screw once to the left. Then lift off the brushroll cover (Fig. -
Page 14: Problem Solving Guide Troubleshooting
Any other service should be performed by an Authorized Simplicity Vacuum Retailer. To locate your nearest Authorized Retailer, visit our website at www.SimplicityVac.com or call 888-9-SIMPLY. Key Replacement Parts •... -
Page 15: Warranty
WARRANTY What is Covered: This warranty covers any defects in material and workmanship in your new Simplicity vacuum and applies exclusively to the original purchaser. How Long Coverage Lasts: Warranty coverage for Pixie vacuum lasts two years. Household models used commercially are only warranted for 90 days. - Page 16 OWNER’S WARRANTY INFORMATION keep this for your records… Date of purchase Serial number Model number Purchased from: Store name Address City, State, Zip Telephone...
- Page 18 NOTES...
- Page 19 NOTES...
- Page 20 ©2016 Tacony Corporation LVOM-PIXIE 1.16...
Need help?
Do you have a question about the Pixie and is the answer not in the manual?
Questions and answers