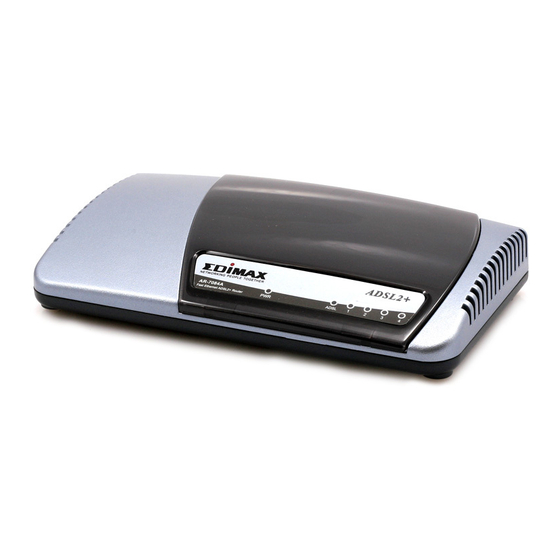
Edimax AR-7084A Quick Installation Manual
Adsl 2+ modem router
Hide thumbs
Also See for AR-7084A:
- Specifications (2 pages) ,
- Install manual (22 pages) ,
- User manual (86 pages)

Subscribe to Our Youtube Channel
Related Manuals for Edimax AR-7084A


Summary of Contents for Edimax AR-7084A
- Page 1 Edimax AR‐7084A ADSL 2+ Modem Router Quick Installation Guide 1 Edimax Technology (UK) Limited | Quick Installation Guide (AR‐7084A) www.edimax.co.uk ...
- Page 2 1. Hardware Setup Step 1. Connect the ADSL line Connect the RJ‐11 (the telephone cable supplied) from the telephone socket to the WAN port of the router Step 2. Connect the router to your PC Connect the router to your PC with an ethernet cable to one of the LAN port of the router. Step 3. Connect the power adapter to the router Connect the power adapter to the power jack on the rear panel of router. Step 4. Check ADSL light status Please check on the ADSL Led on the front panel of the router. The router will detect the ADSL‐capable telephone line. If the ADSL light is on solid, your broadband is active. However, if the light is flashing, please call your internet service provider to confirm your broadband status. Note: Please use the power adapter provided with the router, do NOT use any other power adapter from other sources. 2 Edimax Technology (UK) Limited | Quick Installation Guide (AR‐7084A) www.edimax.co.uk ...
- Page 3 2. Router Configuration To configure the router to the internet, open Internet Explorer, type http://192.168.2.1' into the address bar and press Enter. At the User name prompt, type 'admin', Password prompt, type '1234' . Click 'OK'. 3 Edimax Technology (UK) Limited | Quick Installation Guide (AR‐7084A) www.edimax.co.uk ...
- Page 4 Click Next. 4 Edimax Technology (UK) Limited | Quick Installation Guide (AR‐7084A) www.edimax.co.uk ...
- Page 5 Step 1 ‐ Setup your new administrator's password. If you do not wish to change the password, type the default password ‘1234’. Click Next. Step 2 ‐ Setup your time zone, simply click on the drop down box to choose the location you are in. Choose GMT – London. Click Next. 5 Edimax Technology (UK) Limited | Quick Installation Guide (AR‐7084A) www.edimax.co.uk ...
- Page 6 Step 3 – Setup Internet Connection Type, choose PPPoE/PPPoA. Click Next. Step 4 ‐ Enter the connection information provided by your Internet Service Provider (ISP). • The username is provided by your ISP. It is similar to an email address, eg: username@isp.co.uk. • Please check if you have cap lock on when you enter your password. • VPI = 0 • VCI = 38 • Connection Type = PPPoA VC‐Mux. If you do not have the information, please contact your ISP. 6 Edimax Technology (UK) Limited | Quick Installation Guide (AR‐7084A) www.edimax.co.uk ...
- Page 7 Click Next to save the settings. When it’s done, click Close. 7 Edimax Technology (UK) Limited | Quick Installation Guide (AR‐7084A) www.edimax.co.uk ...
- Page 8 Check the Internet Connection. The internet will be connected and ready. To check the status, click on Maintenance ‐> Diagnostics: The router will run a test. If all PASS, you are connected to the internet. Close Edimax setup page and open the internet explorer to access to the internet. If some are Fail, please check the following: If ping Domain Name Server is Skipped and ping www.yahoo.com is Fail, then please check your ISP’s username and password. This test result indicates that your username or password is invalid. 8 Edimax Technology (UK) Limited | Quick Installation Guide (AR‐7084A) www.edimax.co.uk ...
Need help?
Do you have a question about the AR-7084A and is the answer not in the manual?
Questions and answers