Table of Contents
Advertisement
Advertisement
Table of Contents

Related Manuals for GE Treviso 20314


Summary of Contents for GE Treviso 20314
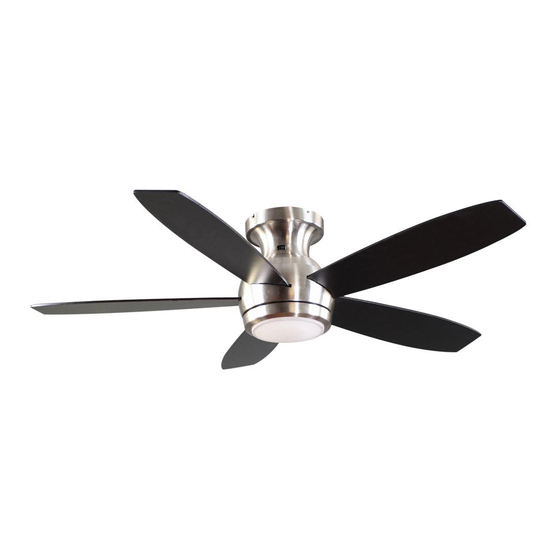
- Page 1 User Manual Treviso LED Ceiling Fan 52 in. (1.32 m) MODEL: 20314 120V 60Hz, MADE IN CHINA Customer Assistance 1-866-885-4649 Contact a qualified electrician or call the Customer Care Service Team at 1-866-885-4649 Customer Service hours of operation are 9:00AM-5:00PM EST -Monday-Friday...
-
Page 2: Safety Rules
Safety rules 1. To reduce the risk of electric shock, insure electricity has WARNING: to reduce the risk of fire, electric shock or personal been turned off at the circuit breaker or fuse box before injury, mount fan to outlet box beginning. - Page 3 Basic guidelines for working with electricity 1. Before working on a circuit, go to the main service panel and remove the fuse or trip the breaker that controls that circuit. 2. Tape a sign to the panel warning others to leave the circuit alone while you work 3.
- Page 4 To begin / tools needed (not supplied) REQUIRED Flathead Phillips Safety Glasses Screwdriver Screwdriver Pliers Wire Cutters Electrical Tape Step Ladder Wire Strippers Soft Cloth...
-
Page 5: Hardware Included
Hardware included Carefully unpack and identify each part to make sure you ATTENTION: parts are not to scale. have everything ready for installation. Lay out each part on a clean flat area such as a table or floor. Check to make sure you have the following: Hardware Bag Remote Control... -
Page 6: Package Contents
Package contents Carefully unpack and identify each part to make sure you ATTENTION: parts are not to scale. have everything ready for installation. Lay out each part on a clean flat area such as a table or floor. Check to make sure you have the following: Functional Fasteners PART... - Page 7 Fan installation drawing WARNING: review important safety instructions before installation Outlet Box (Not Provided) Star Washer Wood Screw (Long) Mounting Bracket Flat Washer Black Wire Spring Washer Mounting Screw Receiver Ground Wire from Mounting Bracket Plastic Wire Nut Neutral White Wire White Wire Ground Wire from the Fan Motor Assembly Blue Wire...
-
Page 8: Fan Installation
Fan installation INSTALLING THE MOUNTING BRACKET 1. Use metal outlet box (sold 2. Install mounting bracket (Q) to separately) suitable for fan support. the outlet box in ceiling using the Secure outlet box directly to the mounting screws provided with the building structure using wood outlet box (two additional mounting screws (A) and star washers (C). -
Page 9: Preparing The Electrical Connections
Fan installation PREPARING THE ELECTRICAL CONNECTIONS WARNING: to avoid possible electric shock, be sure electricity is turned off at the main fuse box before wiring. If you feel you do not have enough electrical wiring knowledge or experience, have your fan installed by a licensed electrician. -
Page 10: Making The Electrical Connections
Fan installation MAKING THE ELECTRICAL CONNECTIONS WARNING: to avoid possible electric shock, be sure electricity is turned off at the main fuse box before wiring. Motor to receiver electrical connections: Connect the black wire from the fan to black wire marked “TO MOTOR L” from NOTE: fan must be installed at the receiver. -
Page 11: Attaching The Fan Blades
Fan installation ATTACHING THE FAN BLADES NOTE: before starting installation, disconnect the power by turning off the circuit breaker or removing the fuse at fuse box. Turning power off using the fan switch may not be sufficient to prevent electric shock. Insert the blade (P) through the slot in the bottom band, align the holes in the blade (P) and the bracket, secure with the blade... - Page 12 Operation instructions 1. Install a 9-volt battery (K) (included ). 2. Restore power to ceiling fan and test for 3. “1, 2, and 3 buttons: These three buttons proper operation. are used to set the fan speed as follows: Note: to prevent damage to transmitter 1 = high speed 2 = medium speed 3 = low (J), remove the battery if not used for long speed...
-
Page 13: Blade Balancing
Blade balancing The following procedure should correct most fan wobble. Check after each step. Check that all blade and blade bracket screws are secure. Most fan wobble problems are caused when blade levels are unequal. Check this level by selecting a point on the ceiling above the tip of one of the blades. - Page 14 Blade Balancing Kit The balancing kit should only be used if there is an unacceptable amount of fan wobble after completing all the steps in the user manual under “Fan Blades Assembly”. 1. Turn the fan on and set the speed control setting to a speed at which the wobble is the greatest.
-
Page 15: Safety Instructions
Safety instructions PRODUCT MAINTENANCE WARNING: make sure the power is off at the electrical panel box before you attempt any repairs. Refer Here are some suggestions to help you maintain your fan. to the section “Making Electrical Connections.” Because of the fan’s natural movement, some connections may become loose.
Need help?
Do you have a question about the Treviso 20314 and is the answer not in the manual?
Questions and answers