
Related Manuals for Sunny SF-T1407M


Summary of Contents for Sunny SF-T1407M
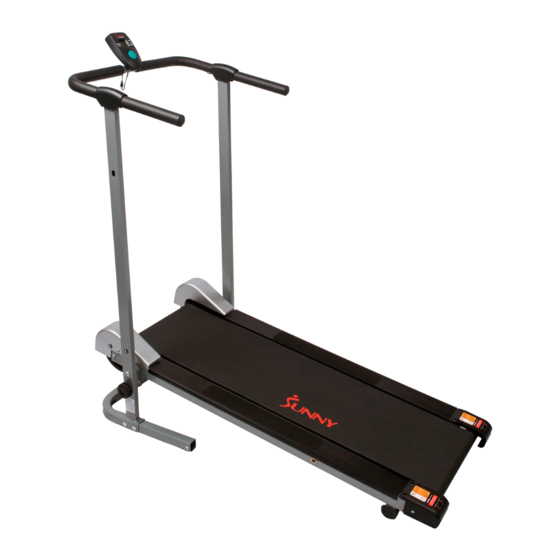
- Page 1 MANUAL WALKING TREADMILL SF-T1407M USER MANUAL IMPORTANT: Please read this manual carefully before using the product. Retain owner’s manual for future reference. For Customer Service, please contact: support@sunnyhealthfitness.com...
-
Page 2: Important Safety Information
IMPORTANT SAFETY INFORMATION We thank you for choosing our product. To ensure your safety and health, please use this equipment correctly. It is important to read this entire manual before assembling and using the equipment. Safe and effective use can only be assured if the equipment is assembled, maintained, and used properly. -
Page 3: Exploded Drawing
EXPLODED DRAWING... -
Page 4: Parts List
PARTS LIST Description Description Main frame Adjustable feet pad Running belt Running decking Left flywheel cover Front roller Right flywheel cover Rear roller Right upright support Side rail Left upright support Anti-slip cloth Handlebar 31L Left side rail block Decorated cover 31R Right side rail block Monitor Feet cover... - Page 5 ASSEMBLY INSTRUCTIONS STEP 1: Attach the Left & Right Upright Supports (No. 4 and No. 5) to the Main Frame (No. 1) using 2 Flat Washers (No. 19) and 2 Hexagon Bolts (No. 15) and tighten securely. Screw the Lock Knob (No. 10) into the holes of the Right Upright Support (No. 4) and Main Frame (No.
- Page 6 ASSEMBLY INSTRUCTIONS STEP 3: Fix the Handlebar (No. 6) to the Right & Left Upright Supports (No. 4 and No. 5) using 4 Arc Washers (No. 18) and 4 Allen Screws (No. 16) and tighten securely. Next, connect the Lower Sensor Wire (No. 22A) to the Upper Sensor Wire (No. 22B).
-
Page 7: Folding Instructions
FOLDING INSTRUCTIONS To fold the treadmill, turn the Lock Knob (No. 10) counter-clockwise and remove it from the lower hole of the Right Upright Support (No. 4). Raise the rear end of the Main Frame (No. 1) all the way up to a vertical position, then insert the Lock Knob (No. -
Page 8: Transporting The Machine
TRANSPORTING THE MACHINE Before attempting to move the treadmill, please make sure that it has been properly folded. Hold the Handlebar Foams (No. 33) with your hands and slowly lean the treadmill back towards your body. Once the Transport Wheels (No. 47) touch the ground you can safely move the treadmill to your desired location. -
Page 9: The Display Console
THE DISPLAY CONSOLE Our computerized display console on the Sunny Manual Walking Treadmill allows the user to tailor a personalized workout by monitoring their progress. During a workout, the display console will alternately and repeatedly display your Time, Speed, Distance, and Calories. With our easy-to-use console, the user can efficiently track their fitness improvements from one workout to the next. -
Page 10: Maintenance Instructions
MAINTENANCE INSTRUCTIONS General cleaning will help prolong the life and performance of your treadmill. Keep the unit clean and maintained by dusting the components on a regular basis. Clean both sides of the running belt to prevent dust from accumulating underneath the belt. Keep your running shoes clean so that dirt from your shoes do not wear out the running board and belt. -
Page 11: Maintenance And Care
MAINTENANCE & CARE RUNNING BELT & TREADMILL LUBRICANT: Lubricating the running board and running belt is essential as the friction between the two affect the life span and function of the treadmill. It is suggested that the running board and belt are inspected regularly. If you find any wear on the running board, please contact us support@sunnyhealthfitness.com The following time table is recommended:... -
Page 12: Troubleshooting
TROUBLESHOOTING PROBLEM CAUSE CORRECTION Base is unstable There is an object under Remove the object the Main Frame of the Move the treadmill to level treadmill or the ground ground isn’t level. The Lock Knob is loose Tighten the Lock Knob Noise from moving parts Hardware;... -
Page 13: Exercise Instructions
EXERCISE INSTRUCTIONS GETTING STARTED: Before starting any exercise program you should consult your physician to determine if you have any medical or physical conditions that could put your health and safety at risk or prevent you from using the equipment properly. Be aware of your body’s signals. - Page 14 EXERCISE INSTRUCTIONS SIDE STRETCHES Lift your arms over your head. Reach your right arm as far toward the ceiling as you can for one count, gently stretching the muscles of your stomach and lower back. Repeat this action with your left arm. Repeat 3-4 times. QUADRICEPS STRETCH With one hand against a wall for balance, reach behind you and pull your right foot up.
- Page 15 EXERCISE INSTRUCTIONS TOE TOUCHES Slowly bend forward from your waist, letting your back and shoulders relax as you stretch toward your toes. Reach as far as you can and hold for 15 counts. HAMSTRING STRETCHES Extend your right leg. Rest the sole of your left foot against your right inner thigh.
Need help?
Do you have a question about the SF-T1407M and is the answer not in the manual?
Questions and answers