Sign In
Upload
Download
Table of Contents
Contents
Add to my manuals
Delete from my manuals
Share
URL of this page:
HTML Link:
Bookmark this page
Add
Manual will be automatically added to "My Manuals"
Print this page
×
Bookmark added
×
Added to my manuals
Manuals
Brands
Contex Manuals
Scanner
SD One 36
User manual
Contex SD One 36 User Manual
Hide thumbs
1
Table Of Contents
2
3
4
5
6
7
8
9
10
11
12
13
14
15
16
17
18
19
20
21
22
23
24
25
26
27
28
29
30
31
32
33
34
35
36
37
38
39
40
41
42
43
44
45
46
47
48
49
50
51
52
53
54
page
of
54
Go
/
54
Contents
Table of Contents
Troubleshooting
Bookmarks
Table of Contents
Contents
Table of Contents
About this Guide
Overview of the Scanner
Scanner Front View
Scanner Rear View
Overview of Scanner
Installation
System Requirements
Installation Step by Step
Turning the Scanner on and off
Main Power Switch
Sleep and Wake Modes
Sleep Mode Options - Automatic Entry and Idle Time
Loading Originals into the Scanner
Load, Face Up, at the Scanner's Center
Automatic Loading
Scanning
Software Applications for Scanning
Monitoring Your Scanner with Widesystem
Maintenance
About Scanner Maintenance
Cleaning the Scan Area
Overview - Key Maintenance Points - Cleaning
Scanner Calibration
Replacing the Glass Plate
Replacing the Glass Plate - Overview of Key Parts
Downloading New Firmware
Trouble Shooting
How Are Errors Reported on Your System
Correcting Common Errors
Technical Assistance
Problems Related to Scanner Installation
Problems Related to Operation of the Scanner
Problems Related to the Scanning Results
Appendixes
Important Safety Instructions
Regulations
Advertisement
Quick Links
1
Installation Step by Step
2
System Requirements
3
Software Applications for Scanning
Download this manual
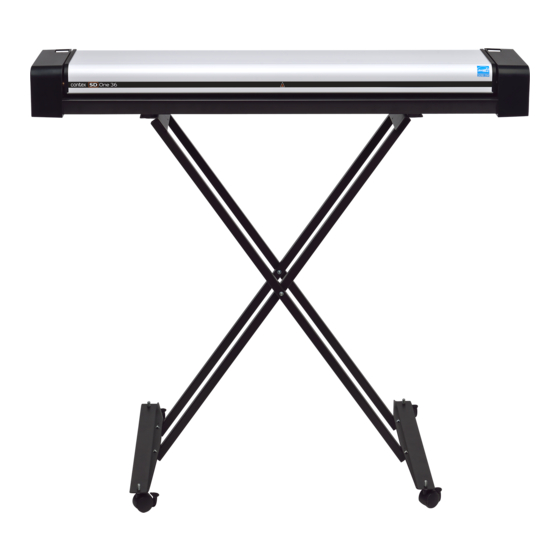
User's Guide
Wide Format Scanners
Model: SD One
Jan 2015
Table of
Contents
Previous
Page
Next
Page
1
2
3
4
5
Advertisement
Table of Contents
Need help?
Do you have a question about the SD One 36 and is the answer not in the manual?
Ask a question
Questions and answers
Related Manuals for Contex SD One 36
Scanner Contex SD One 24 User Manual
(54 pages)
Scanner Contex SD One MF 44 User Manual
Wide format scanners, sd one mf series (71 pages)
Scanner Contex SD One+ Technical Service Manual
Wide format scanners (86 pages)
Scanner Contex FSS4300 Operator's Manual
Fss x300 full scale monochrome scanners (41 pages)
Scanner Contex IQ FLEX User Manual
Wide format flatbed scanner (83 pages)
Scanner Contex IQ Quattro X Series User Manual
Wide format scanner (66 pages)
Scanner Contex IQ 2400 Technical Service Manual
Wide format scanners (121 pages)
Scanner Contex SD 3600 series User Manual
Wide format scanners (59 pages)
Scanner Contex HD5450 User Manual
Wide format scanners (79 pages)
Scanner Contex IQ 2400 Series User Manual
Wide format scanners (61 pages)
Scanner Contex HD Ultra Series User Manual
Wide format scanners (71 pages)
Scanner Contex FLEX50i User Manual
Wide format ijet scanners (133 pages)
Scanner Contex HD Ultra X 6000 Technical Service Manual
(148 pages)
Scanner Contex IQ FLEX Technical Service Manual
Wide format scanners (127 pages)
Scanner Contex XD2490 Service Manual
Contex xd2490 (57 pages)
This manual is also suitable for:
Sd one 24
Table of Contents
Print
Rename the bookmark
Delete bookmark?
Delete from my manuals?
Login
Sign In
OR
Sign in with Facebook
Sign in with Google
Upload manual
Upload from disk
Upload from URL


Need help?
Do you have a question about the SD One 36 and is the answer not in the manual?
Questions and answers